How to create a Cuff Bracelet
Hi everyone! Julie of JetSetSewing here. My “Swiss intern Karl,” (AKA my BERNINA 560) and I have been having fun coming up with a new project for you. Haven’t we, Karl?
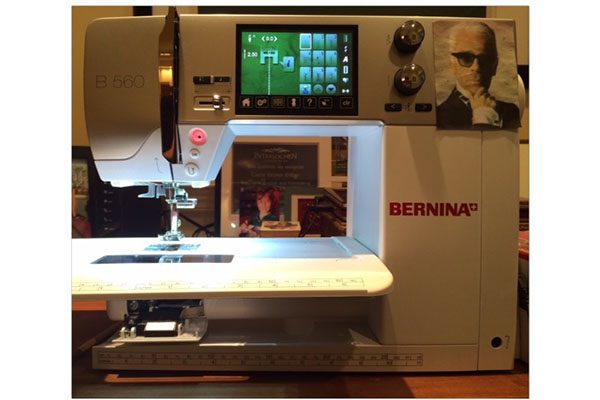
(Believe it or not, that’s Karl’s “happy face.”)
Have you ever wanted to make one of those haute couture quilted French jackets, but lacked the, oh, 70 hours and/or patience to do it?
Here’s a way to have the experience for an afternoon, by making a little “cuff” bracelet that uses some of the techniques from the jacket. And you can make it from scraps! It’s just for fun.
Materials:
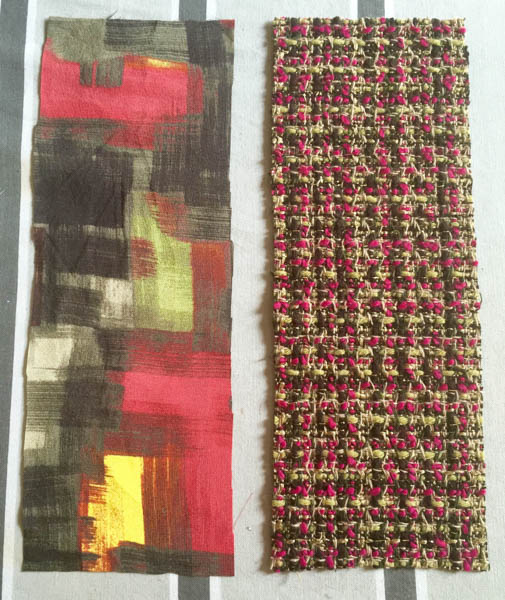
- 4″ x 20″ (10 cm. x 51 cm.) piece of tweed or boucle fashion fabric – choose a fabric that unravels easily
- 4″ x 20″ piece of lining fabric, such as silk crepe de chine
- 4″ x 18″ (10 cm. x 46 cm) piece of soft fusible interfacing
- One decorative button, no larger than ¾″ (2 cm)
- 18″ (46 cm) of decorative trim, no wider than ¾″ (2 cm). You can also braid yarn or use fabric scraps to make pretty trim
- Thread that coordinates with the fashion fabric and lining, and thread that matches the trim
Measure the circumference of your wrist. The length of the bracelet should equal the measurement around your wrist, plus 4″ (10 cm). For example, my wrist is 6½ inches (16.5 cm) around, so I added 4″ to that, making the bracelet 10½″ long (about 27 cm).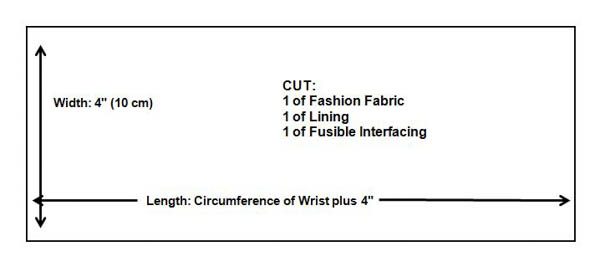
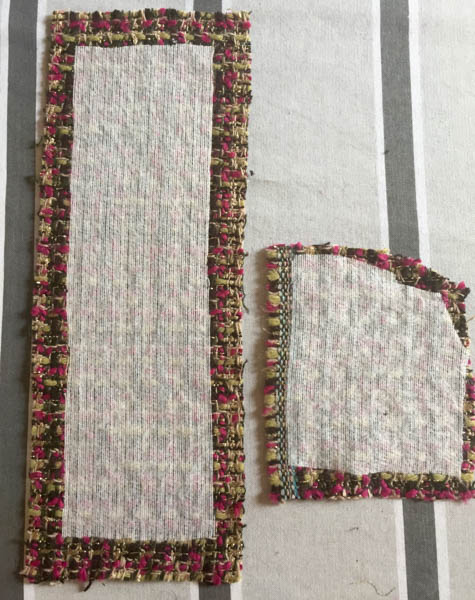
Cut the fashion (exterior) fabric to be that length, and make it 4″ (10 cm.) wide. Cut a piece of the lining fabric that’s the same size.
Cut a piece of fusible interfacing that is the same size as the fashion fabric piece. Then, trim off ⅝″ (1 cm) on all of the edges. Center it on the wrong side of your fashion fabric and press it on. At the same time, take a scrap of the fashion fabric and fuse a piece of interfacing to it to use to test your buttonholes.
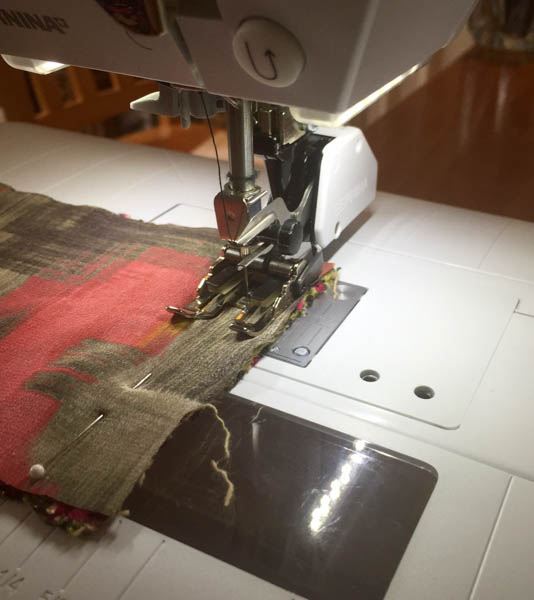
Sew the fashion fabric to the lining fabric on one of the short edges, right sides together. If you’re using slippery silk as your lining, you may want to use the BERNINA Walking Foot #50 to keep the layers together.
Press the seam flat, trim it, and press the seam allowance toward the fashion fabric.
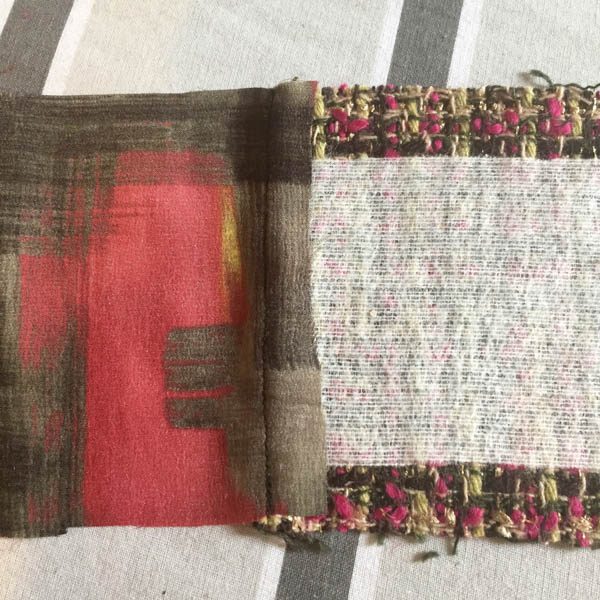
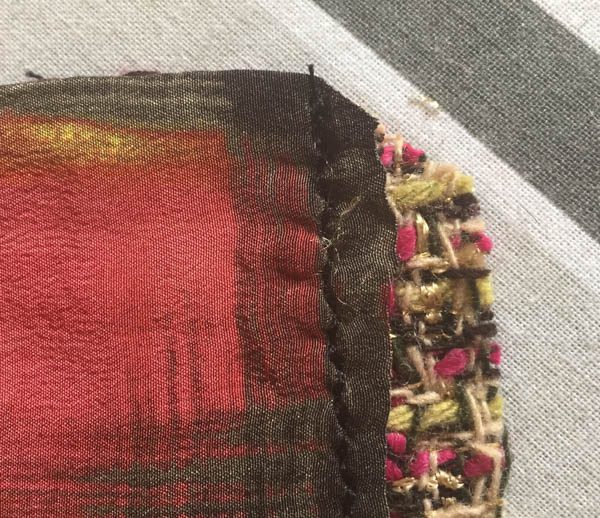
Turn the fashion fabric and lining until they are WRONG sides together. Yes, the raw edges are going to stick out! Sew a ⅝″ (1 cm) seam along the three unfinished sides. I used a narrow triple zigzag (stitch #7 on my BERNINA 560) to keep the seams from unraveling.

Trim the lining fabric to about ⅛″ away from the stitching. Diagonally clip the corners that are by the first seam you sewed.
Now the fun part, unravel the raw edges of the fashion fabric. (Put the kitty in another room!)
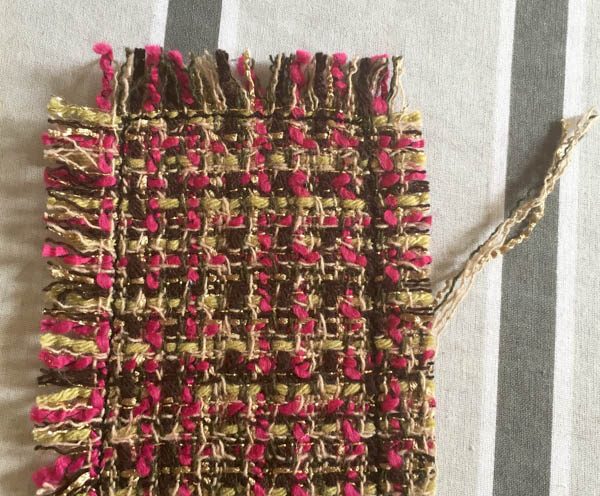
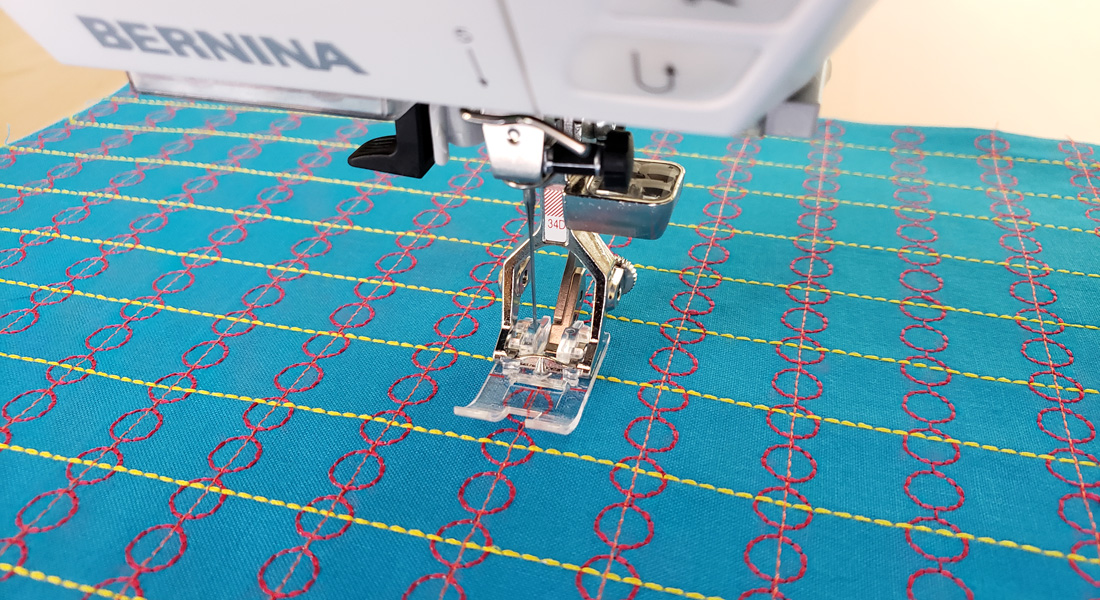
To quilt the bracelet like a French jacket, run a line of straight stitching down the length of the fabric at the center.
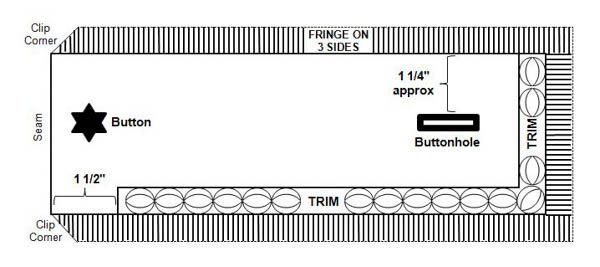
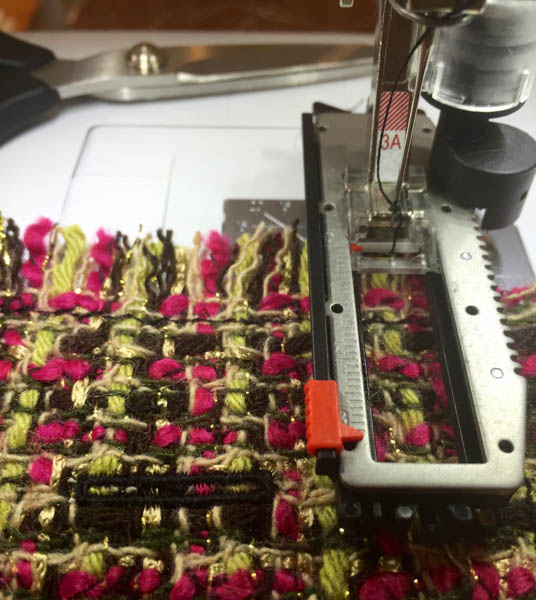
Temporarily pin your trim onto the bracelet to see where you need to line up the buttonhole. The buttonhole should be placed ⅝″ (1 cm) behind the trim on the short edge with fringe. The rest of the trim will be on just one long edge of the cuff, so the buttonhole will be slightly off-center, about 1¼″ from the top. Mark the buttonhole and unpin the trim.
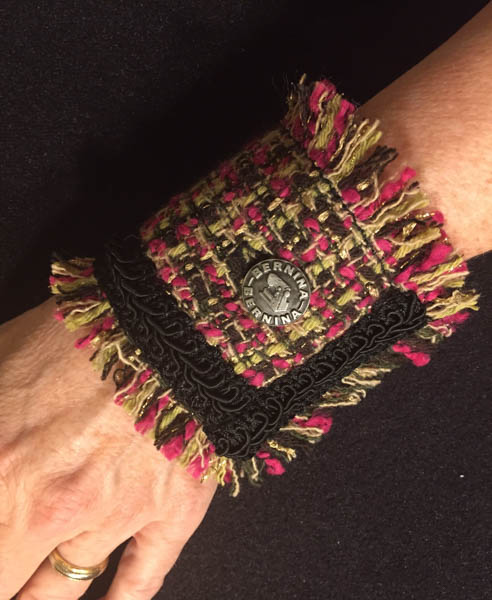
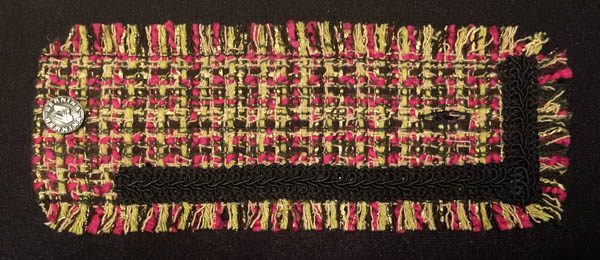
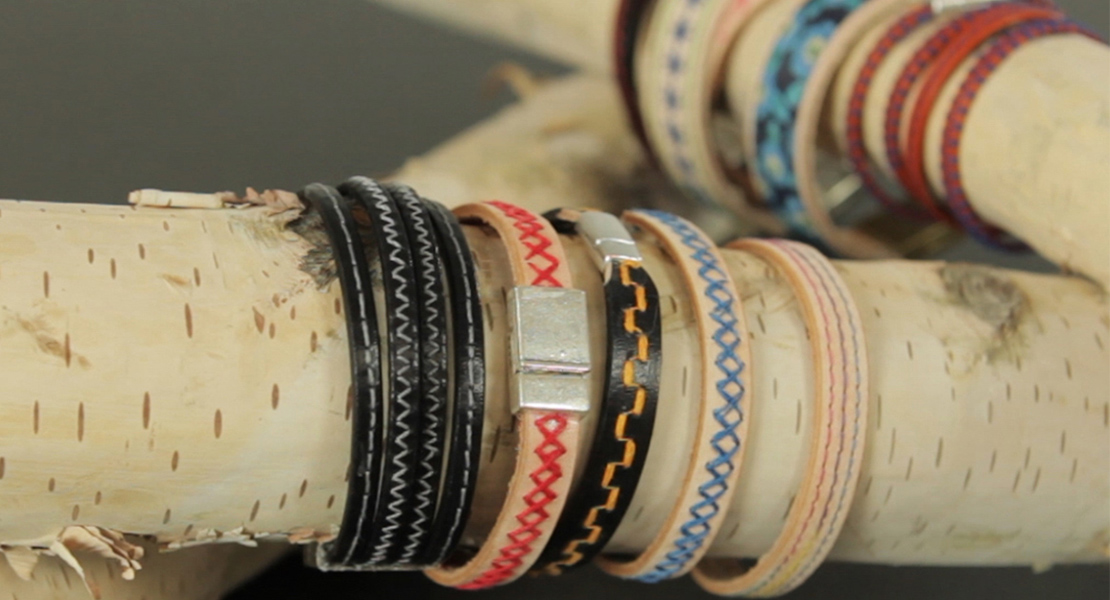
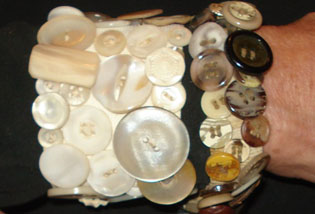
This picture shows where everything is placed on the finished cuff:
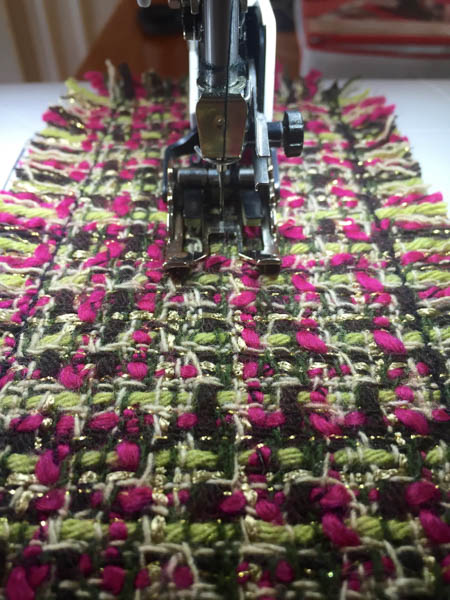
Pin a scrap of lining fabric to the scrap of fashion fabric with the fusible interfacing on it. Put BERNINA Buttonhole foot with slide #3A on your BERNINA Sewing Machine and make some test buttonholes on the scrap. I used the feature on my BERNINA 560 that measures the button and automatically sizes the buttonhole.
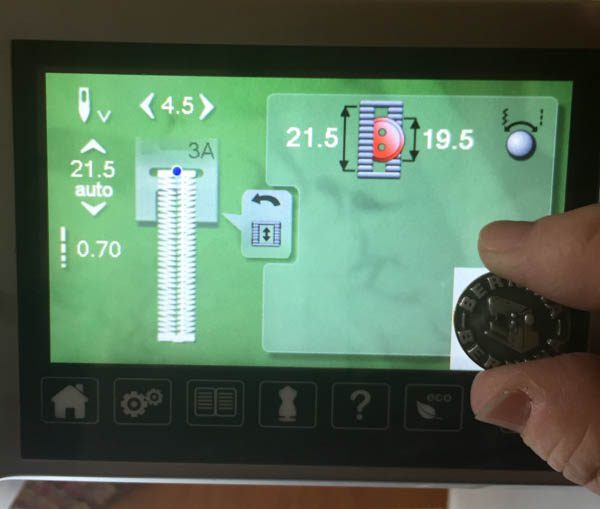
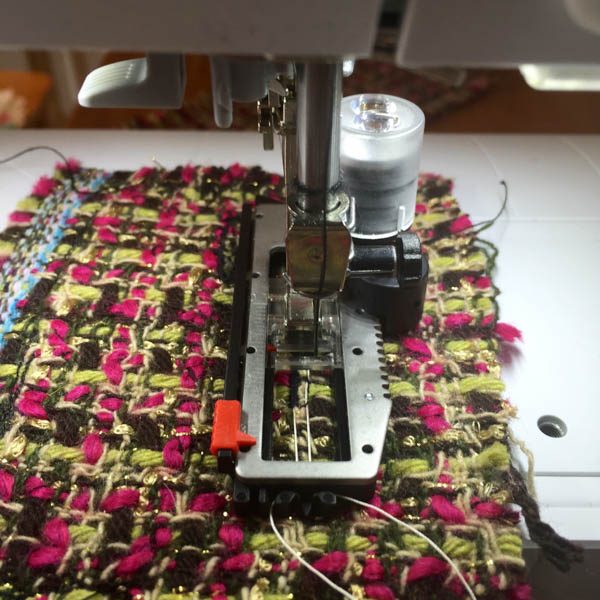
When you’re happy with your test buttonhole, make a buttonhole on the bracelet. I made a beautiful corded buttonhole with the BERNINA 560.
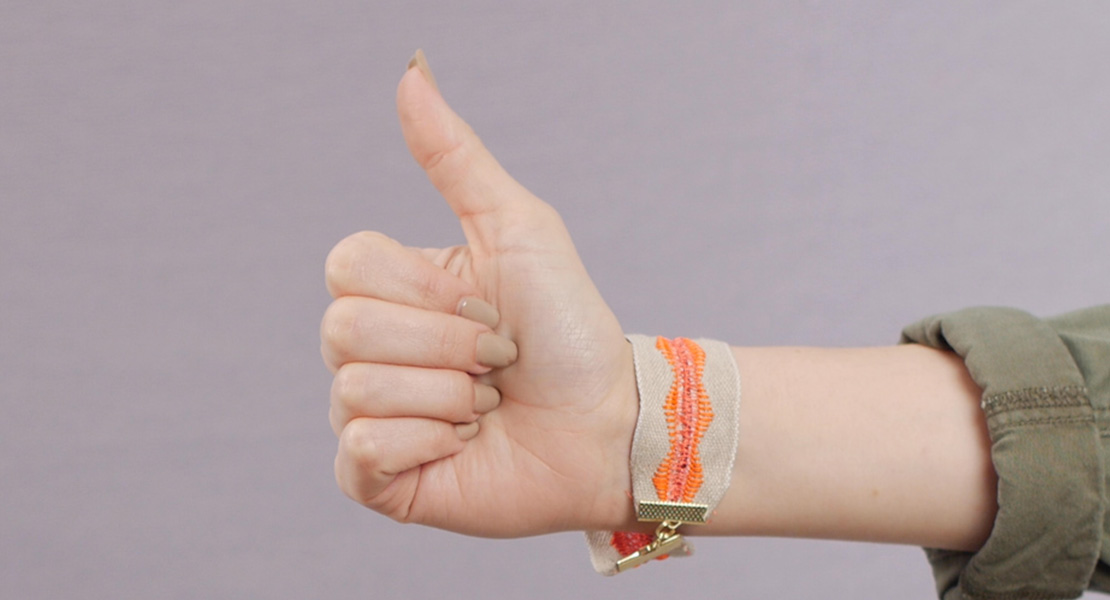
Try on the bracelet to see where you want to put the button, and then sew the button on.
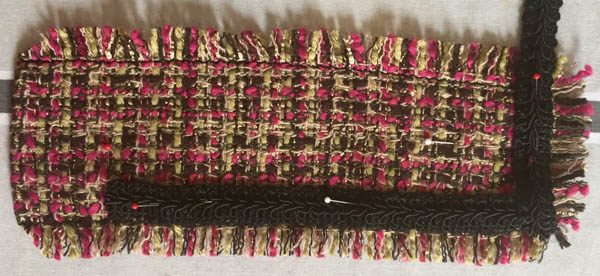
Pin the trim on the short end of the bracelet that has the buttonhole, and then pin more trim down the long side that will be closest to the hand, turning under the ends of the trim. Stop the trim about 1½″ inch (4 cm) away from the end with the button. Sew the trim on by machine (putting the thread that matches the trim in the top spool, and leaving the thread in the bobbin intact, since the stitches will show on the lining.) Or sew the trim on by hand for a couture touch.
Enjoy!


2 comments on “How to create a Cuff Bracelet”