Creating New Designs with Q-matic Software
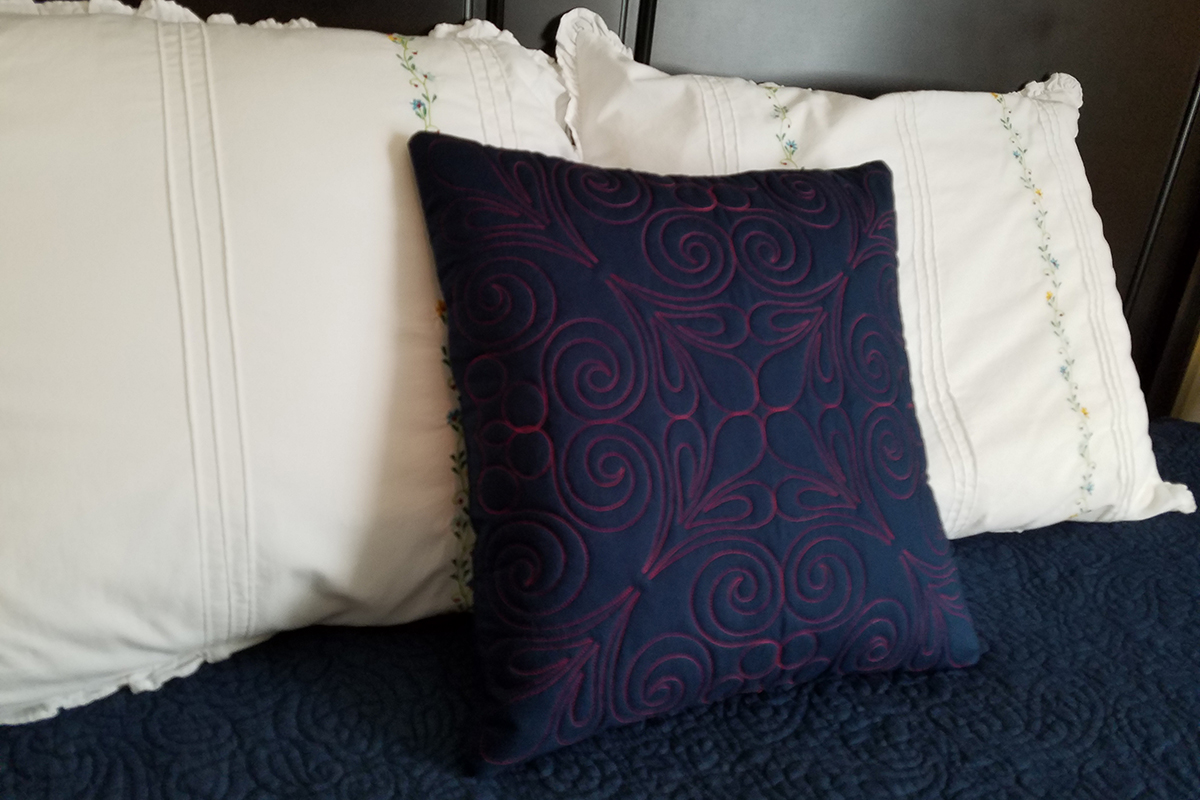
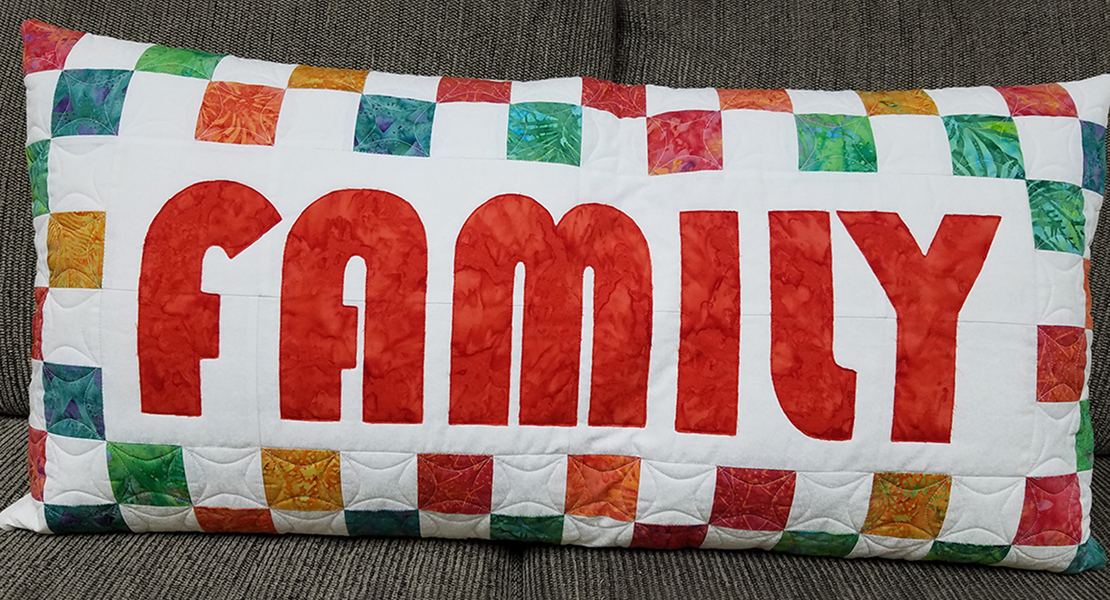
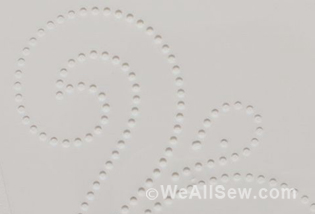
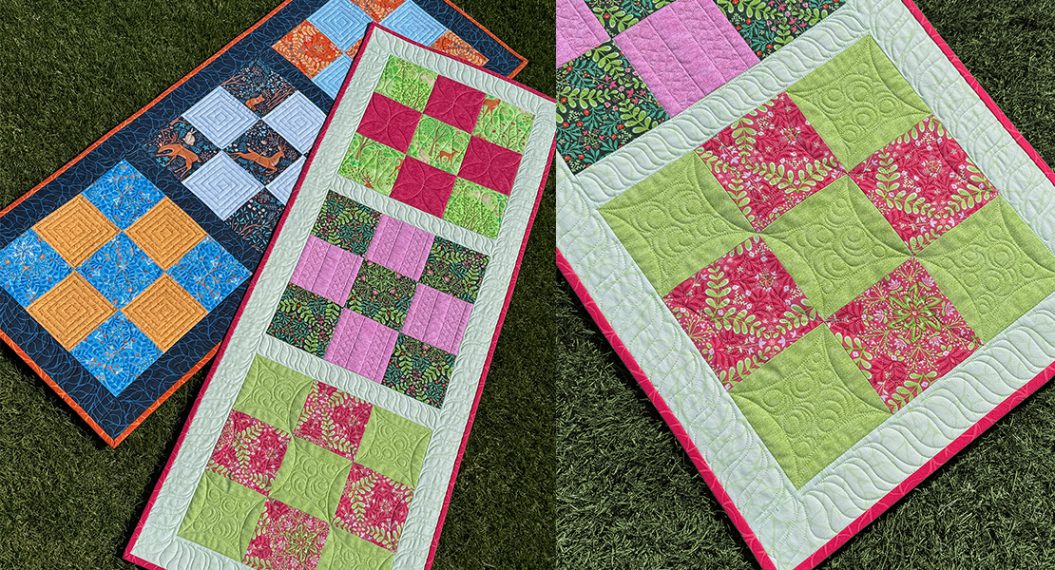
When I discovered that you could take the designs built into BERNINA Q-matic Longarm Quilting Automation System and create new designs from them using the Attach feature in Connect, I was so excited that I had to share with everyone! I took a triangle design, rotated it, and used the Attach feature to arrange it in two different ways to get this wonderful block design that I used on a pillow. But this design would look great used in many different ways and on a variety of projects.
What you will need:
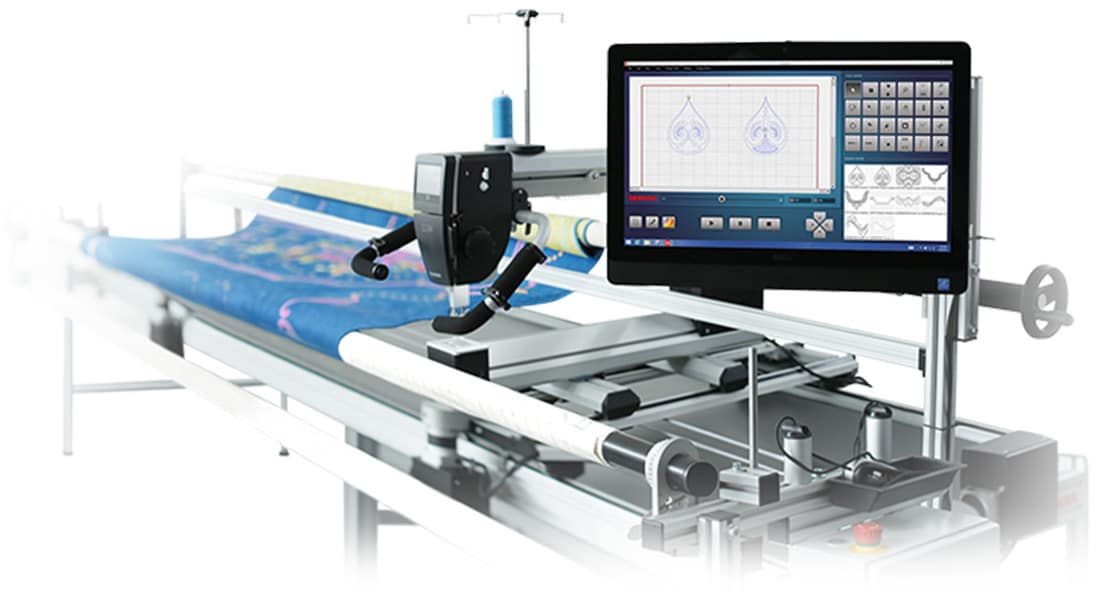
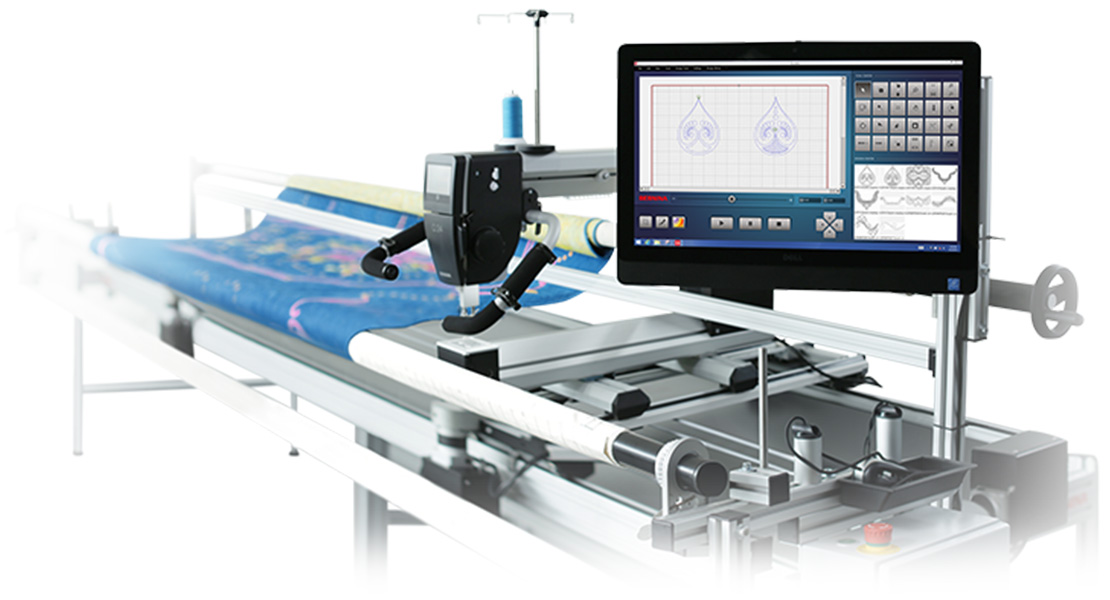
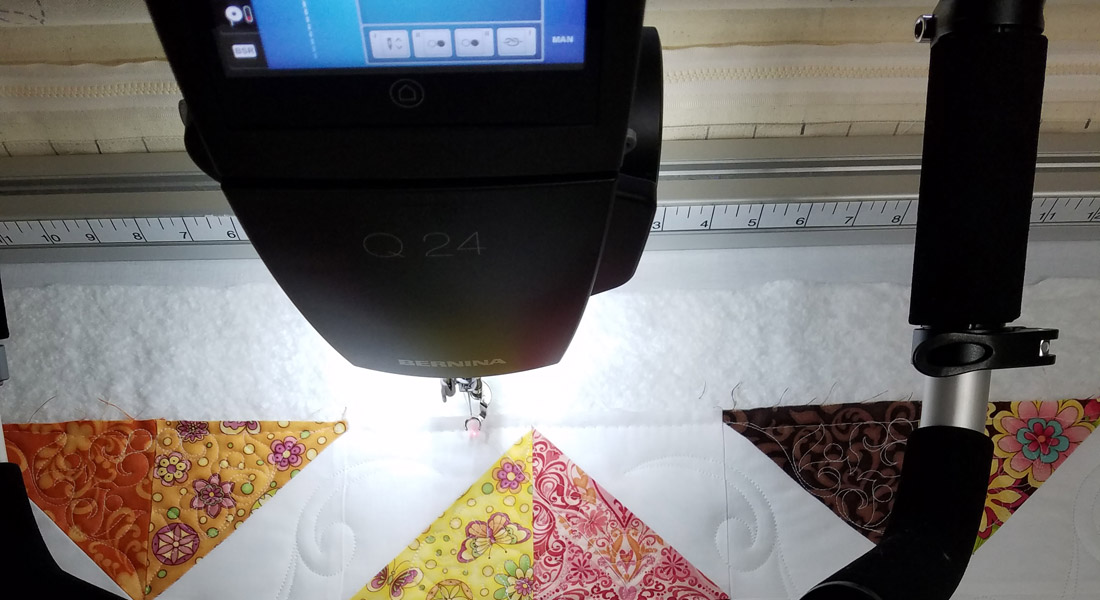
- BERNINA Q 24 Longarm Quilting on Frame
- BERNINA Q-matic Longarm Quilting Automation System
- Backing, batting and top fabric four to six inches larger than finished pillow size (I cut mine 24” X 24” for my 18” square pillow)
- Pillow insert or stuffing for pillow size
- New needle (I used a 90/14 Jeans needle)
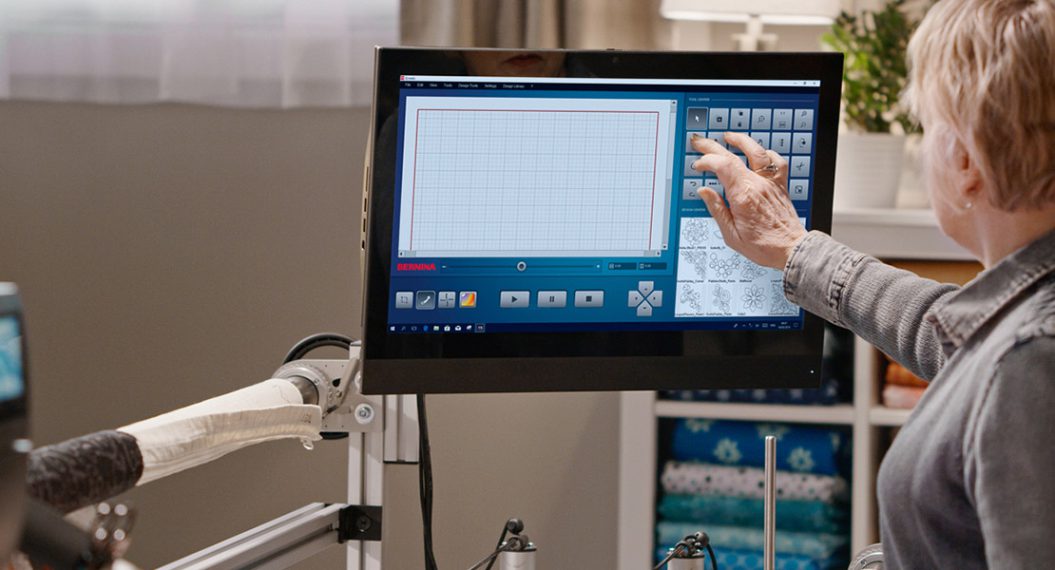
Creating the new design using Attach in the Connect tool.
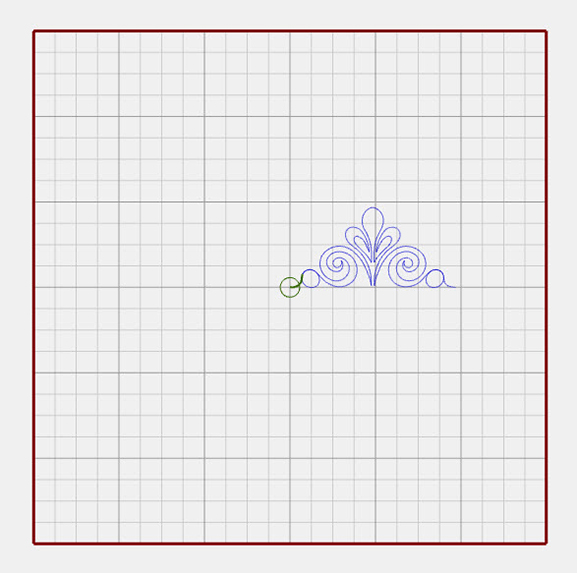
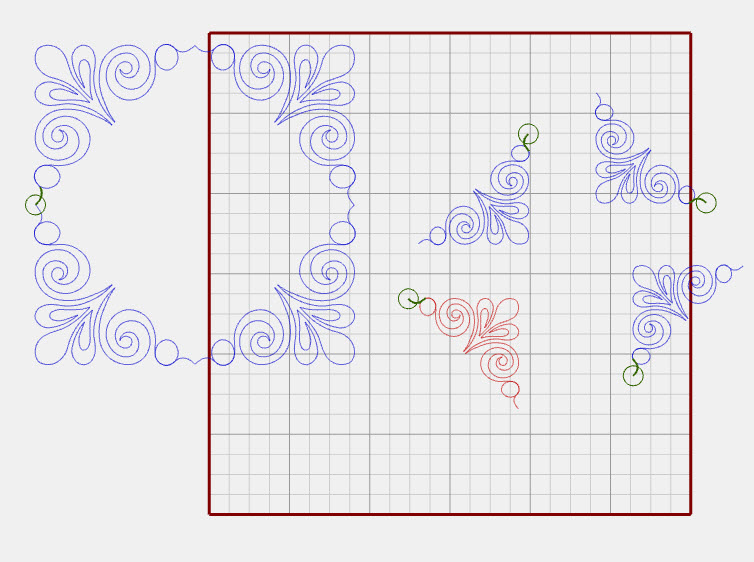
- Add SwirlPaisley Triangle to your Tool Center.
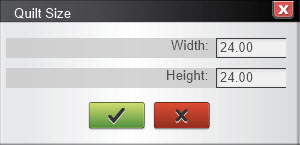
Set Quilt Size to 24” x 24” or to the size needed for your pillow.
- Double click on the design to add it to Quilt Area. (Remember if a Safe Area is not defined, the design will go to the center of Quilt Area with the first stitch in the center. We will set Safe Area)
- Select the design and Duplicate three times for a total of four designs.
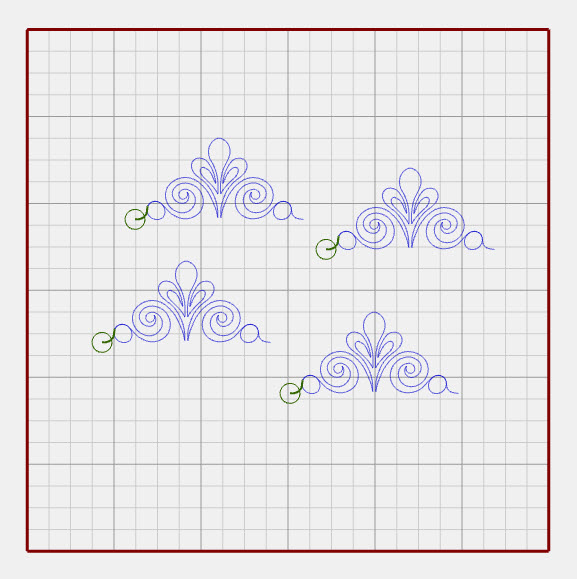
- Select each design one at a time, and Rotate by 45% so that they look like corners of a square. Make sure that the start points (circles with green line inside) are in sequence around the square. You will need to click 45% more than once on some of the designs.
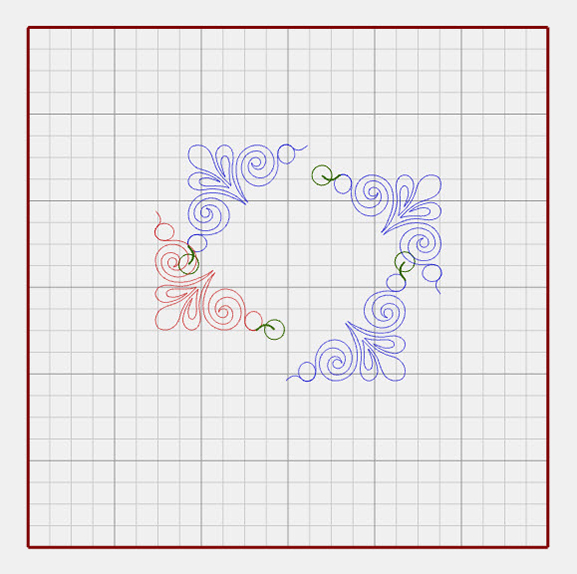
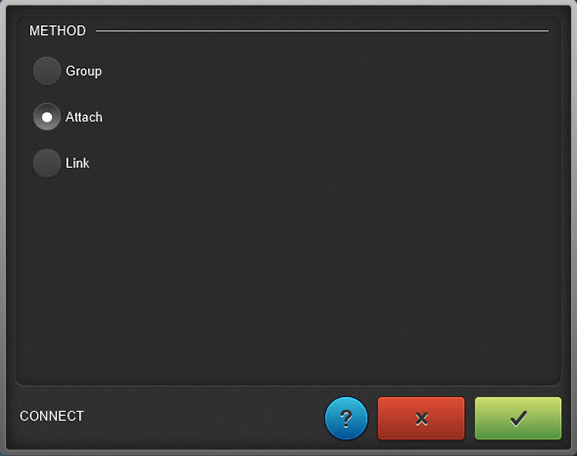
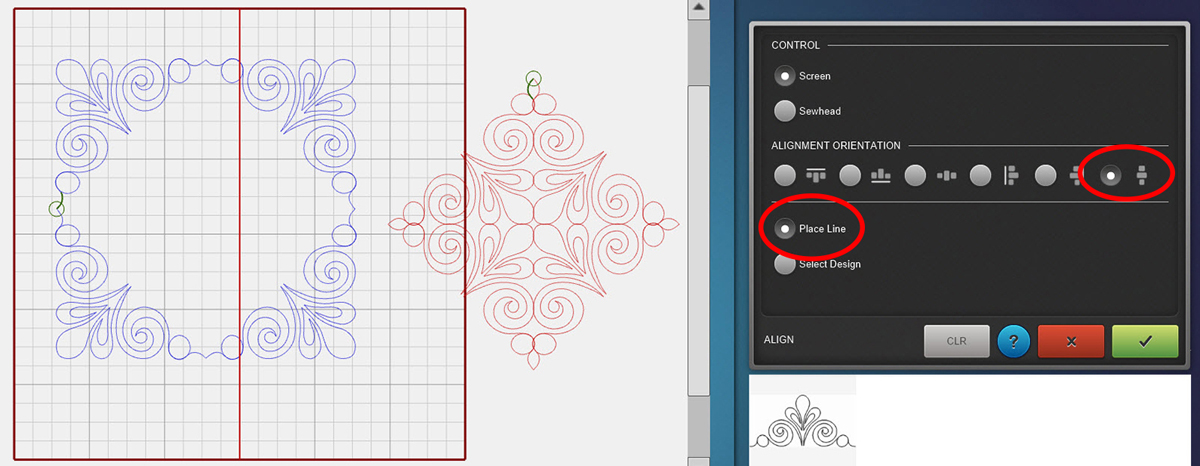
- Select the upper left design and open Connect.

- When secondary screen opens, select Attach.

- Click or touch second design.
- Click or touch the next design around the square.
- Click or touch last design.
- Confirm with the check mark in the green box on the secondary screen.
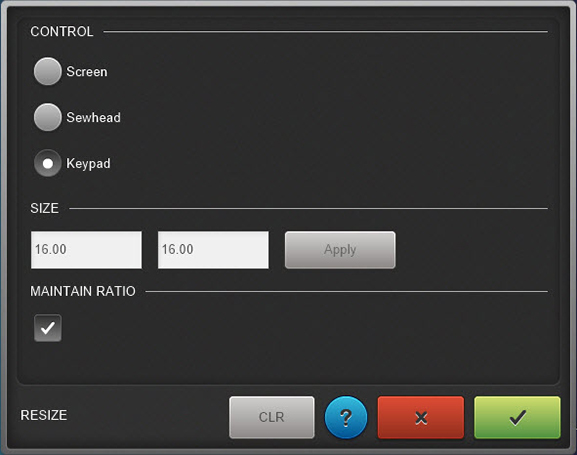
- With your new design selected on Quilt Area resize to 16” x 16”.

- Using Key Pad, enter 16.00 in width and make sure Maintain Ratio has a check mark. Click or touch Apply, and then Confirm with check mark in the green box.
- Move the design over so you can work with the next one.
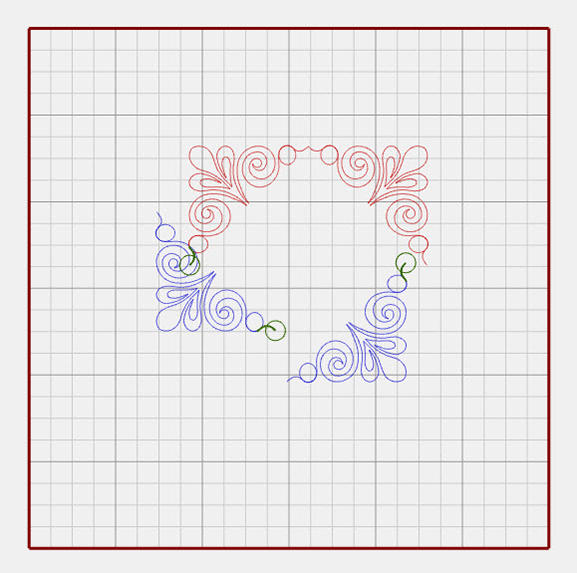
Double click the same design again and place on Quilt Area.
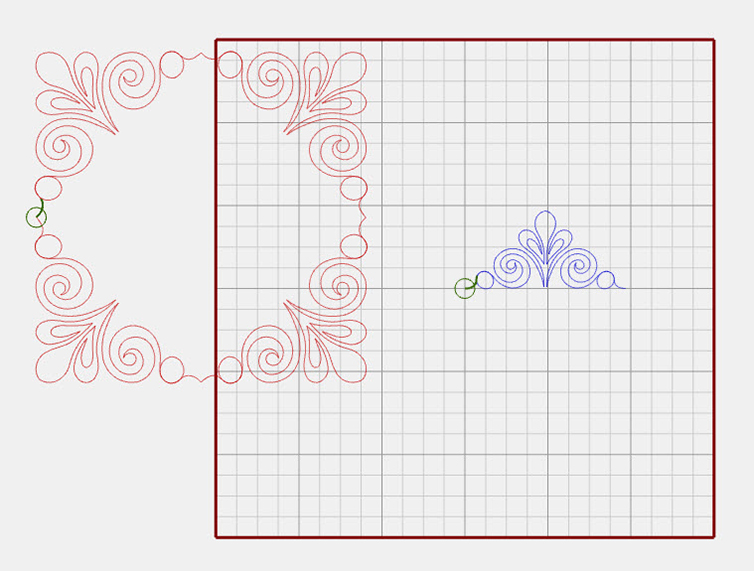
- Select design and Duplicate three times for a total of four as you did before.
- Now Rotate making the long side of triangle as the outside of a diamond shape.
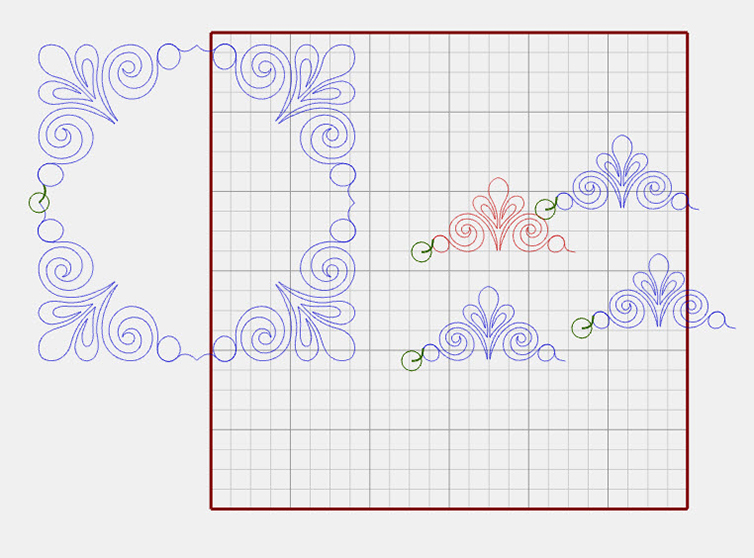
- Now open Connect again and select Attach. Click or touch each design to form the diamond. Remember that Attach will move the start point of the second design selected to the end point of the first design selected. In my example, I needed to go around the design counter clockwise.

- With the last triangle in place, touch Confirm.
- Now make sure the diamond shape is selected, and Resize as you did before to 15.5 inches.
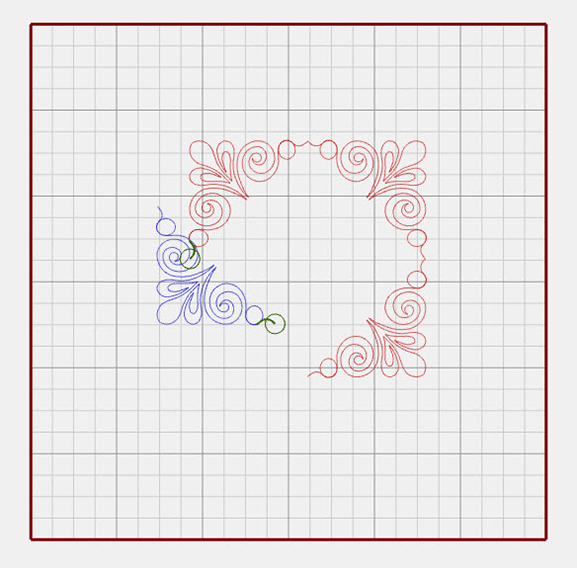
- We are now ready to align the two new designs we created.
- You will see looking at the quilt grid that there are some darker grey lines and some lighter grey lines. The darker grey lines are four inches apart. So depending on how far you are zoomed in will determine how far the light grey lines on grid are. When you have a Quilt Size set, the darker grey lines will be centered. We will use the darker grey lines to align our two designs.
- With one design selected, open the Align

- We will align vertically first, so select Vertical Center and place a vertical line on the center line of the grid.
- Select Select Design on the Align secondary window.
Click or touch each design so that they are placed centered on the line.
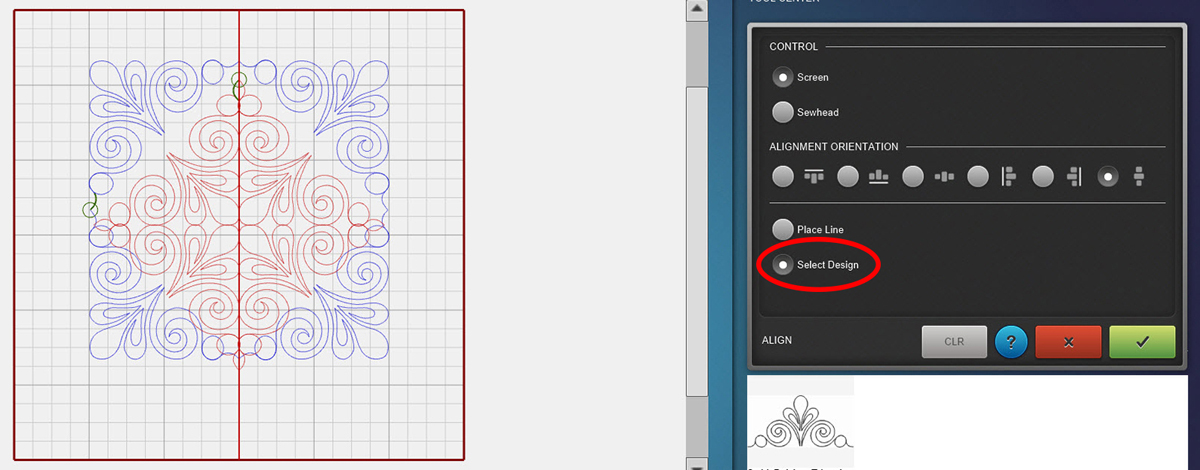
- Touch Confirm.
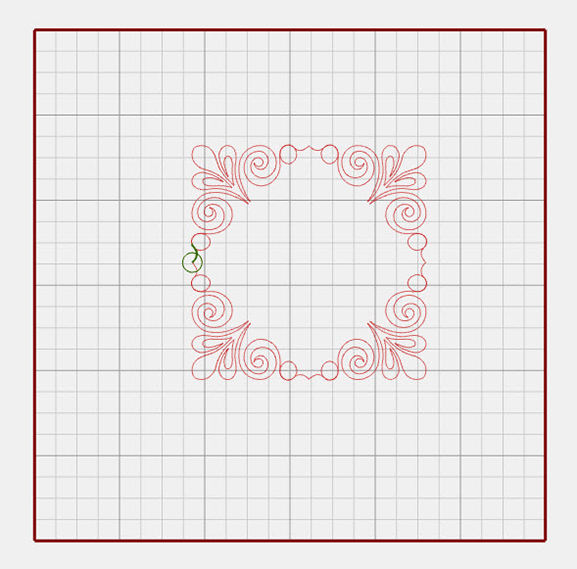
- Select one of the designs and open Align
- This time Place Line
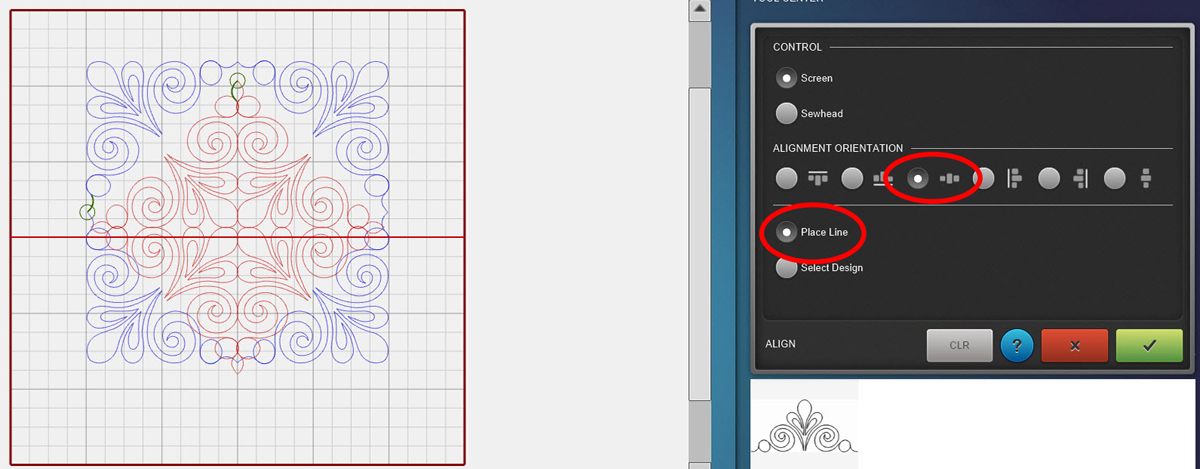
Now touch Select Design and click or touch each design to make them centered on the line.
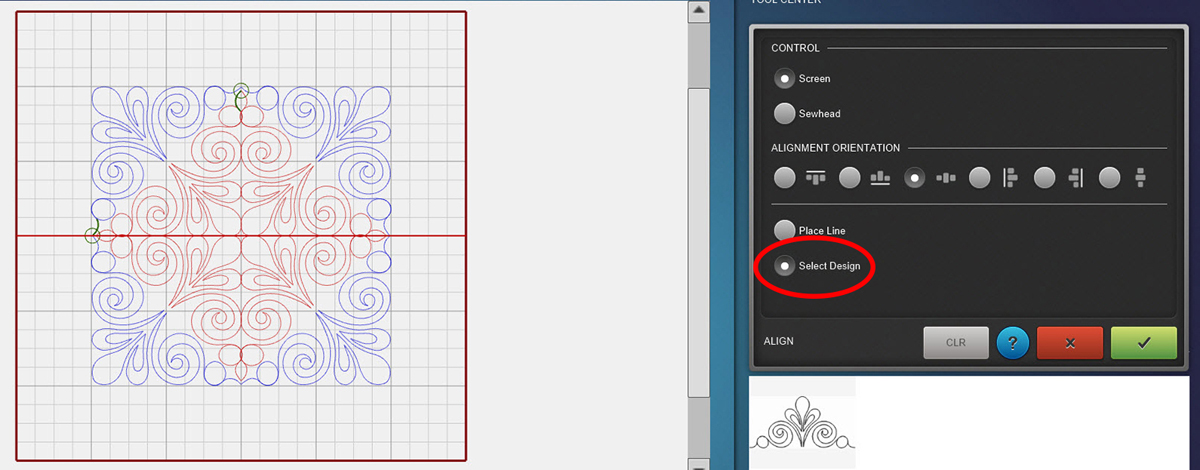
- Confirm.
- Set your Safe Area.
- Baste all four sides of the fabric on the frame.
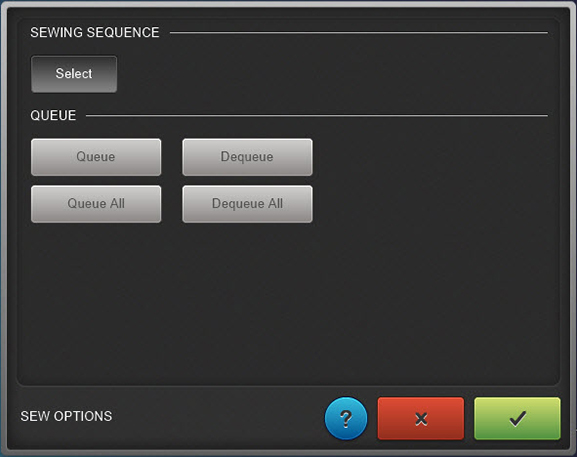
- To stitch out, sequence to stitch the middle design first, and then the outside design to stitch second in Sew Options.

- Stitch and then remove from frame.

- Trim to the size you wish. I trimmed to 18.5” by 18.5”.
- Created the pillow cover and insert the pillow form.
- You’re finished.
Have a great time with the Attach feature in Q-matic to create all kinds of new designs to be used in your quilting. Don’t forget to save them so you can use them again and again if you like.
Used Products

What you might also like


2 comments on “Creating New Designs with Q-matic Software”
-
-
Your are welcome Merrily. Hope you enjoy it.
-
Leave a Reply
You must be logged in to post a comment.

Great explanation! And a lovely design.
Thanks Denise!