The First BERNINA Free Hand System plus Appliqué Technique Tip
This post is part four in a series celebrating 125 years of the BERNINA company. Each post will bring you a little more of the history of BERNINA, along with modern inspiration.
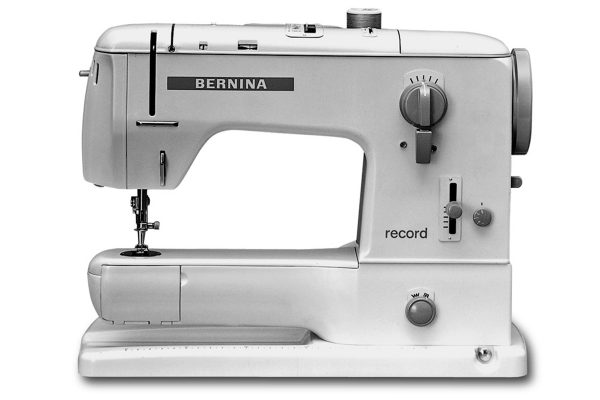
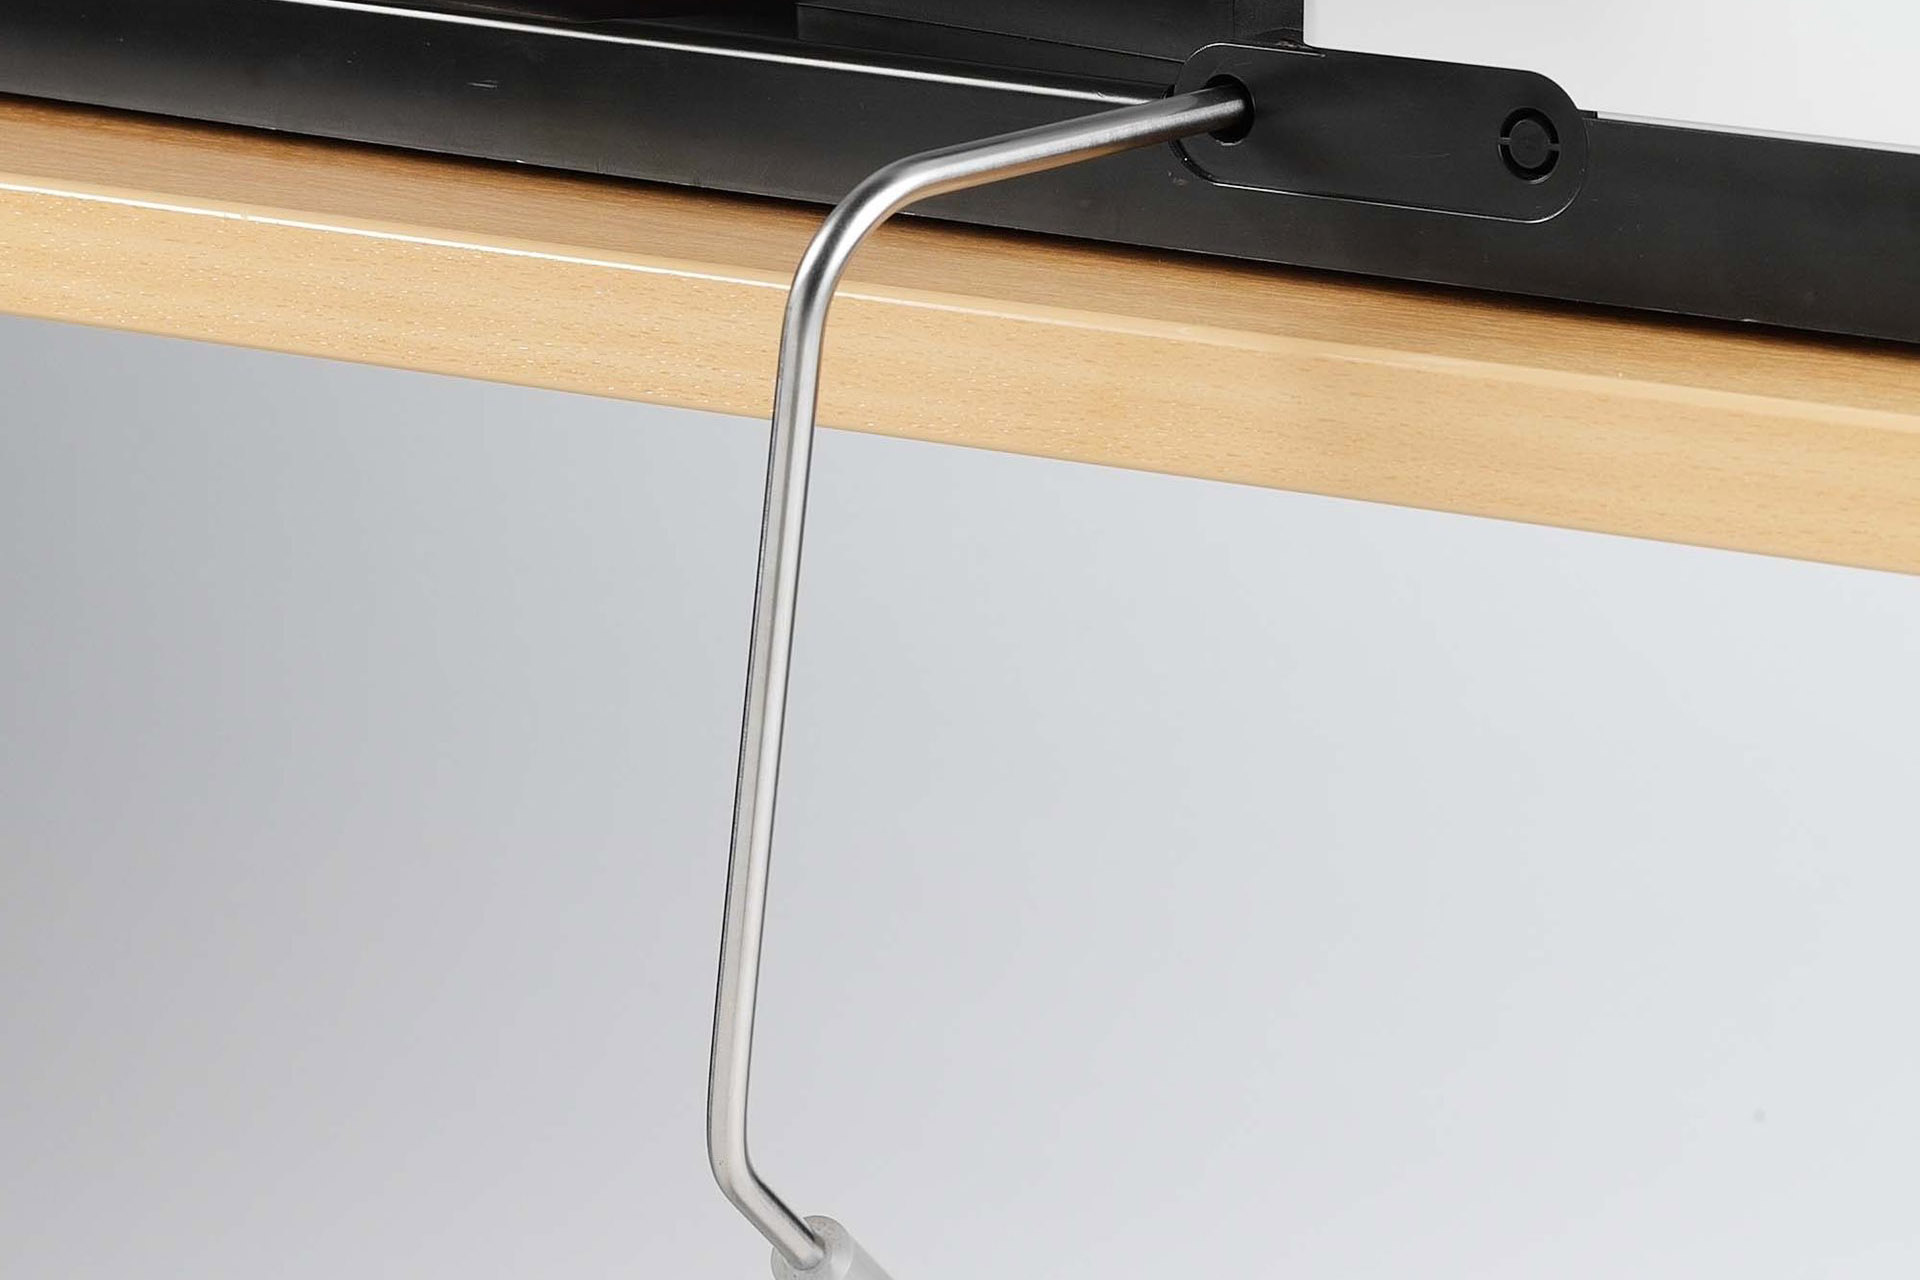
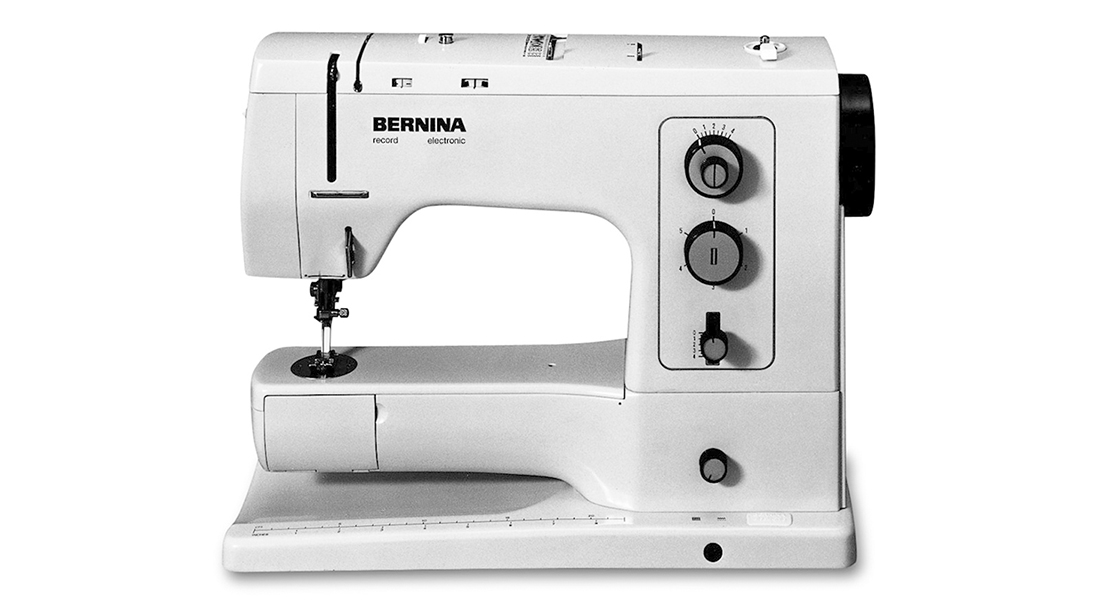
In 1963, under the direction of Odette Ueltschi-Gegauf, BERNINA introduced the Model 730 which was the first machine with a patented, knee-activated presser foot lifter. Now known as the Free Hand System (FHS), it raises the presser foot, lowers the feed dog and opens the thread tension disks all simultaneously. Another first was the introduction of the Needle Up/Down feature that is activated by tapping the back of the electronic foot control. This allows the sewist to take one-half stitch at a time. The FHS and electronic foot control continue to be a staple for BERNINA machines and is among the favorite features of all BERNINA owners.
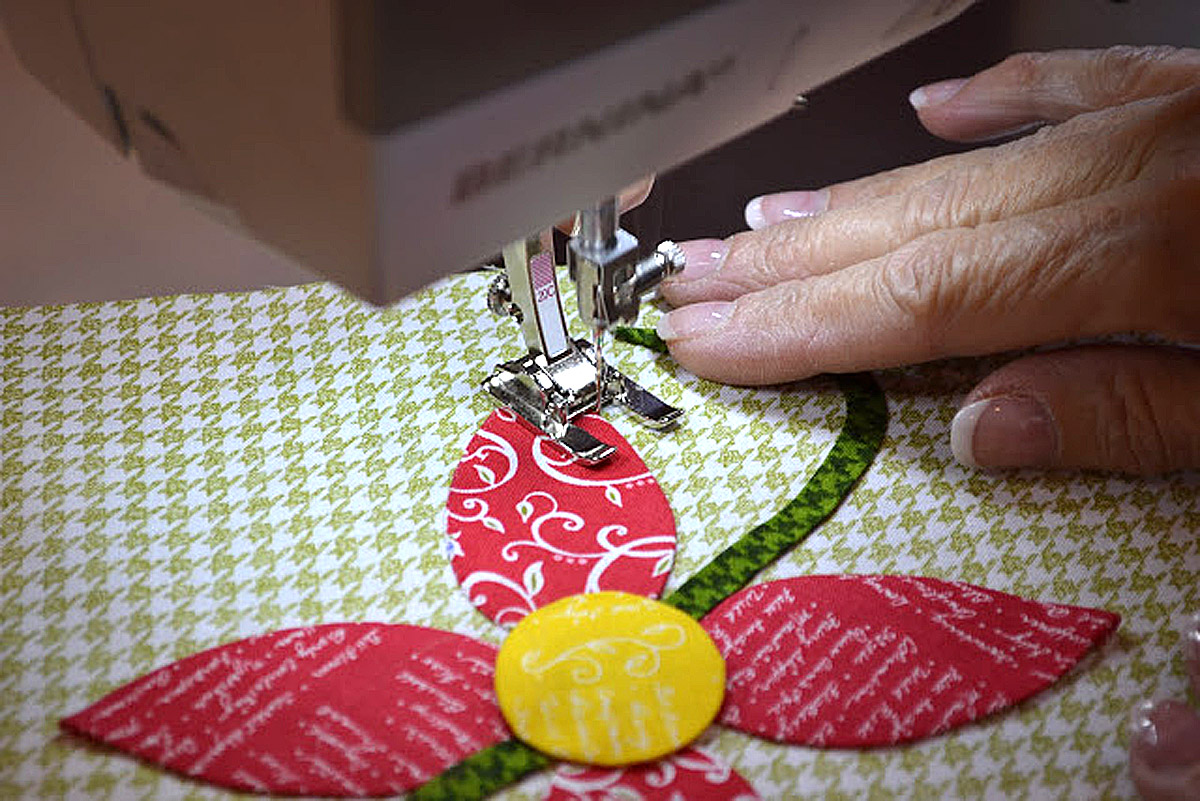
One popular technique where the FHS and electronic foot control work hand in hand is appliqué. Appliqué is a technique where a fabric shape is stitched to a background fabric. When stitching an appliqué design, the sewist pivots and stitches curves numerous times. Exact control for sewing these curves and corners is possible because there is no need to take your hands off your project. When at a corner, simply tap the back of the foot control to lower the needle, raise the presser foot with the FHS and pivot the fabric. Using the FHS will speed up your sewing by 20% or more.
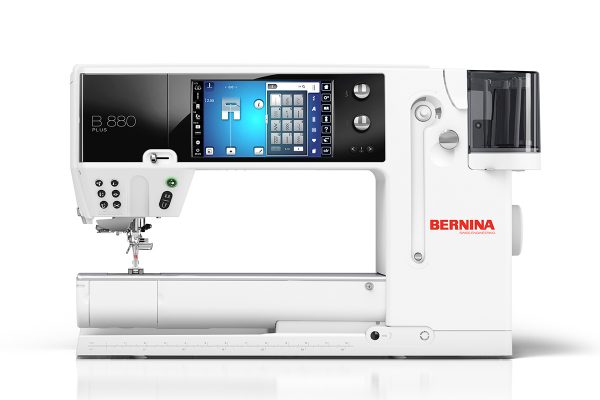
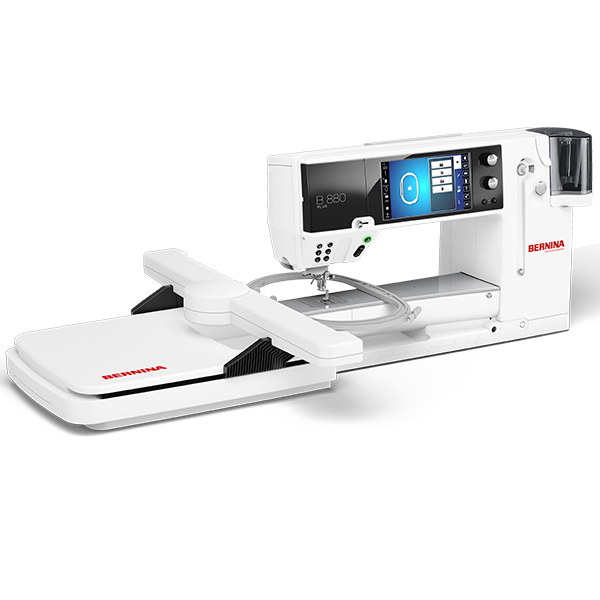
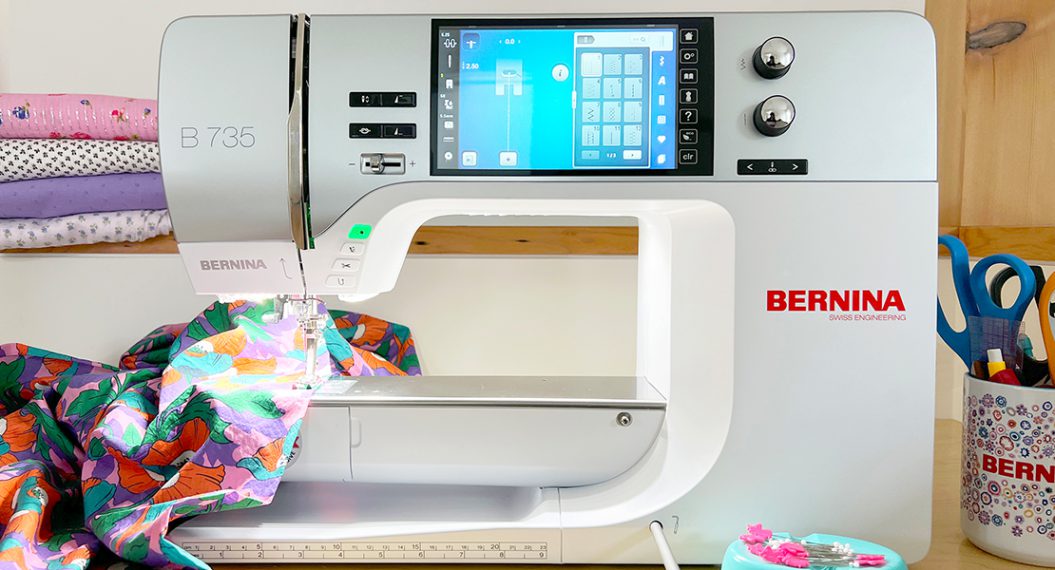
When I appliqué, I prefer to use the blanket stitch. The blanket stitch has stitches spaced relatively far apart and was typically used to reinforce the edge of material, such as on a blanket. When used for appliqué, it covers and reinforces the edge of the fabric shape that is stitched to the background fabric. For my appliqué project, I used the BERNINA 880 PLUS.
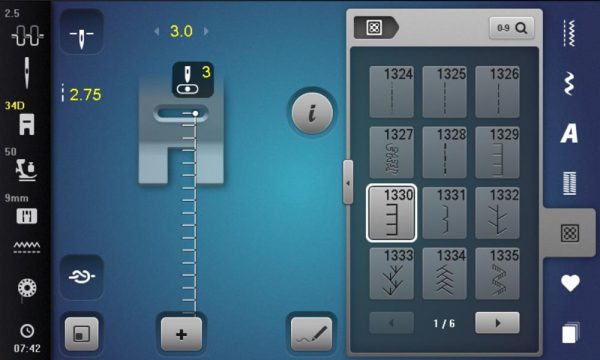
This machine offers several blanket stitches to choose from.
Stitch number 1329: Blanket Stitch
Stitch number 1330: Blanket Stitch—double. Double means the blanket stitch is stitched multiple times to give it the appearance of using a heavy weight thread.
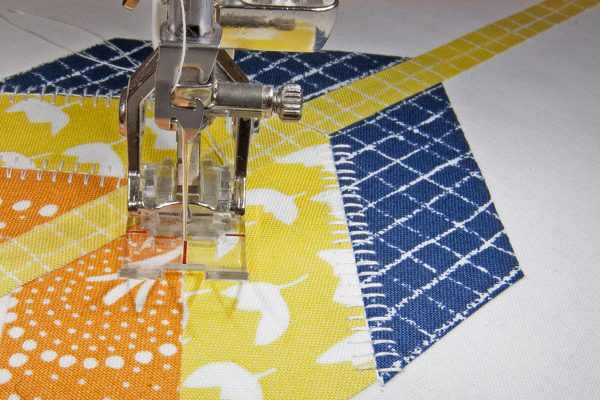
Stitch number 1352: Dual Blanket Stitch. The dual blanket stitch is perfect to use when there is the need to appliqué two fabrics that are butted up against each other as they are in my project. This allows both fabric shapes to be appliquéd at the same time.
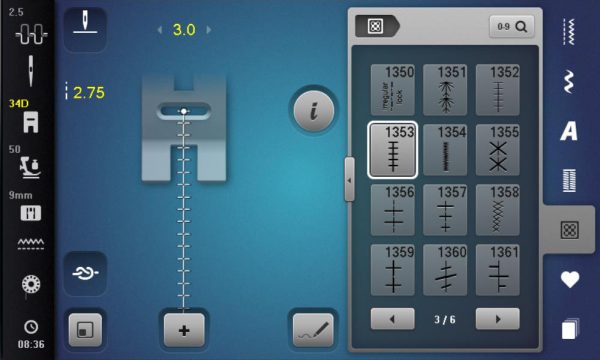
Stitch number 1353: Dual Blanket Stitch—double
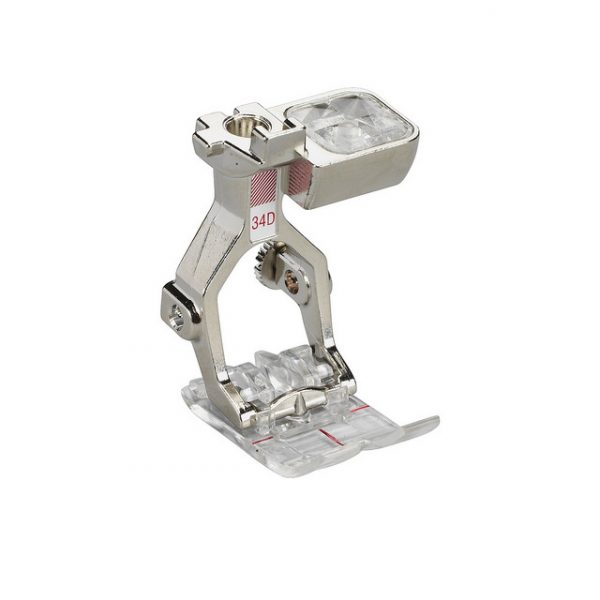
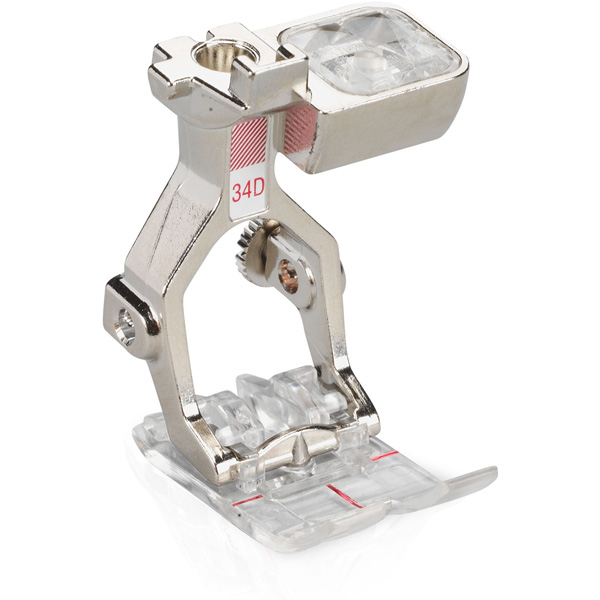
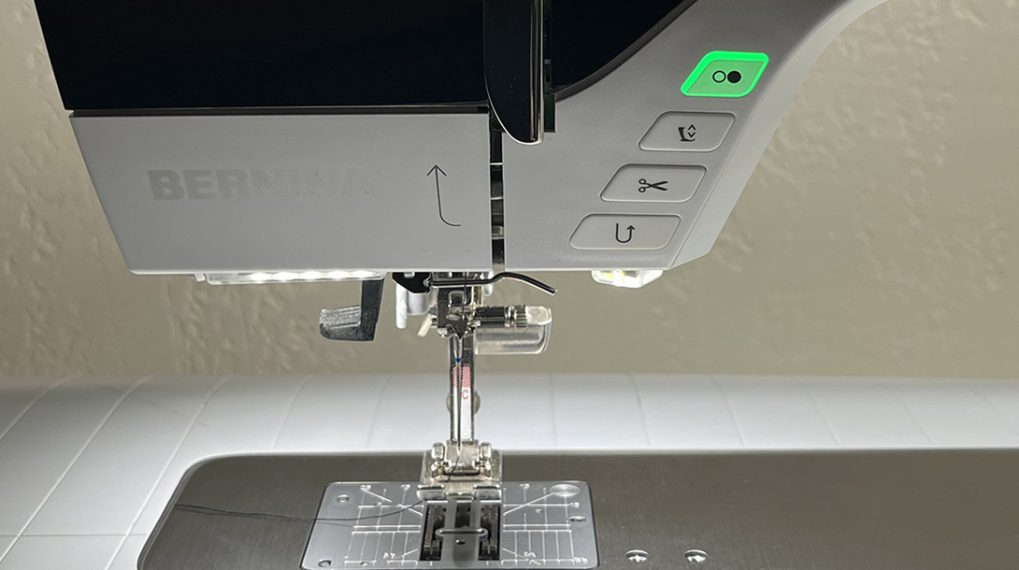
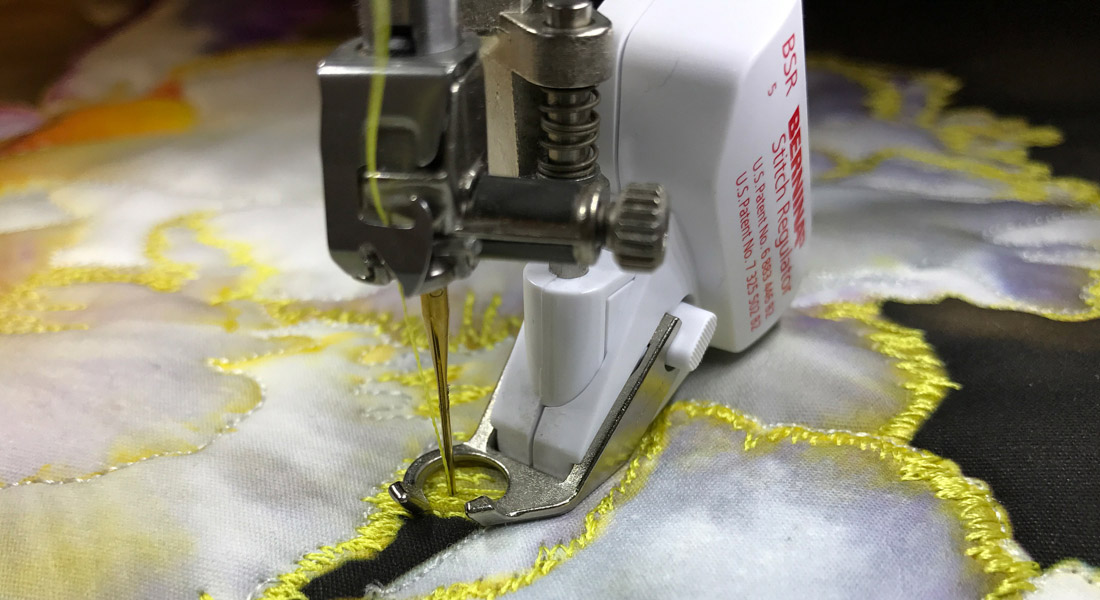
The presser foot I used is the BERNINA Reverse Pattern foot with clear sole #34D. Clear Foot #34/34C/34D is very similar to the Reverse Pattern Foot #1. The most obvious difference is that the sole of the foot #34 is clear, allowing greater visibility of fabric stitching than is possible with the Reverse Pattern foot #1. The Reverse Pattern foot with clear sole #34 has the center needle position marked in red at the front of the foot, and at both sides of the foot. This makes it very easy to determine the position of the needle in relation to the stitching line. The sole is indented both in front of and behind the needle slot, allowing the stitching of stitch patterns to move forward and backward. I use the BERNINA Reverse Pattern foot with clear sole #34D that accommodates the BERNINA Dual Feed function, rather than foot #34 or #34C. Engaging the BERNINA Dual Feed keeps the fabric that is being appliquéd and the stabilizer moving together evenly during the stitching process.
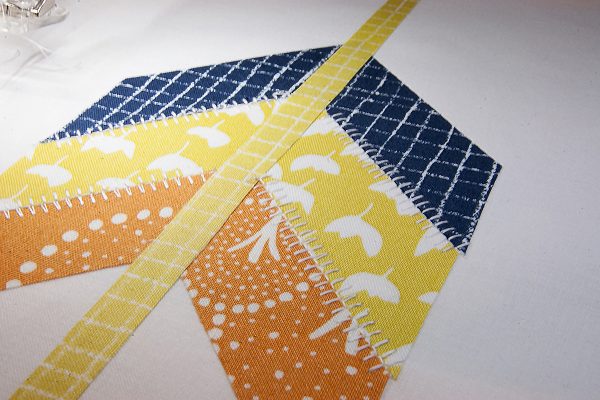
 For my appliqué project, I began by appliquéing the four rows on the top of the arrow where the fabric shapes butt up against each other.
Machine Set-up for Appliqué
- Presser foot: Clear Foot #34D
- Stitch Number: 1353
- Stitch Length: 2.75
- Stitch Width: 3.0
- Securing Function: Yes
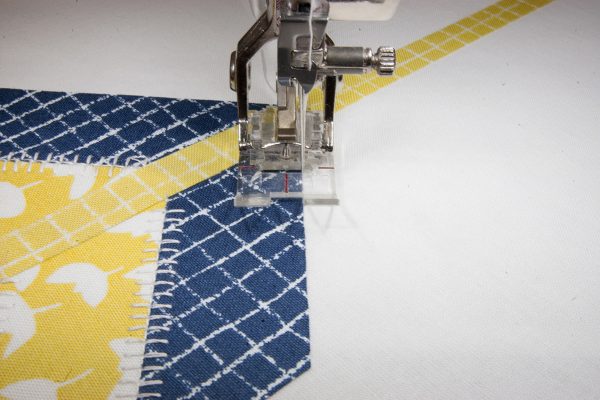
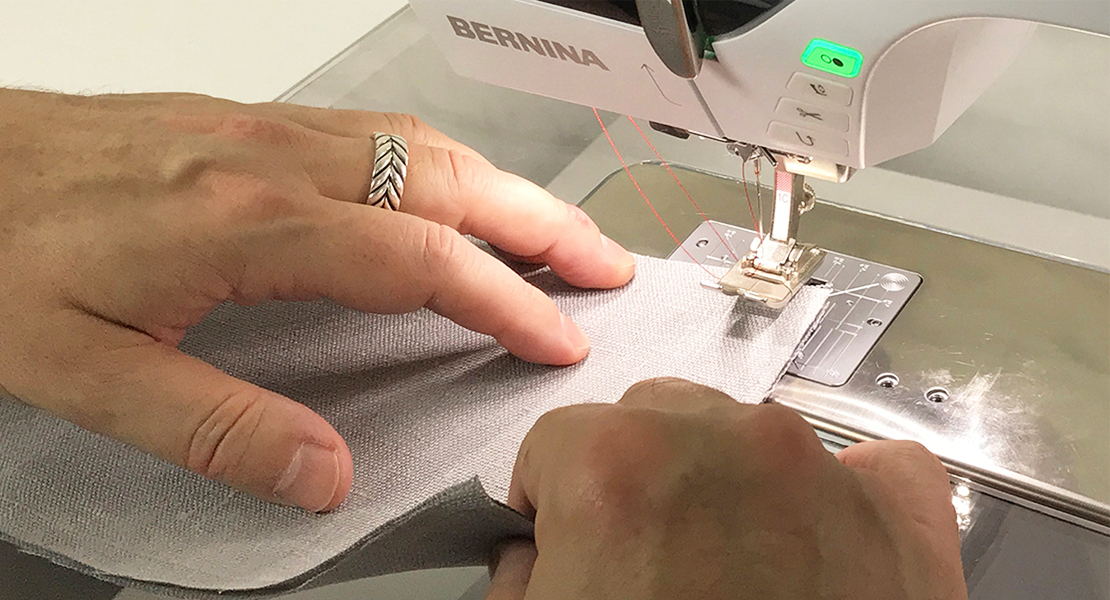
Using the Free Hand System (FHS), raise the presser foot and position the presser foot over the fabric so the center marking on the foot is guided between the two fabric shapes. Release the FHS to lower the presser foot.
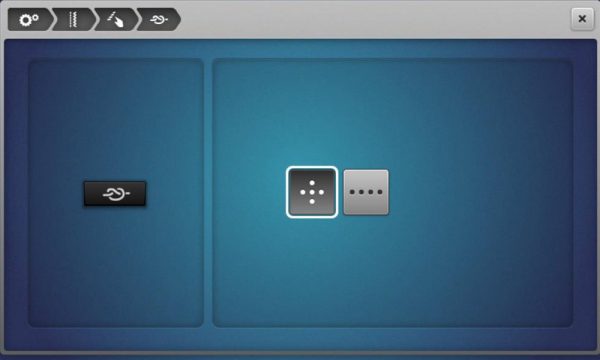
Start the row of stitching with a securing stitch. I use the securing stitch that stitches several stitches in the same place. To select the suggested securing stitch on the BERNINA 880 PLUS, go to the set-up menu and select the securing stitch shown on the screen below.
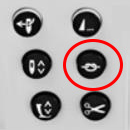
When arriving at the end of the row, tap with your heel on the back of the foot control to slowly stitch a half a stitch at a time until you reach the exact place you would like to end. Select the securing function on the front of the machine and stitch to secure the stitches.
Stitch the four rows of the Double Blanket Stitch #1353 as shown.
The next step is to appliqué the outer edges of the arrow. For this I switched to Blanket Stitch #1330.
Machine Set-up to Appliqué Outer Edges
- Presser foot: Clear Foot #34D
- Stitch Number: 1330
- Stitch Length: 2.75
- Stitch Width: 3.0
- Needle Position: 3 to the right
- Securing Function: Yes
- Needle Stop Down Position: Yes
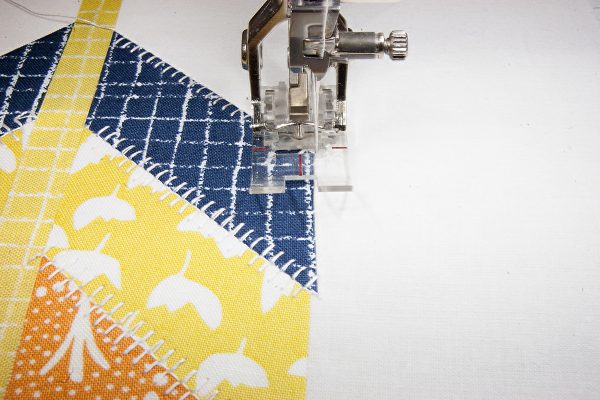
I moved the needle position over three positions to the right. This places the stitch edge exactly along the inside toe of the presser foot allowing me to easily guide the edge of the fabric shape along the inside toe of the presser foot. I also set the Needle Stop Up/Down function to stop in the down position which makes pivoting a breeze.
Begin by securing the stitches and stitch down the side of the fabric shape until reaching the corner. Once near the corner, begin heel tapping the back of the foot control, stitching a half a stitch at a time until the blanket stitch completes the stitch with the needle in the right swing of the stitch and down in the fabric.
Using the FHS, raise the presser foot, pivot the fabric and then lower the presser foot.
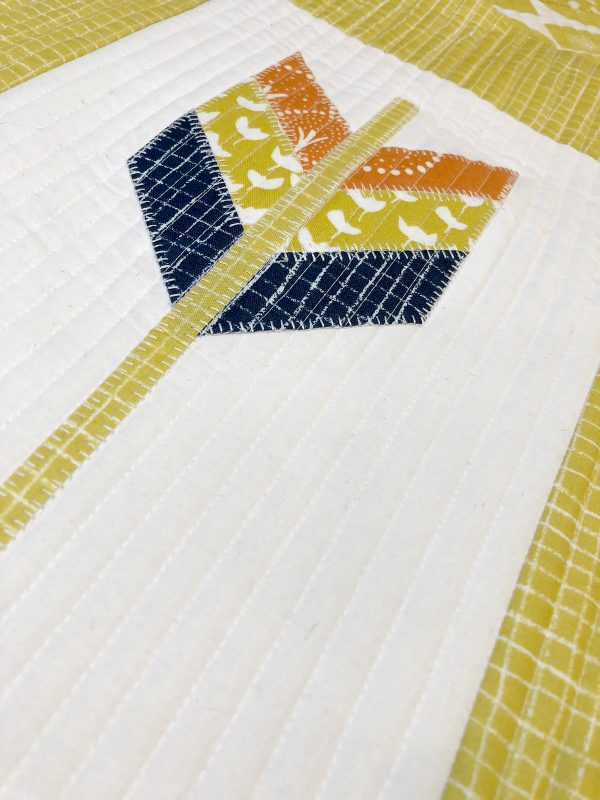
Continue to appliqué around the edges of the arrow to complete.
What you might also like
3 comments on “The First BERNINA Free Hand System plus Appliqué Technique Tip”
-
-
Thank you for your interest in the arrow applique design. We do not have a pattern available.
-
-
Since the arrow is all straight lines, it would be easy to duplicate on graph paper. Play with it, that’s part of the fun!
Leave a Reply
You must be logged in to post a comment.







Is there a pattern available for this arrow appliqué design? Thanks.