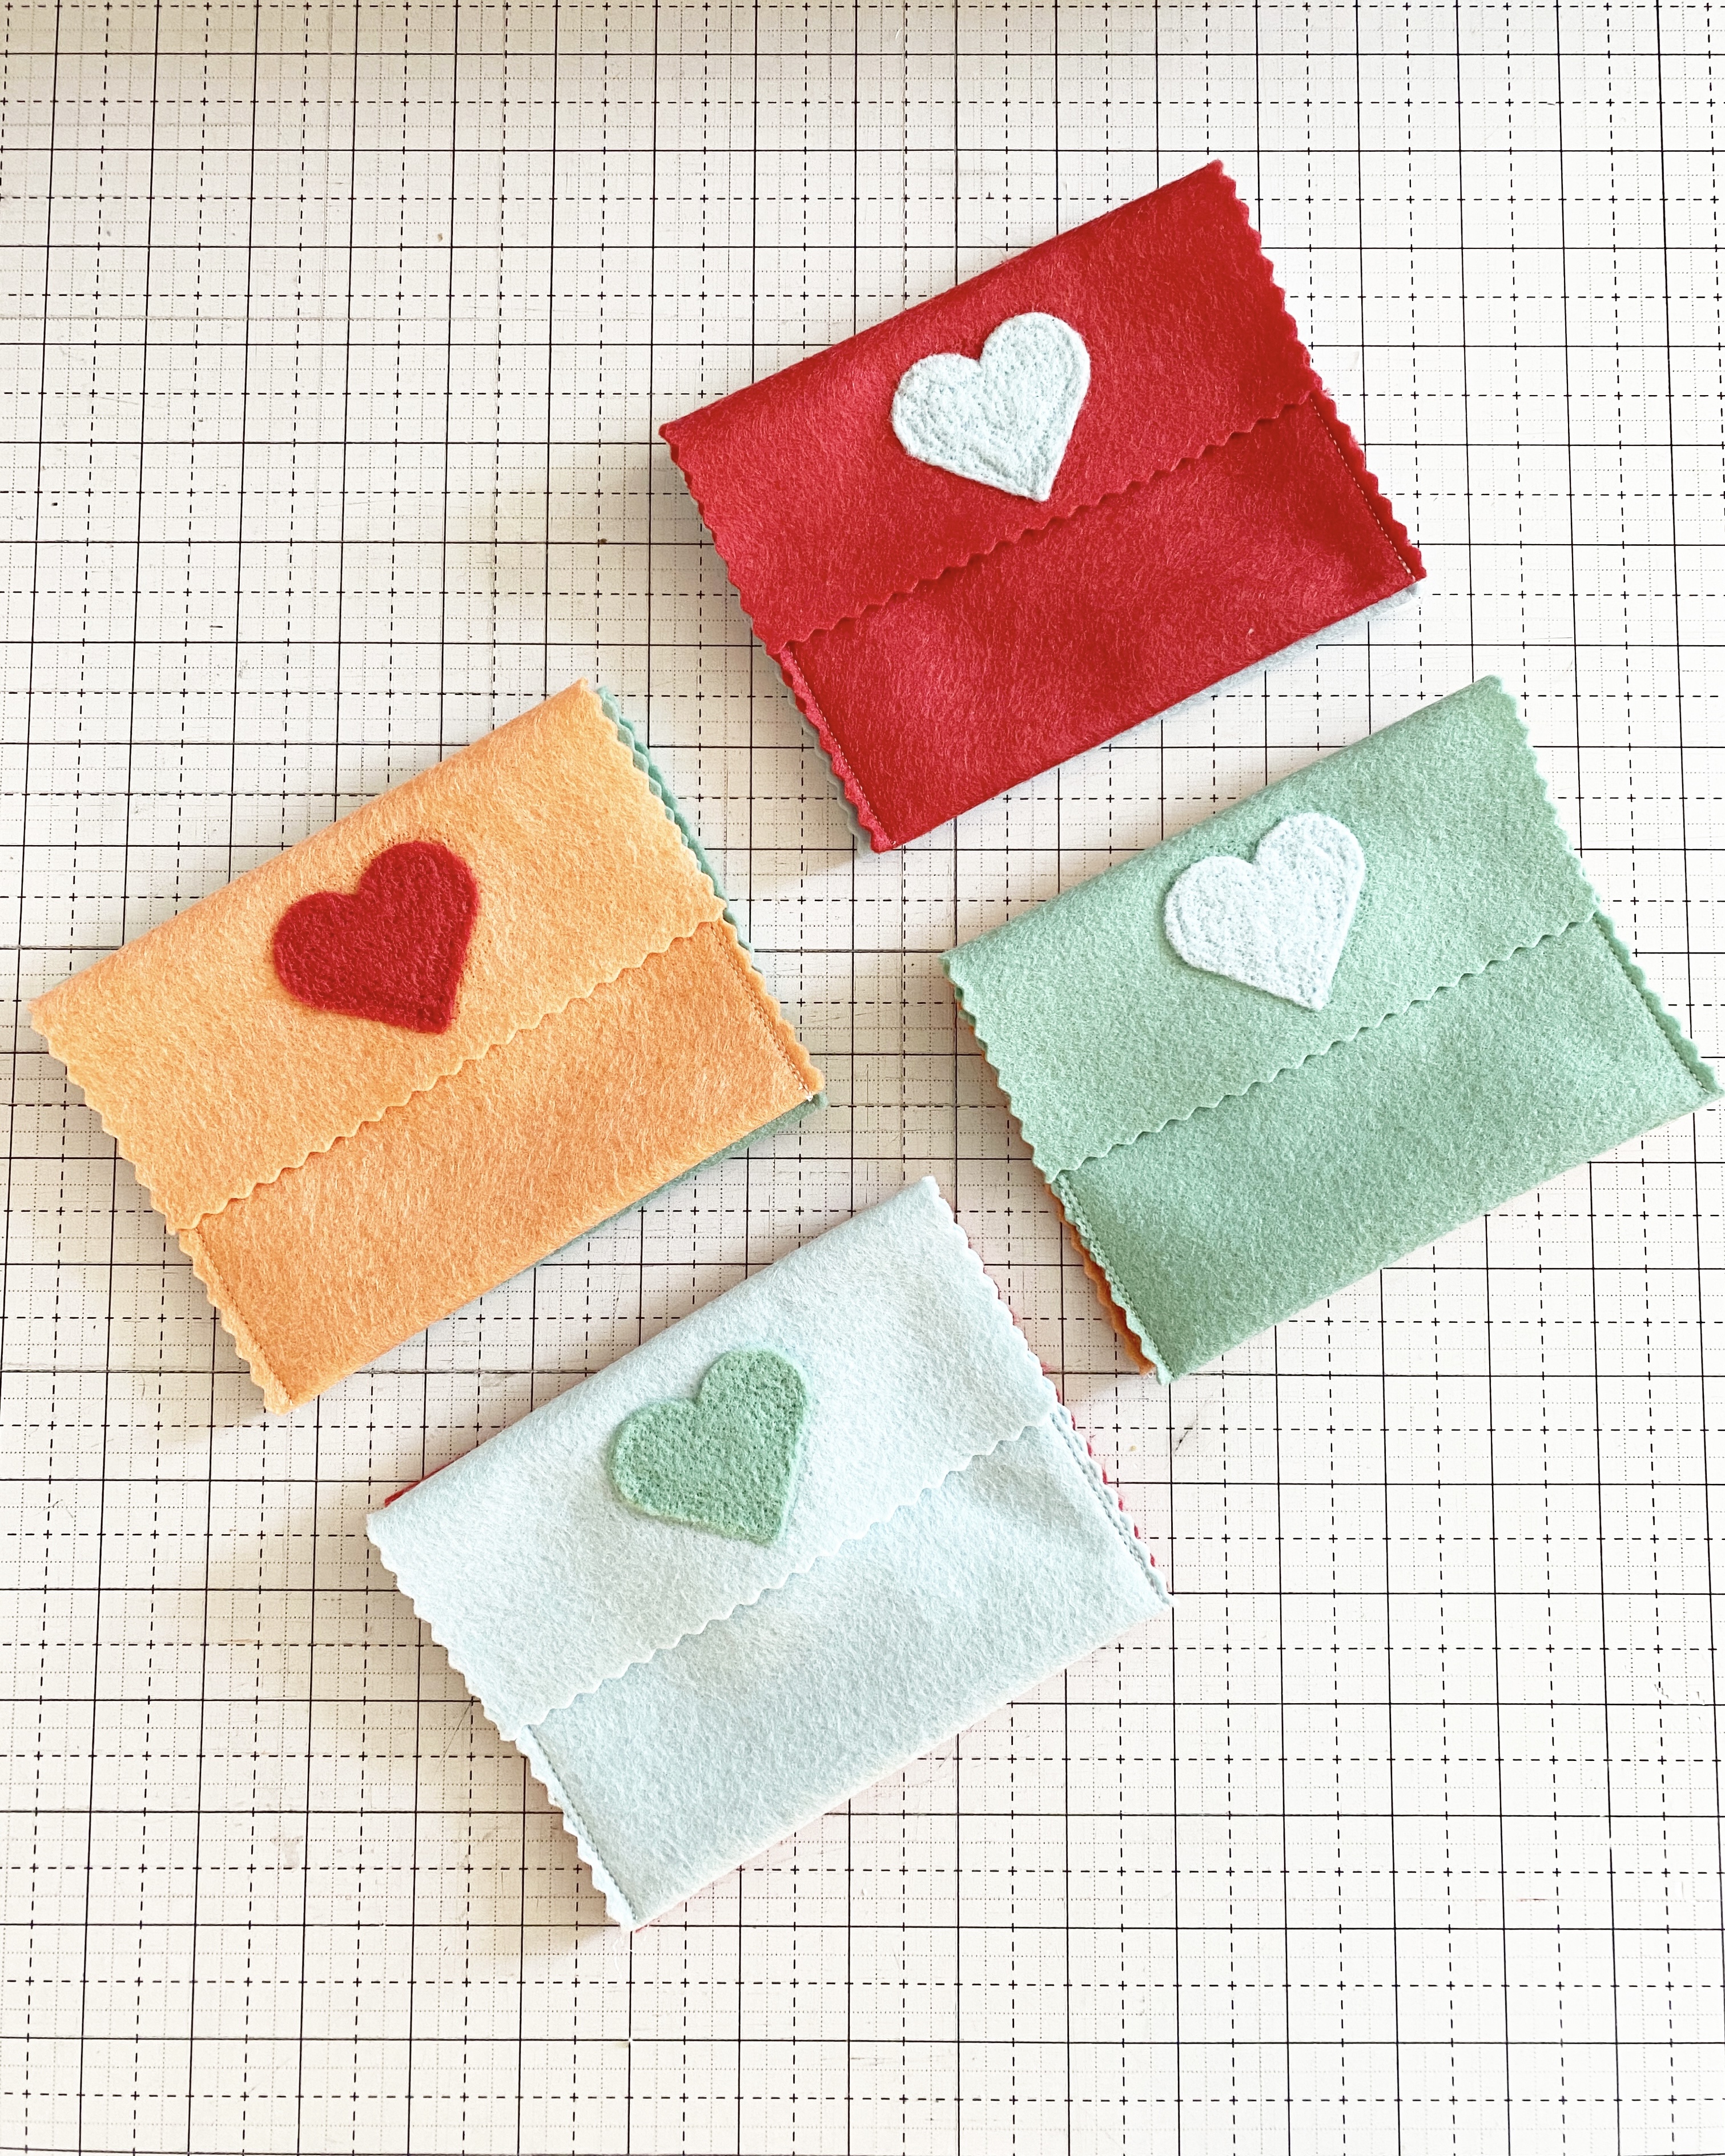
How to Make Felted Envelopes with the PunchWork Tool
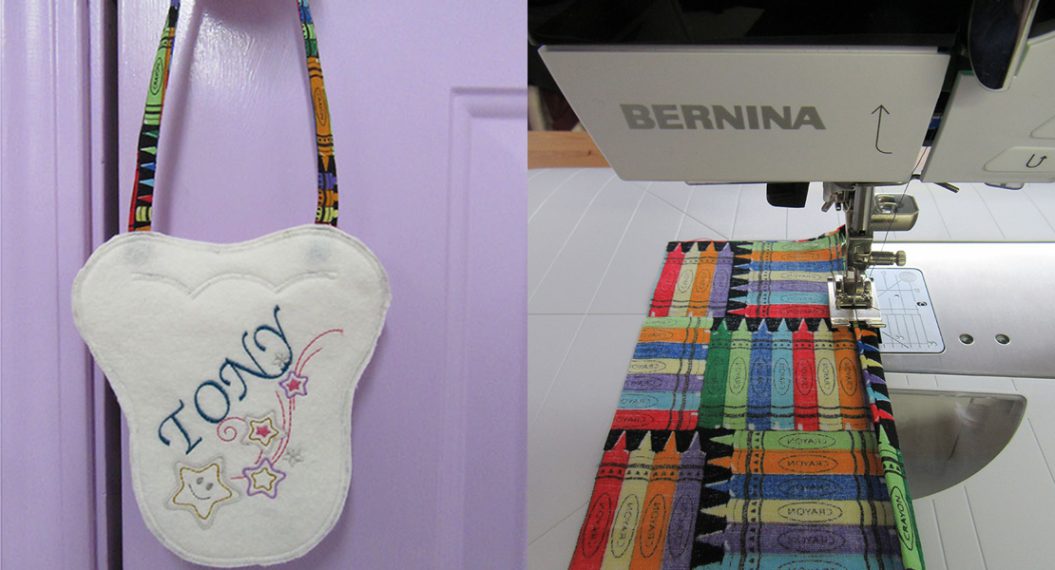
Hey everyone! Kymona here to show you how to make felted envelopes with the PunchWork Tool. My niece came to me and asked if she could make some gift card envelopes for her teachers at school. Absolutely! She would sew the envelopes together, and I could play with my new PunchWork Tool.
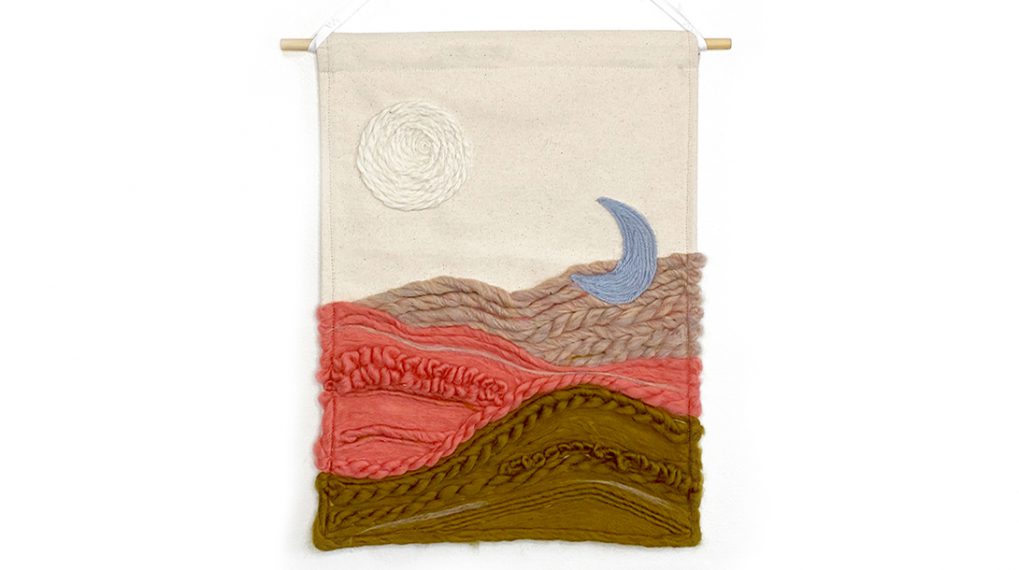
The PunchWork Tool allows you to do needle felting with your sewing machine. You can create beautiful decorations from wool yarns, and loose wool fibers are felt pieces to your item in no time. It is fun and easy to use. No need to worry about sticking your fingers with the loose needles. Not intended for small children.

Let me show you how to needle felt with your machine!
Material to Make Felted Envelopes with the PunchWork Tool
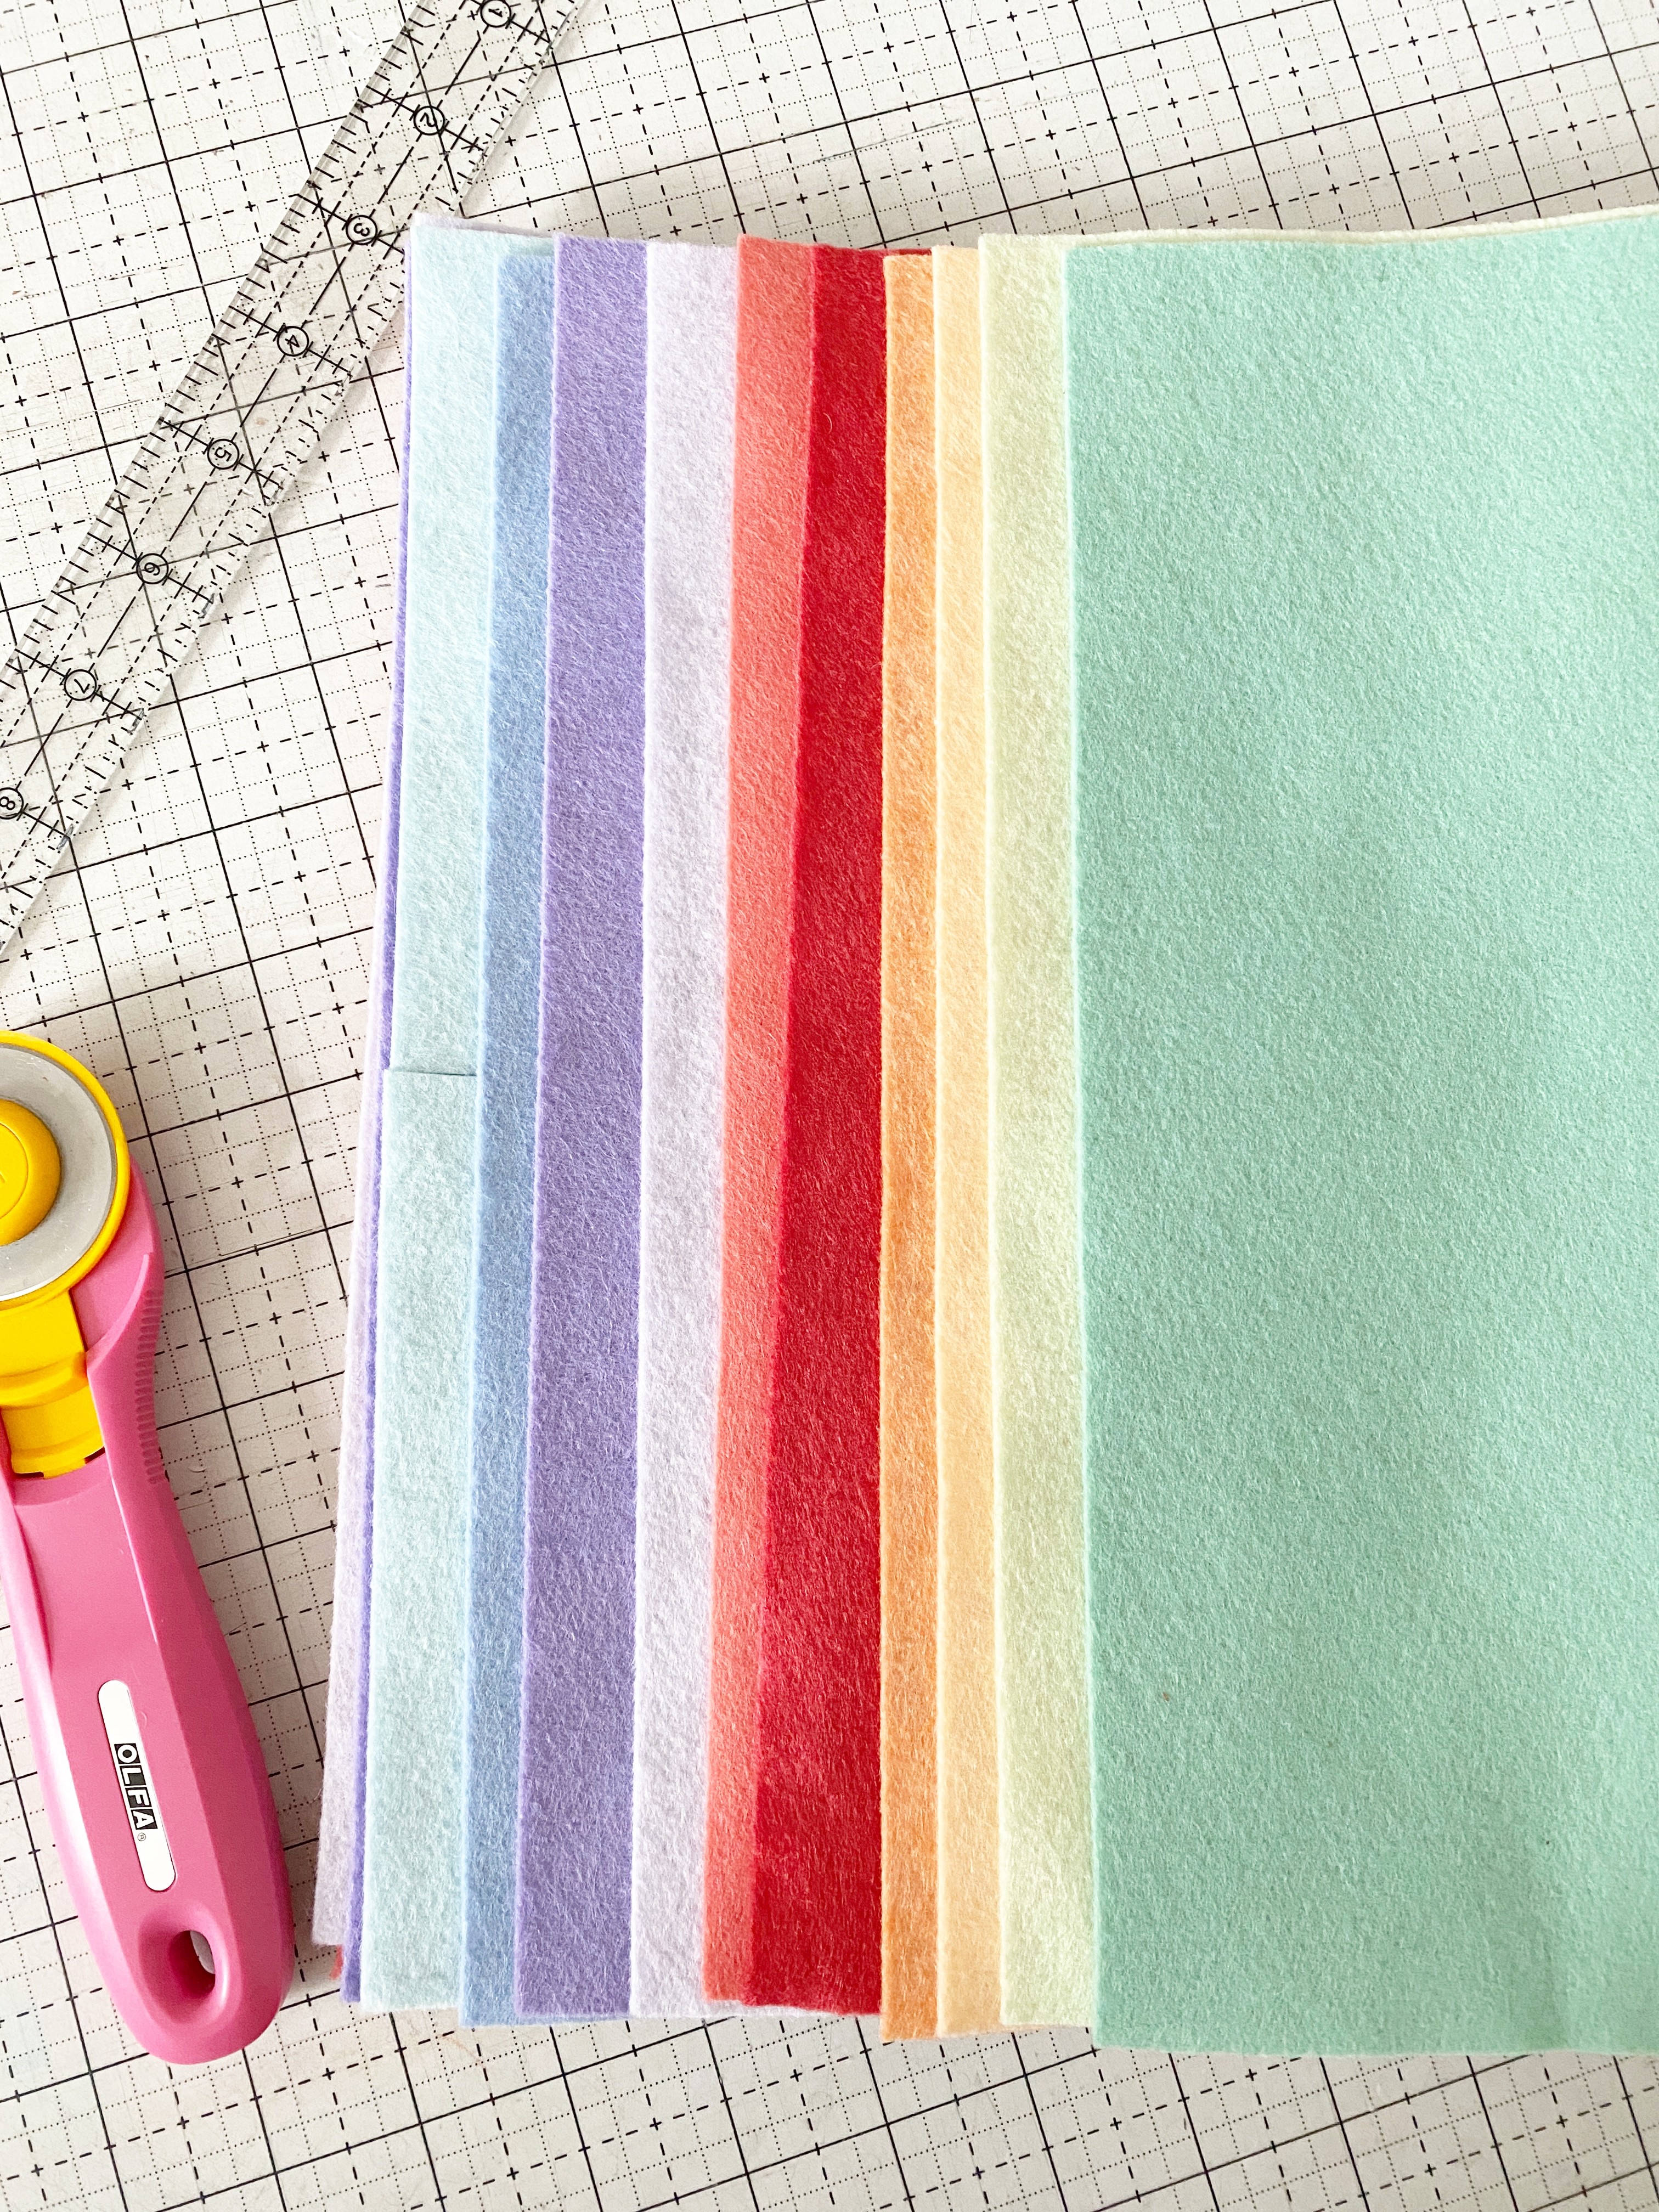
- Felt (two different colors)
- Coordinating Thread
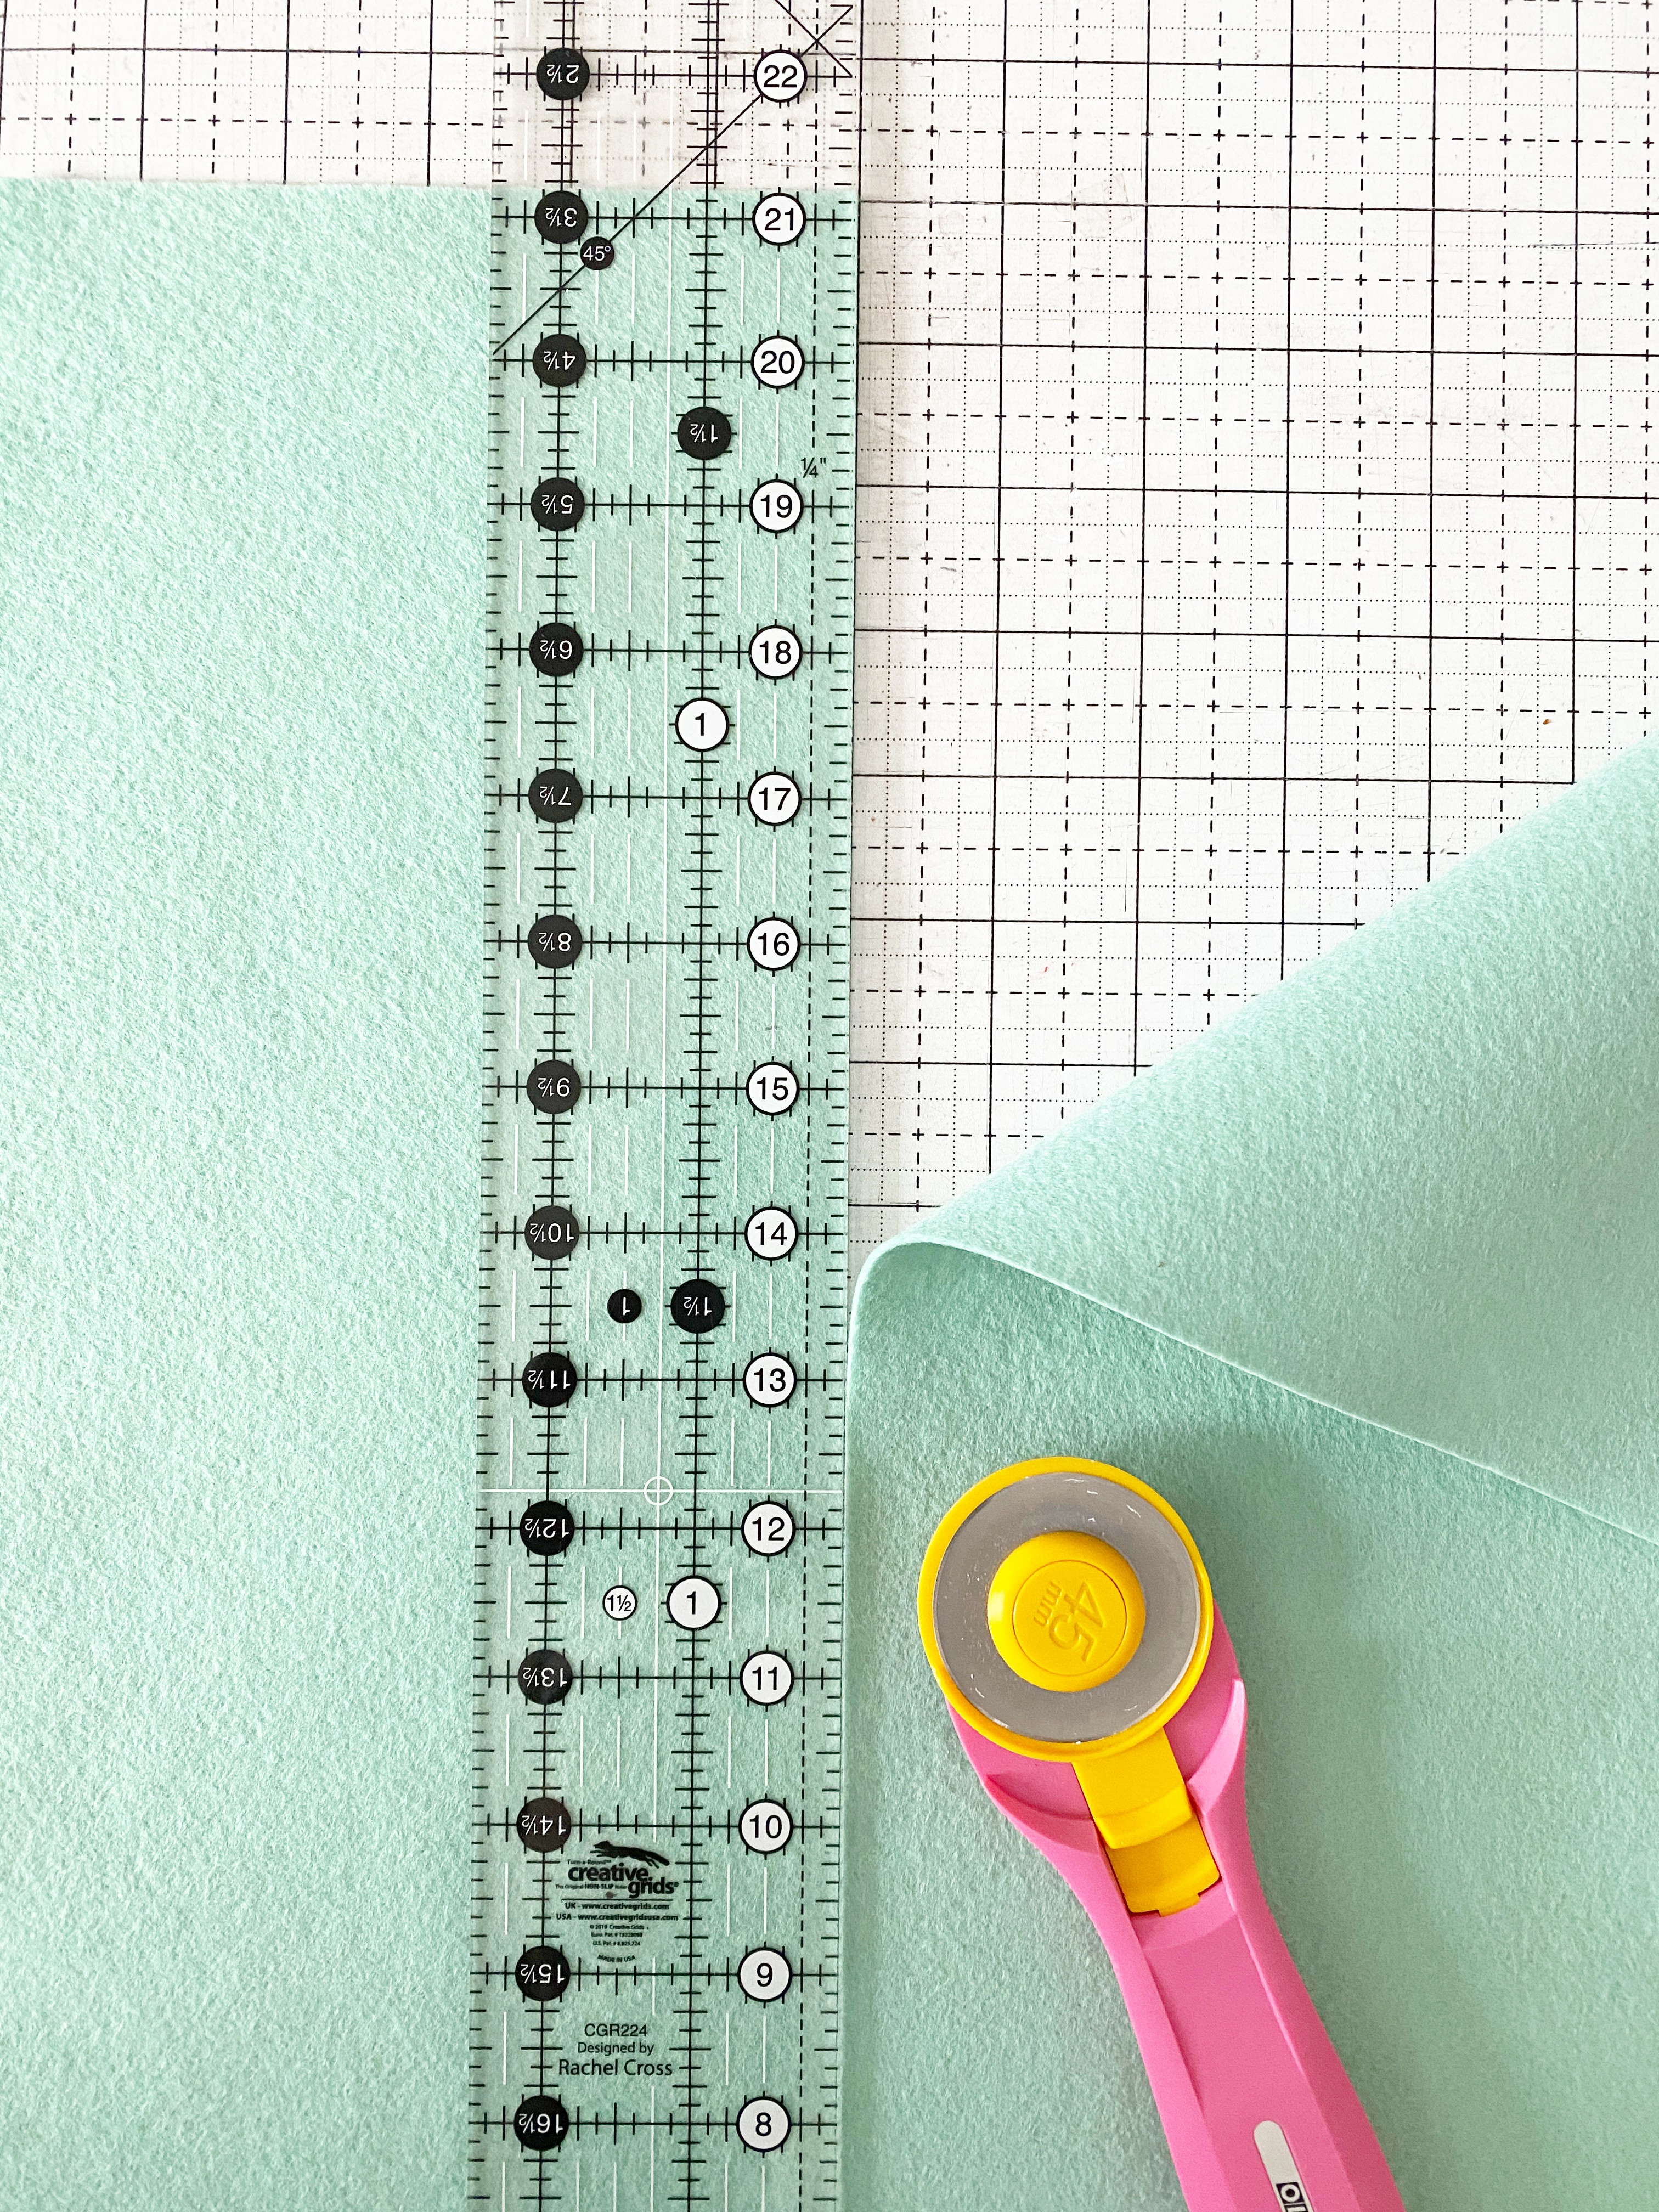
- Rotary Cutter
- Rotary Cutter with a Pinking Blade
- Quilting Ruler
- Cutting Mat
- heart template
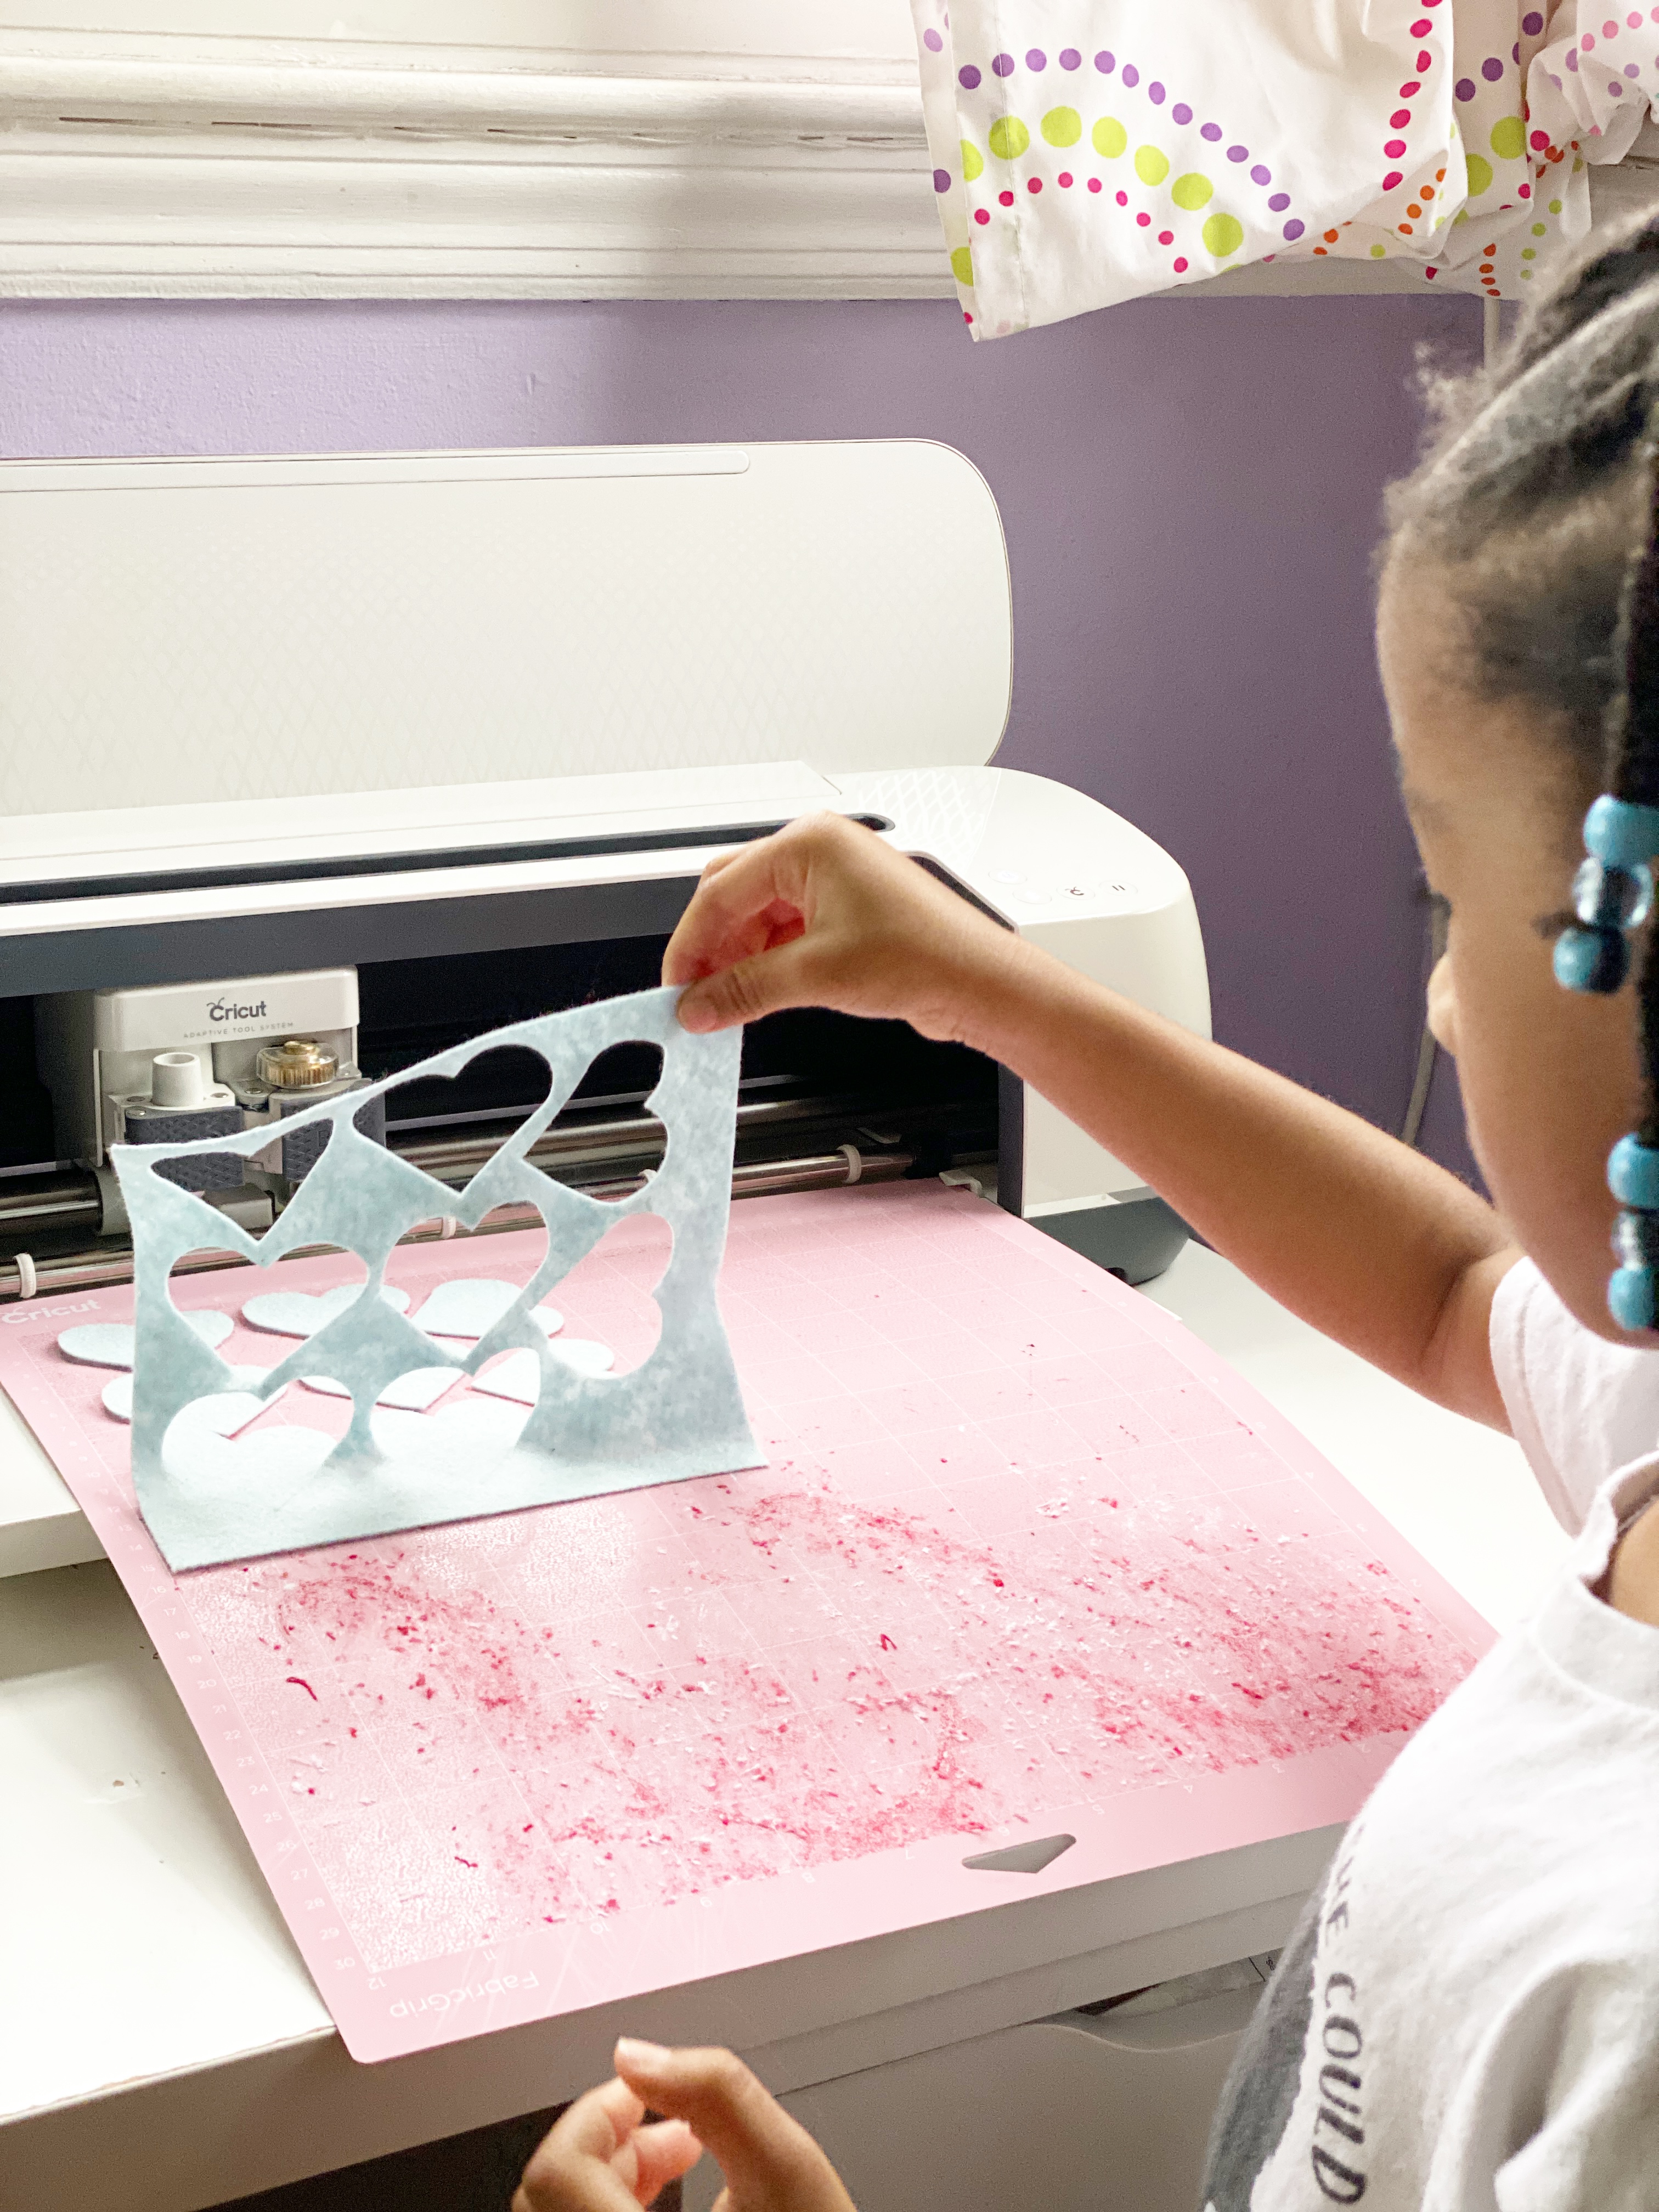
- Electric Cutting Machine (optional)
- PunchWork Tool
- BERNINA 570 QE
Instructions for Making Felted Envelopes with the PunchWork Tool
Step 1: Cut the Felt
Cut each felt piece to 6 x 11.5.
Cut out the heart using the attached template or a machine cutter.

Step 2: Setup the Sewing Machine
Attach the Punch Work needle to the machine as you attach the regular sewing needle.
Change out the stitch plate for the PunchWork Stitch Plate.
Attach the PunchWork Foot #45 to the machine if you’re using the Rotary, B9, or BERNINA-hook machines.
Lower the feed dogs.
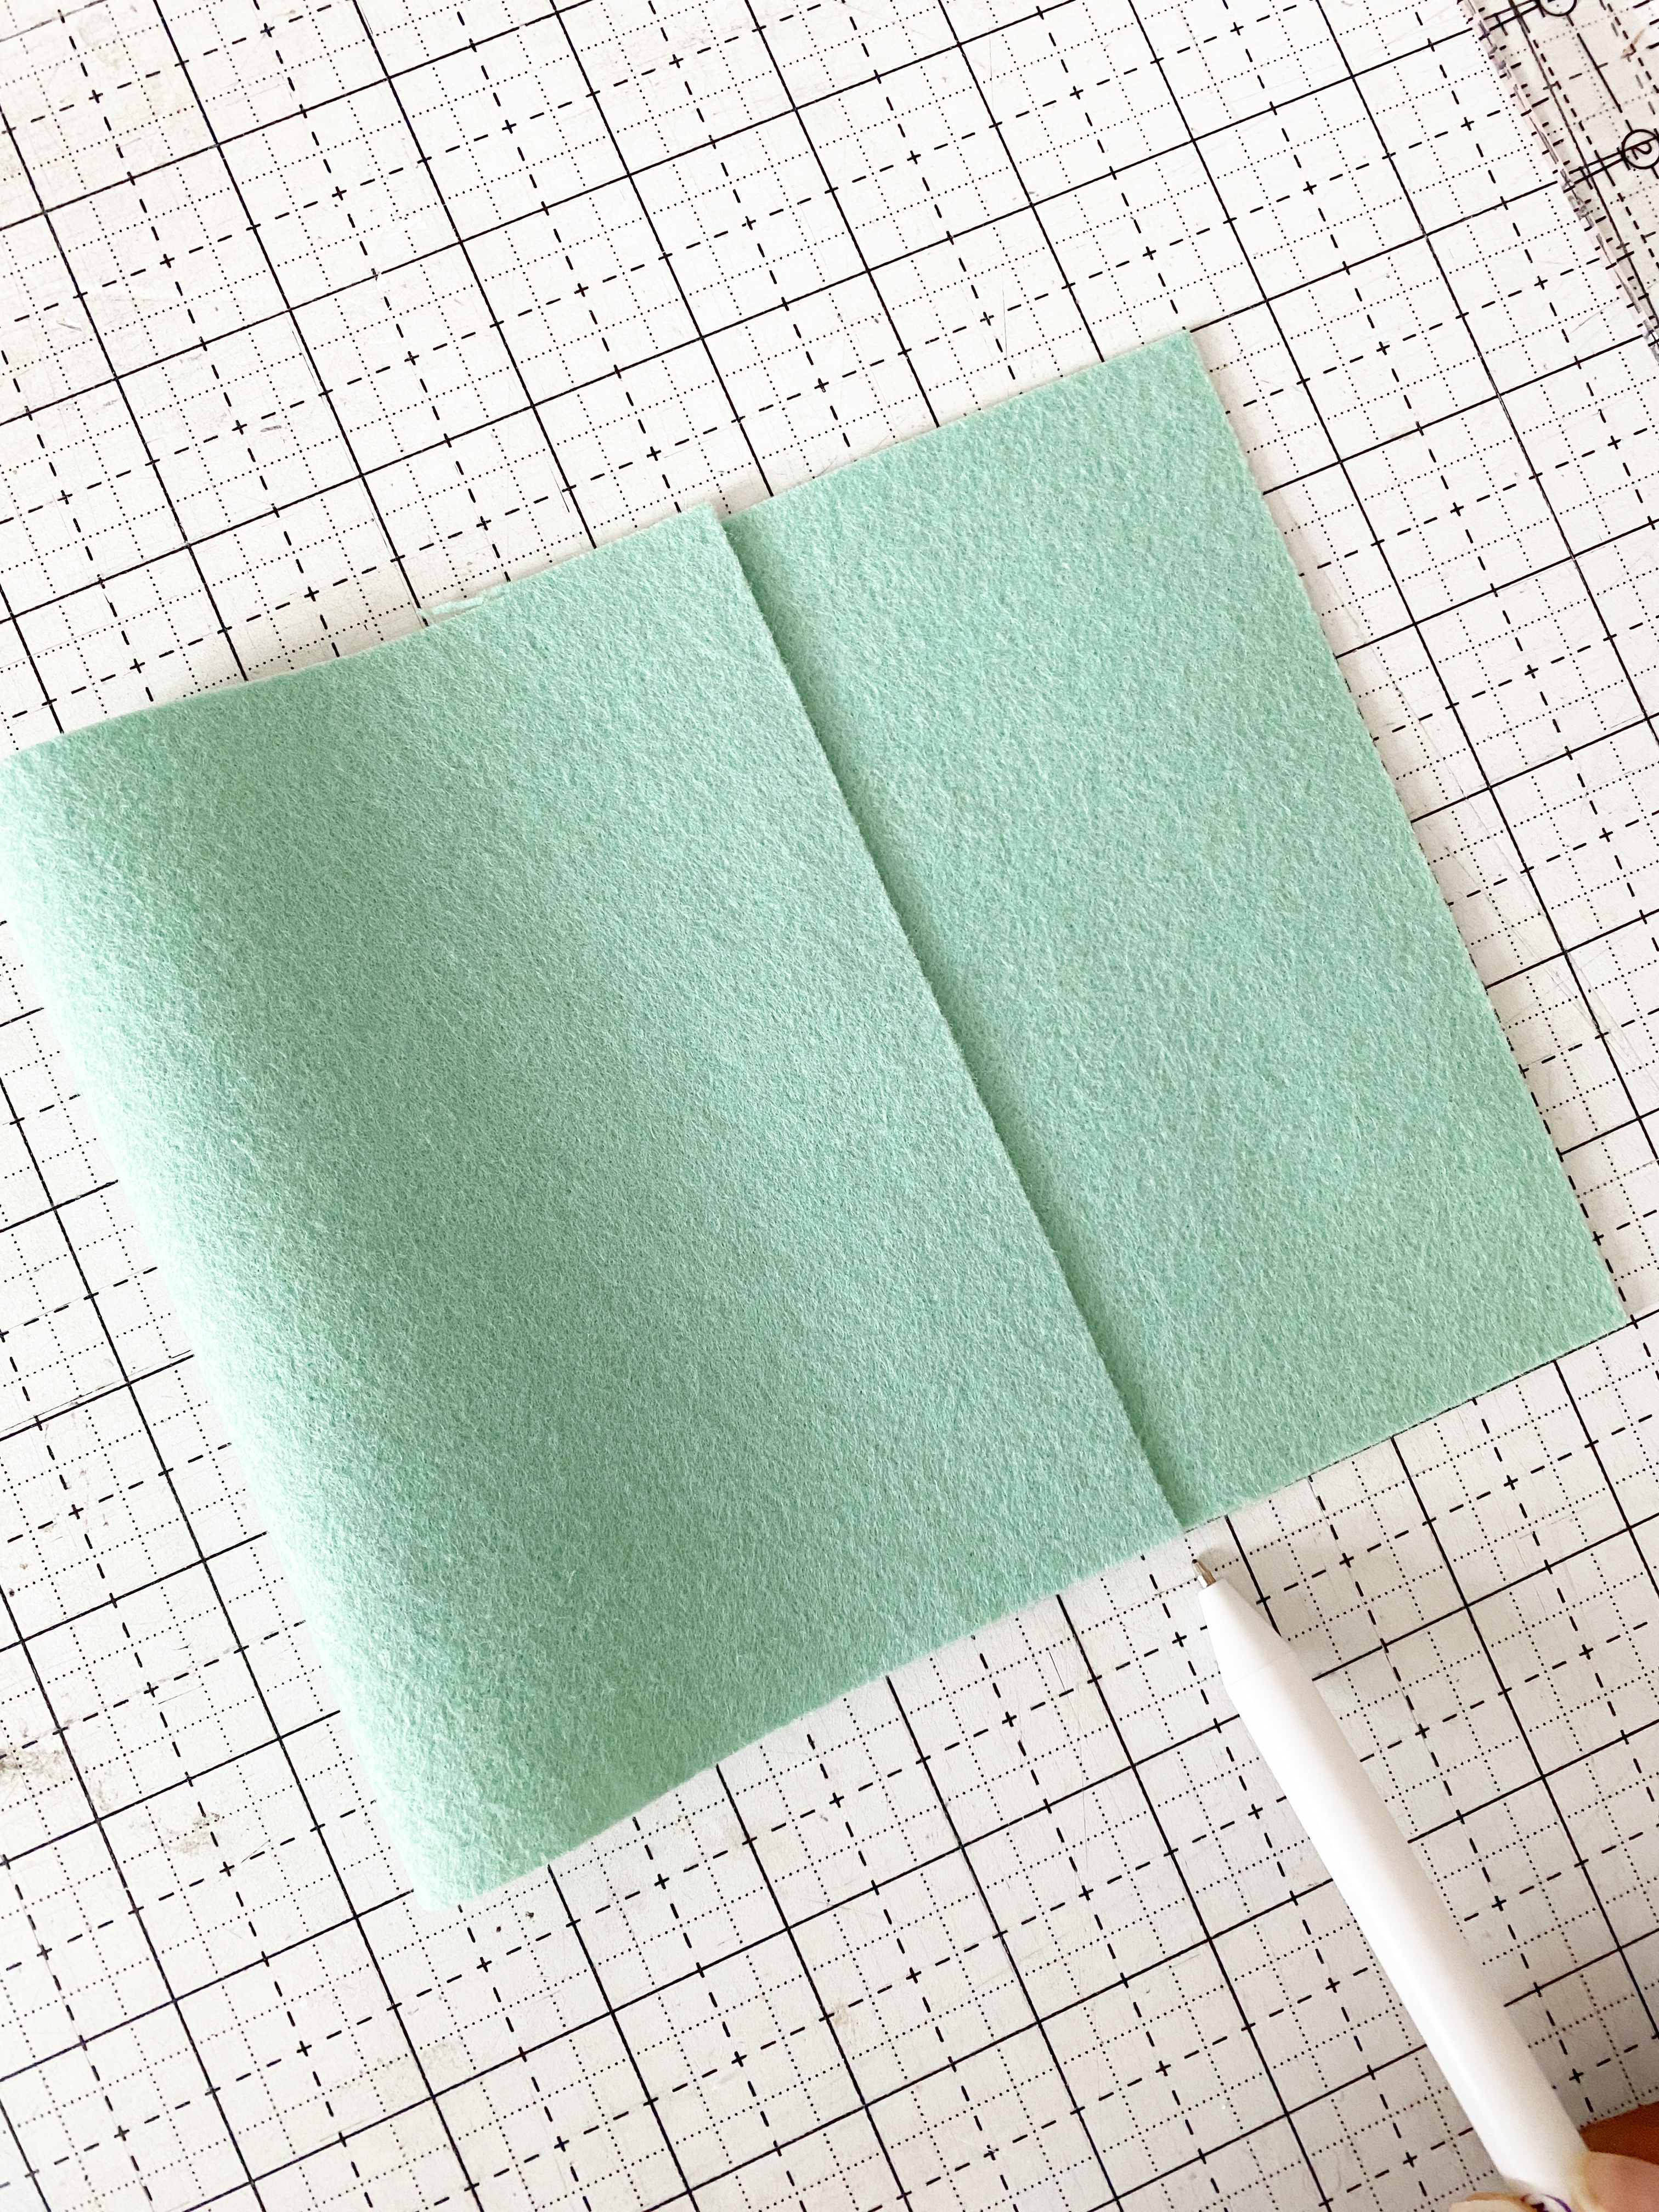
Step 3: Prepare the Felt for Needle Felting
Fold the top flap of the felt at 2.5 inches.
Place the cut-out heart piece in the center of the top flap.
Step 4: Start Needle Felting with the PunchWork Tool
Place both pieces of felt under the needle and drop the PunchWork presser foot.
Start stitching. Rotate the pieces under the needle evenly so the heart attaches to the bottom felt piece.
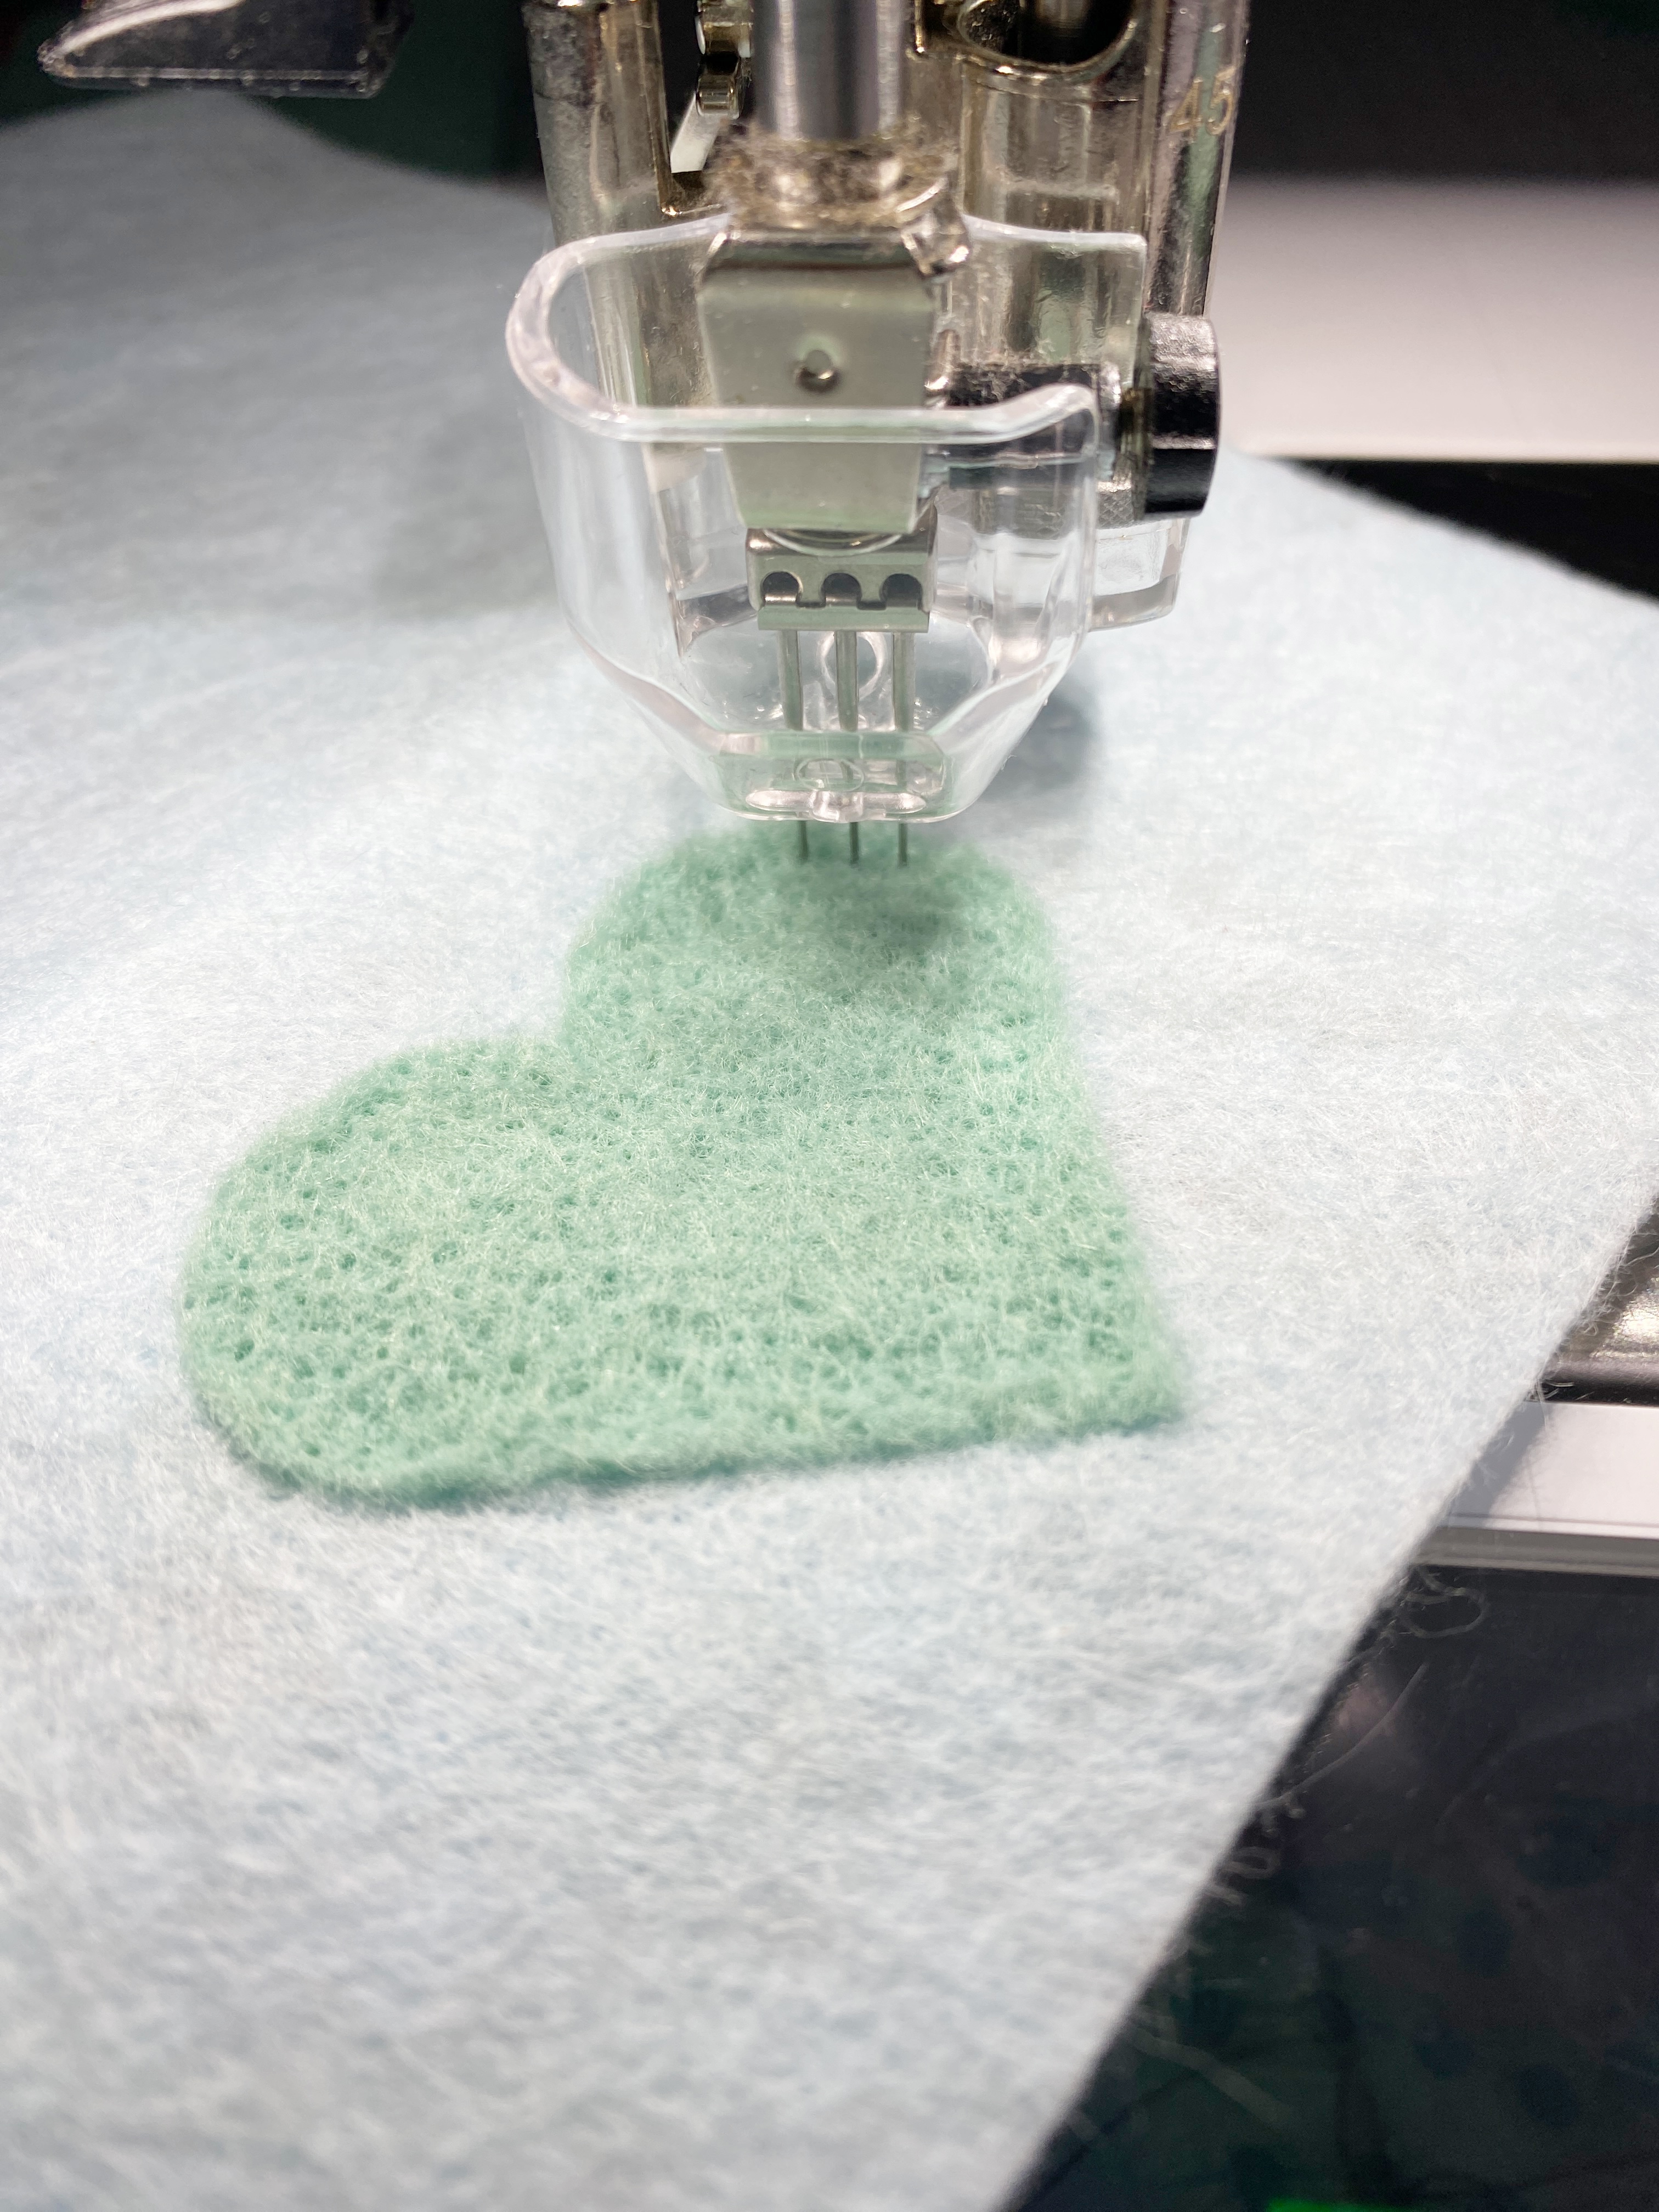
Continue stitching to your liking. You will know the heart is attached because you will not be able to lift the heart, and you will see the fibers coming through the other side.
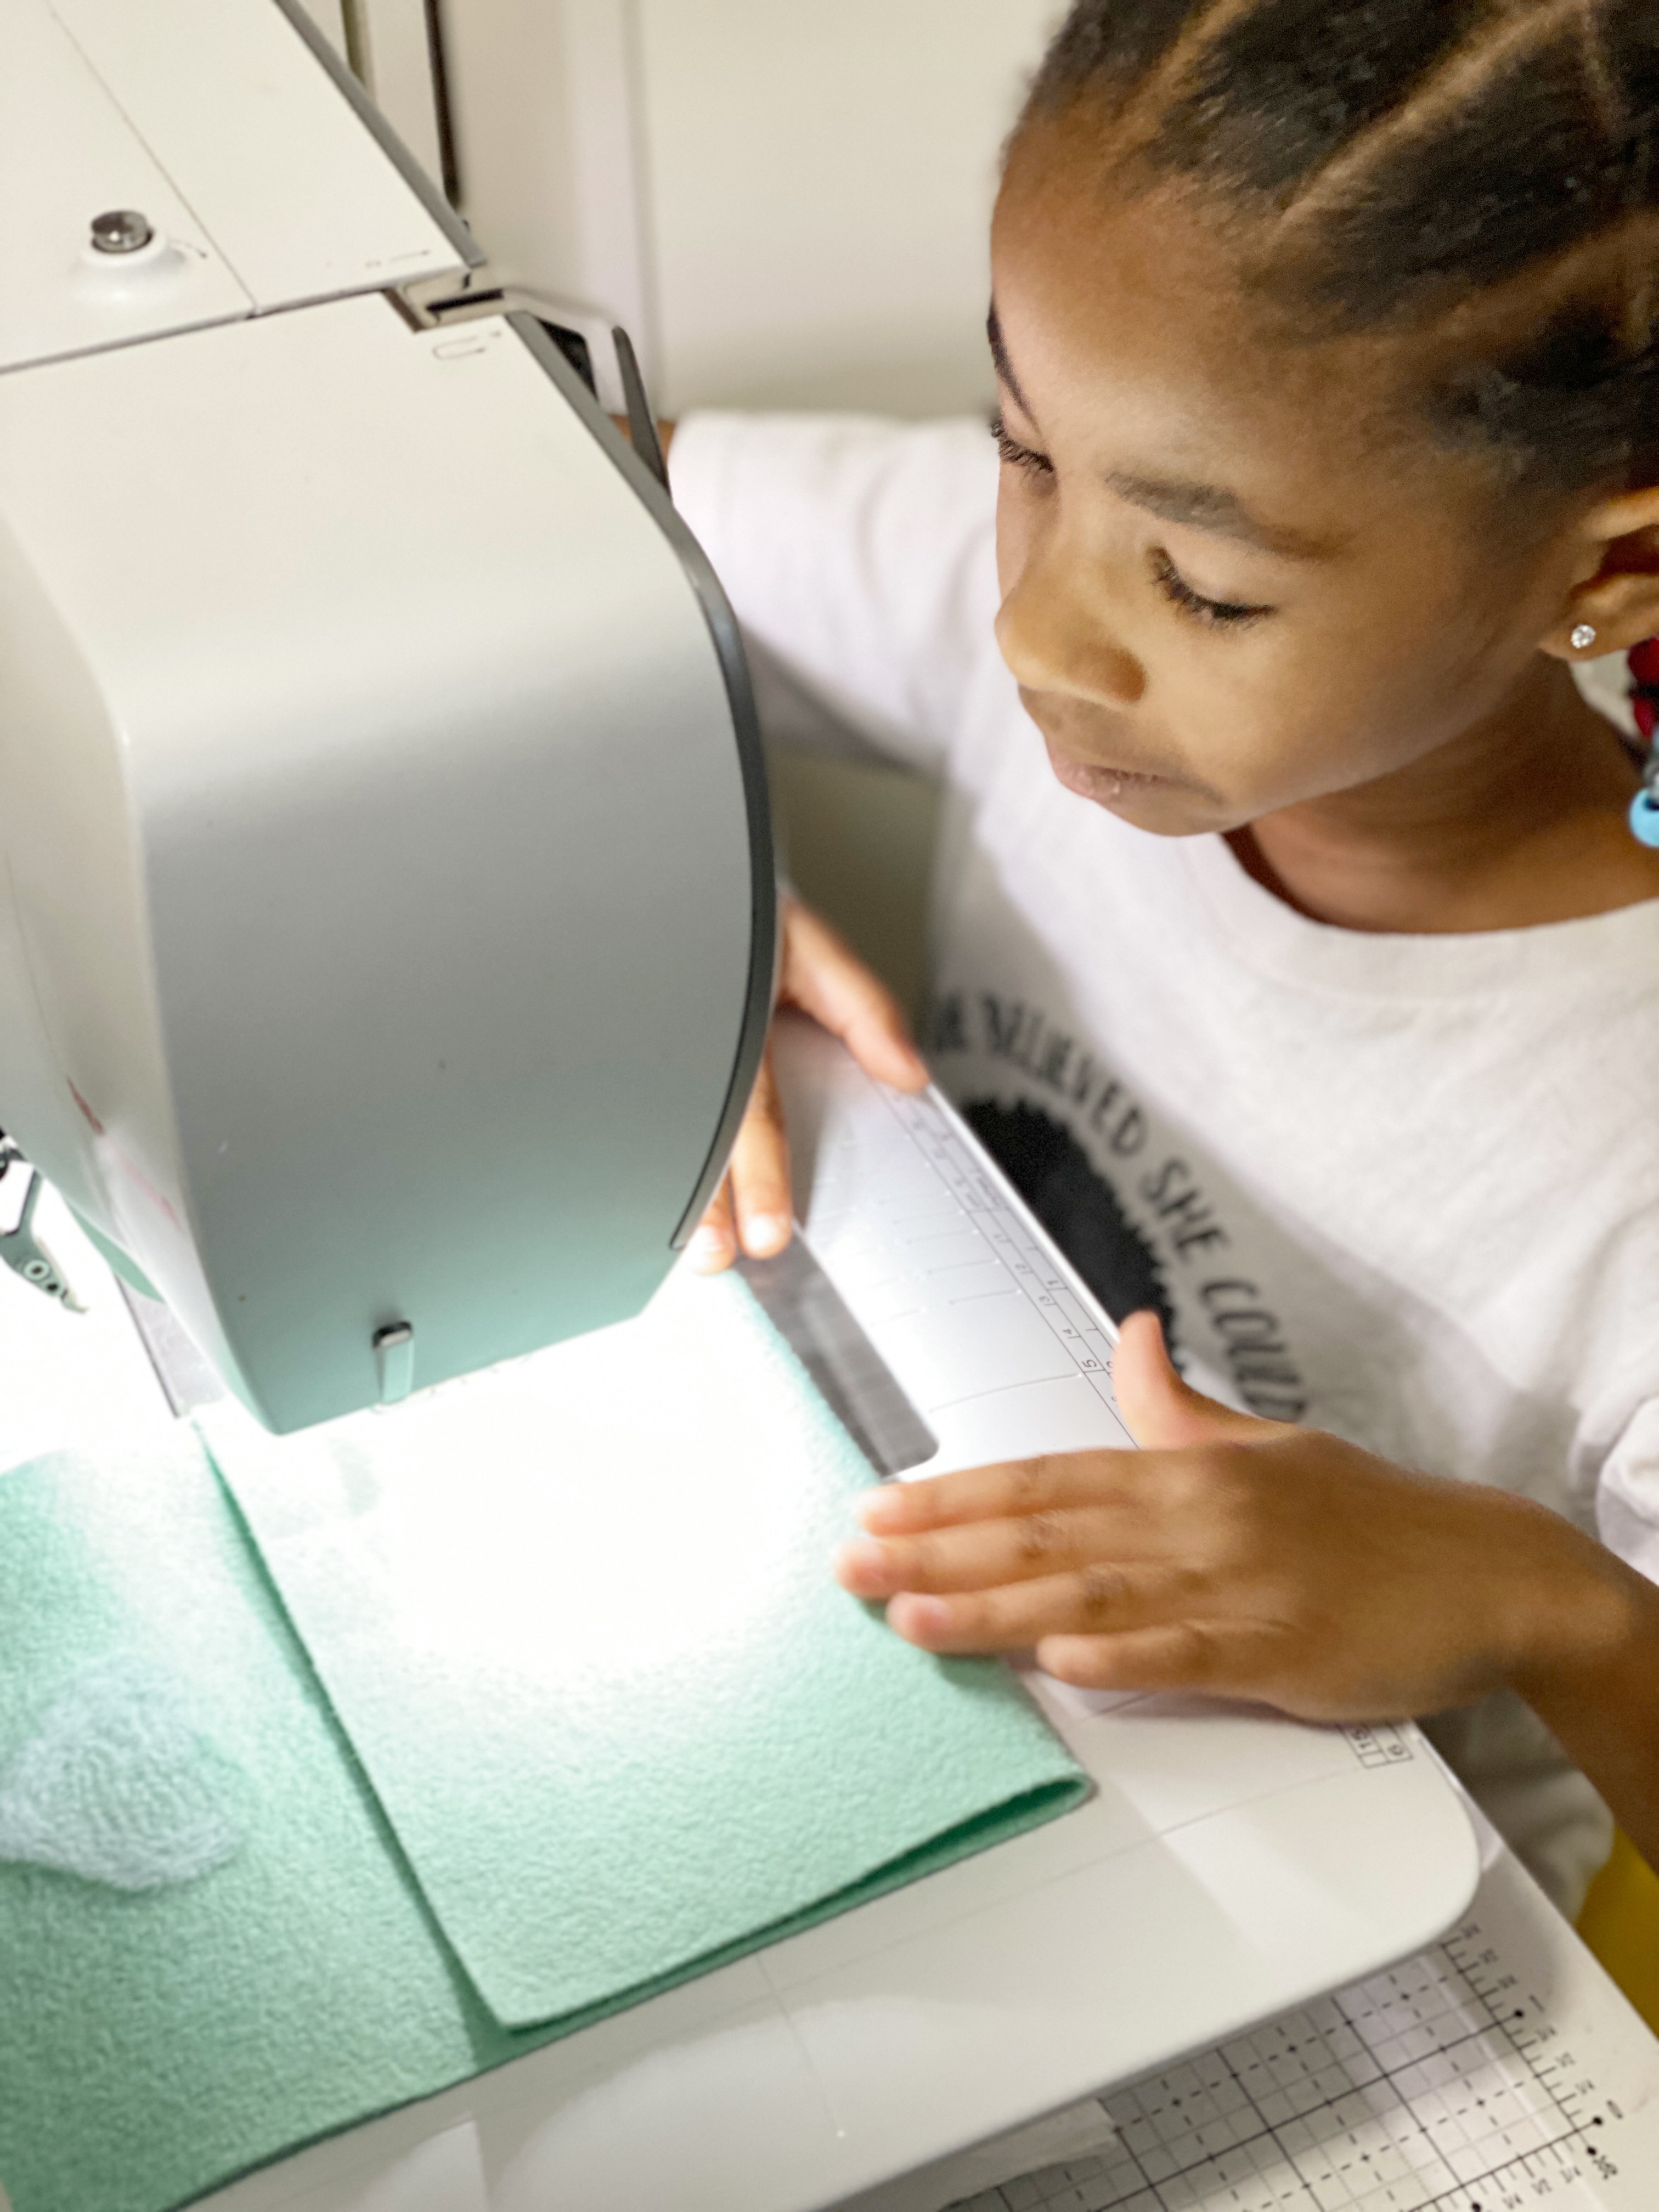
Step 5: Stitching the Felt Envelope Close
Fold the bottom half of the felt upwards at 7 inches and stitch both sides using a 1/4 inch seam allowance.

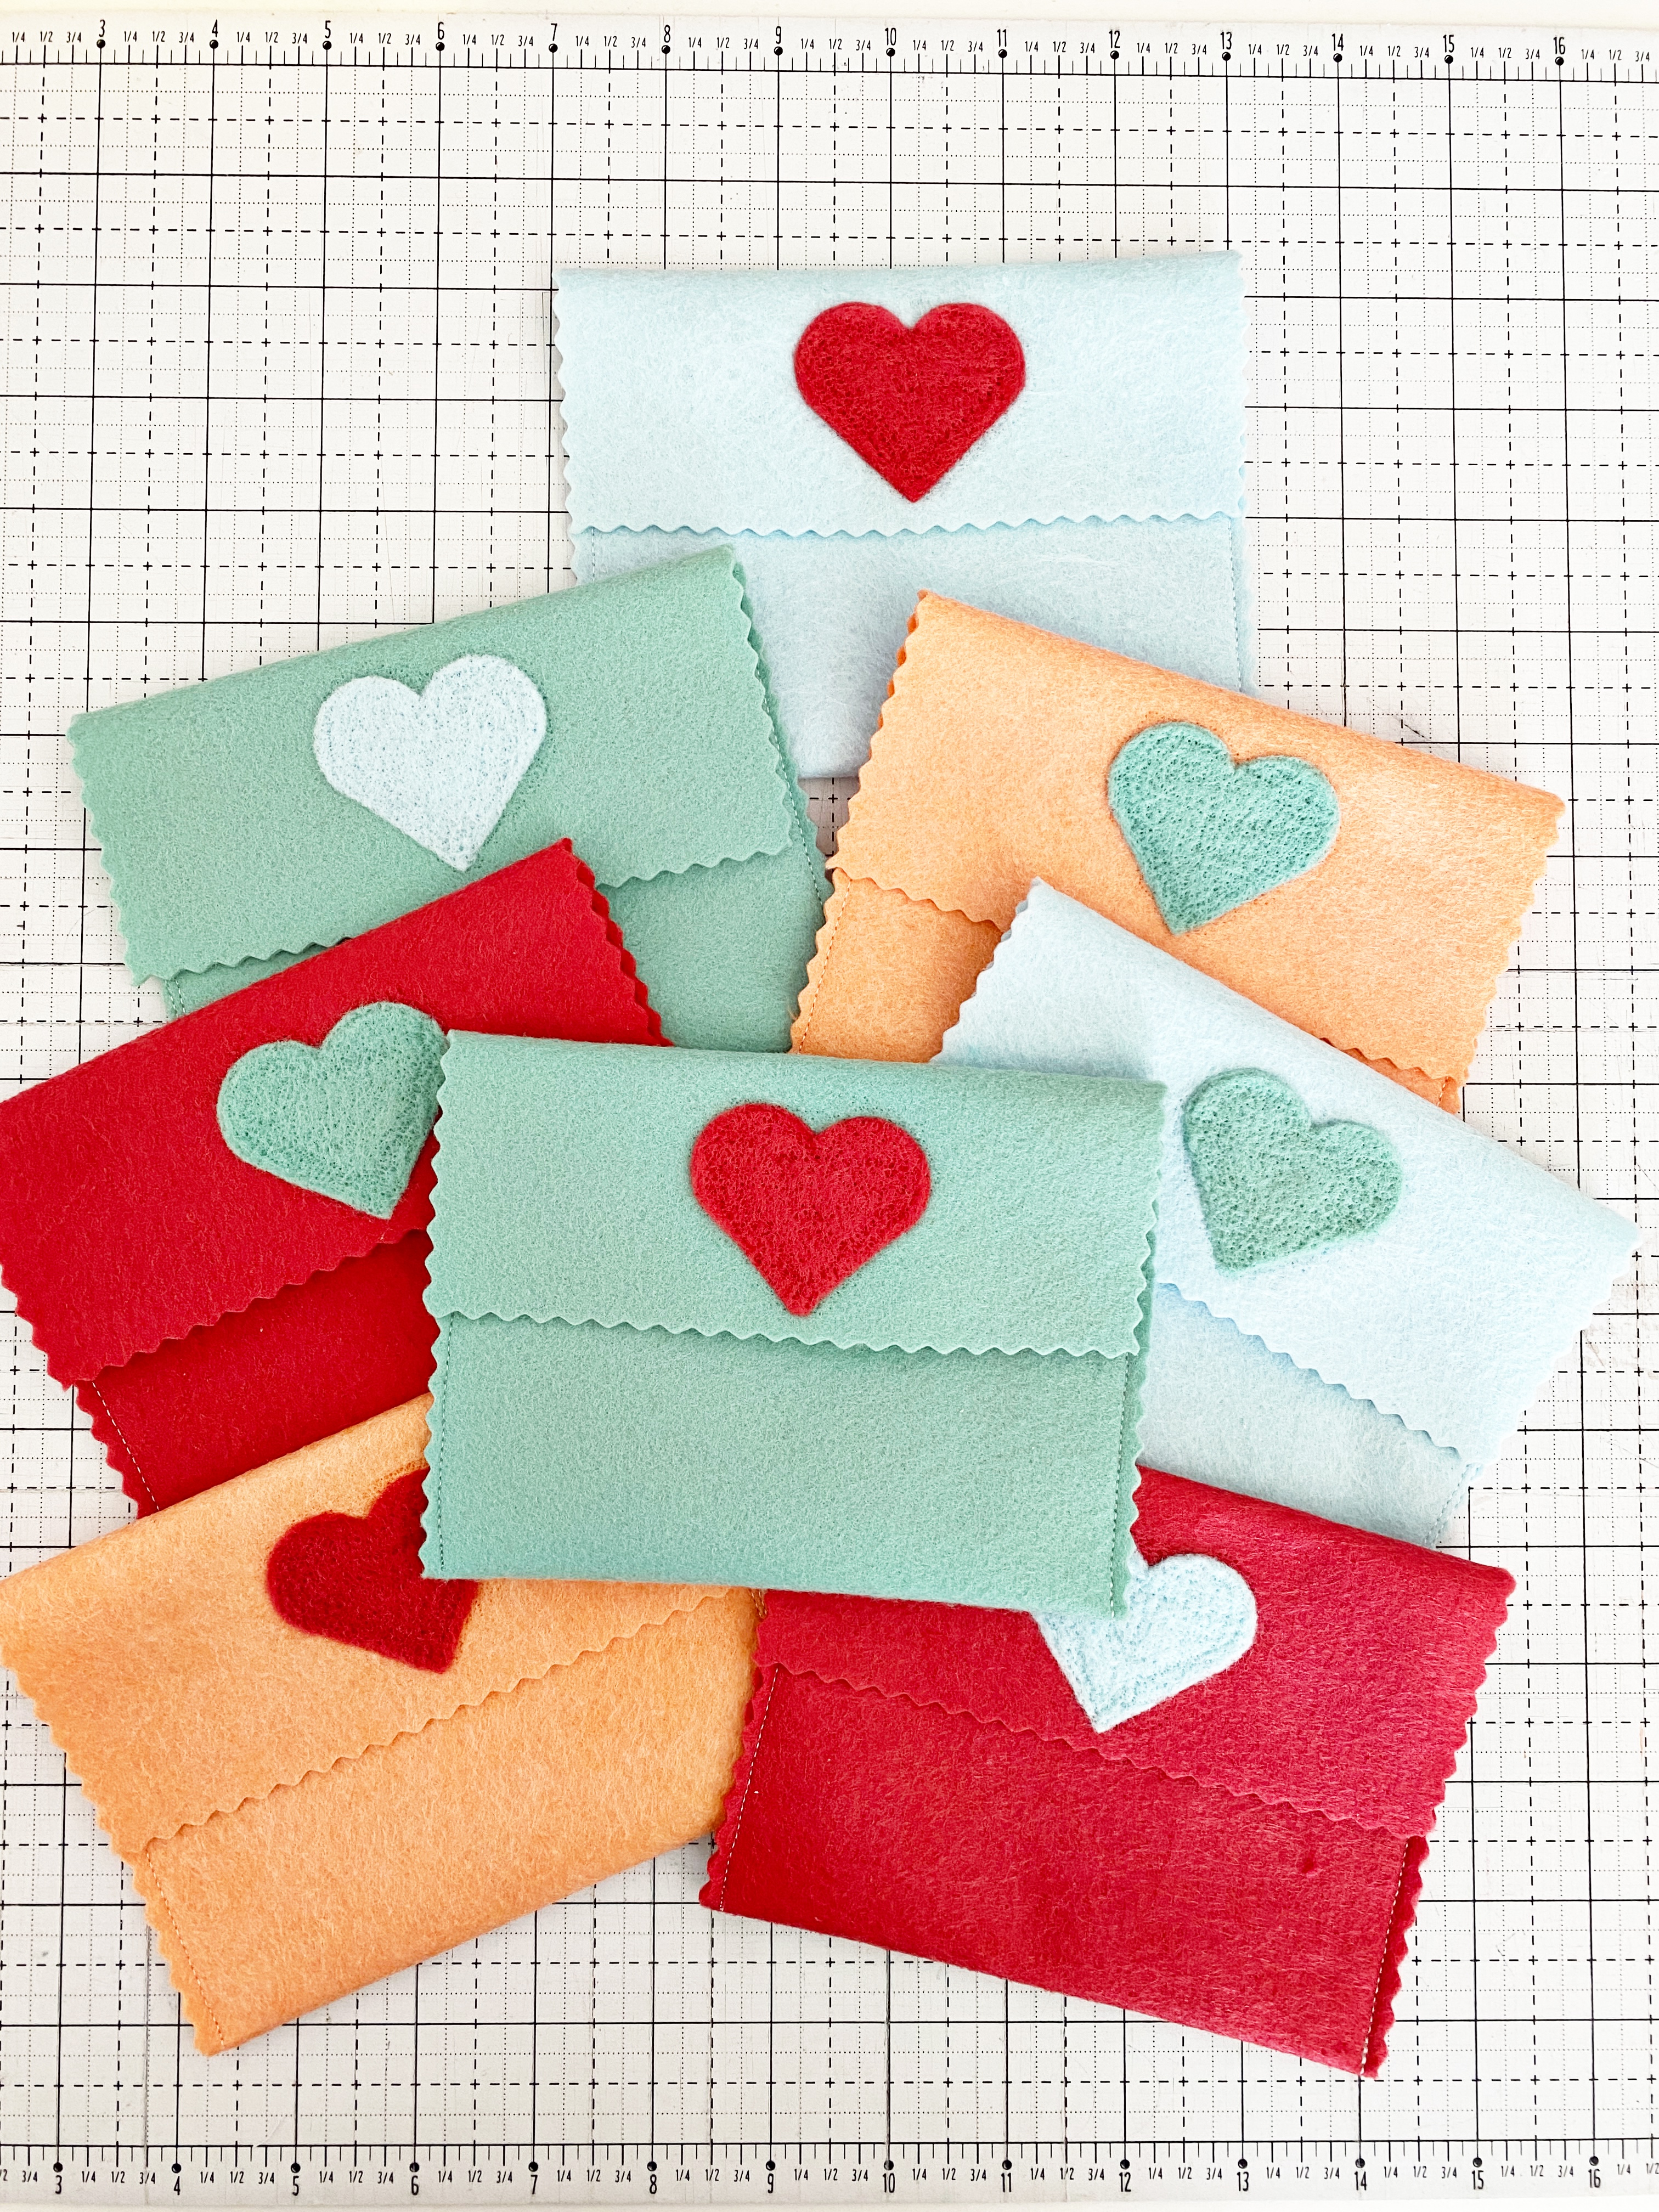
Step 6: Trim the Ends
Trim the ends for a decorative edge using a rotary cutter with a picking blade or a pinking shears scissor.

Now my niece can take her envelopes to school and say I handmade this for you!
If you have the PunchWork Tool, I hope you pull it out and create something beautiful. If you don’t have one, I hope this post encourages you to get one.


What you might also like


One comment on “How to Make Felted Envelopes with the PunchWork Tool”
Leave a Reply
You must be logged in to post a comment.

I could find no link to download the heart template??????