Sewing Technique: Mitered Hemming
The architect in me loves anything that involves sewing with a good technique, so when I learned how to sew mitered hems using any width of hems, I was delighted.

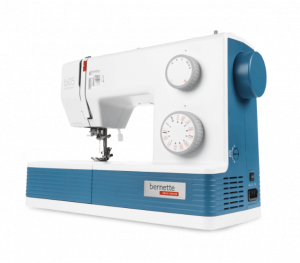
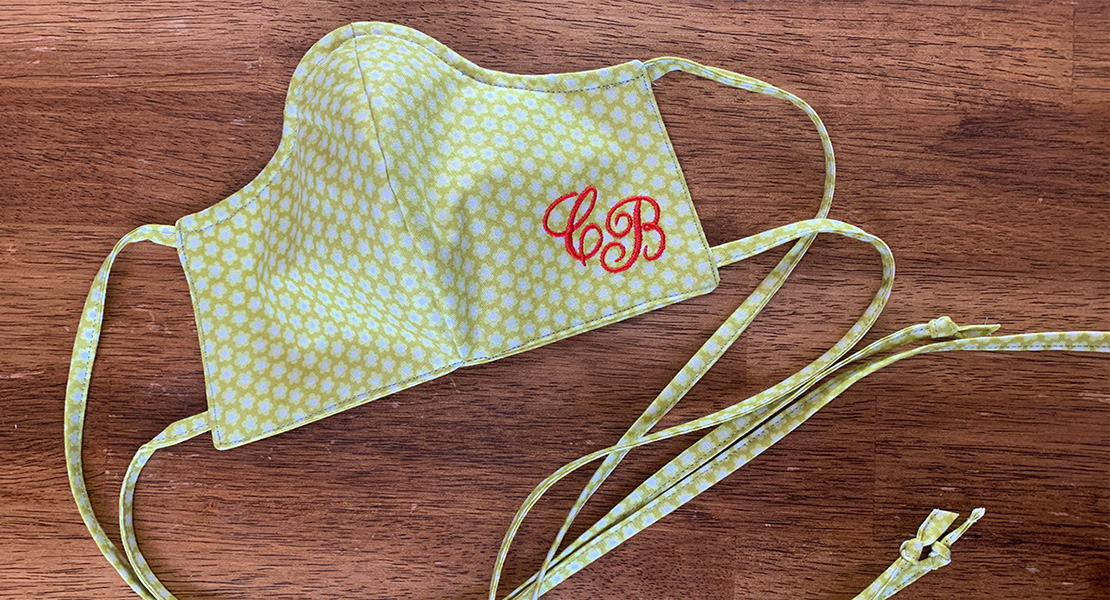
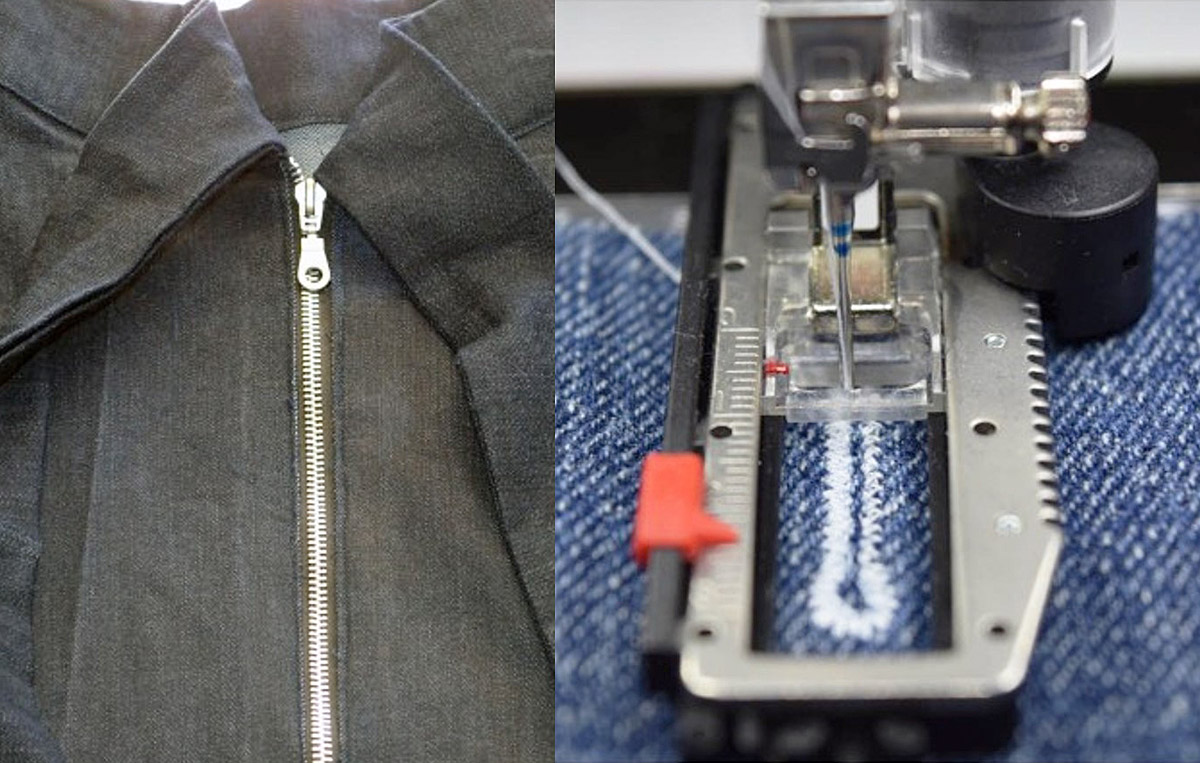
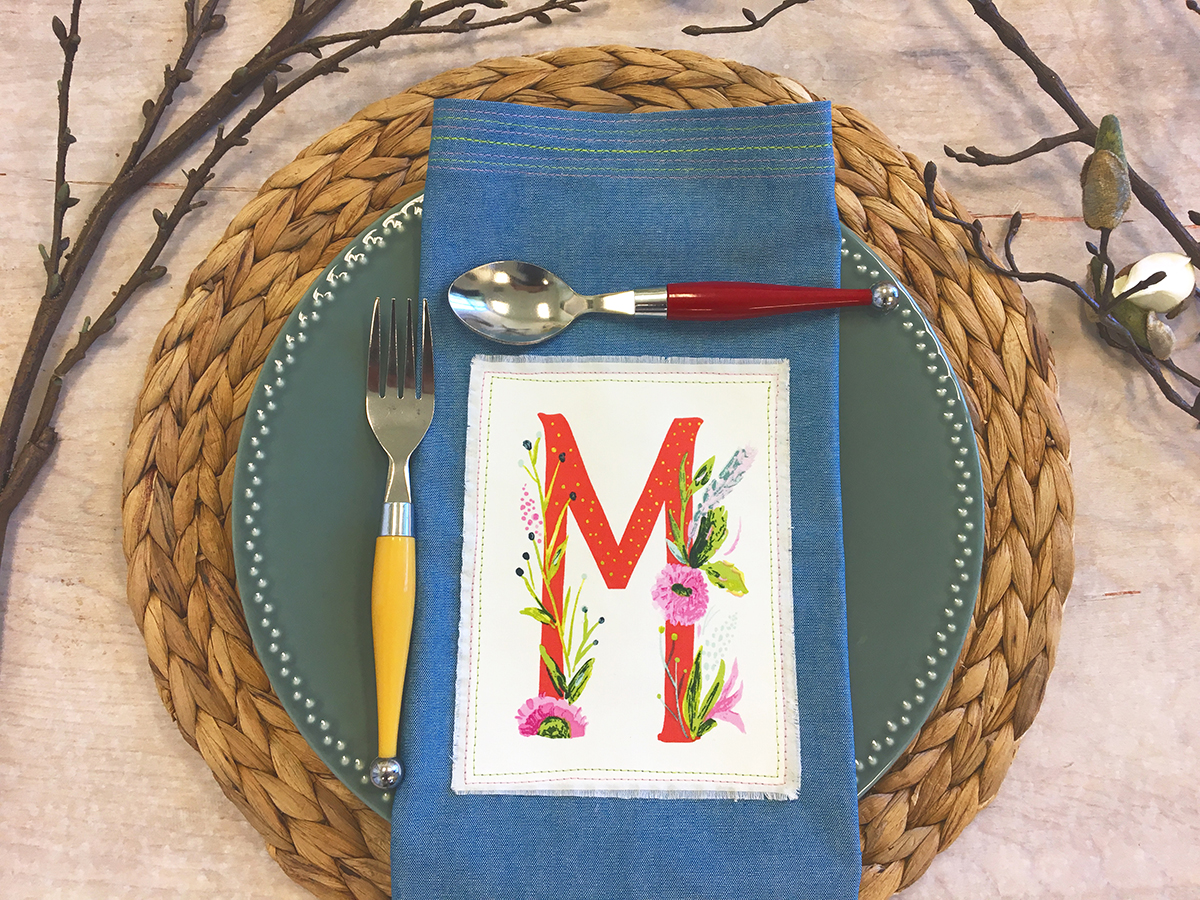
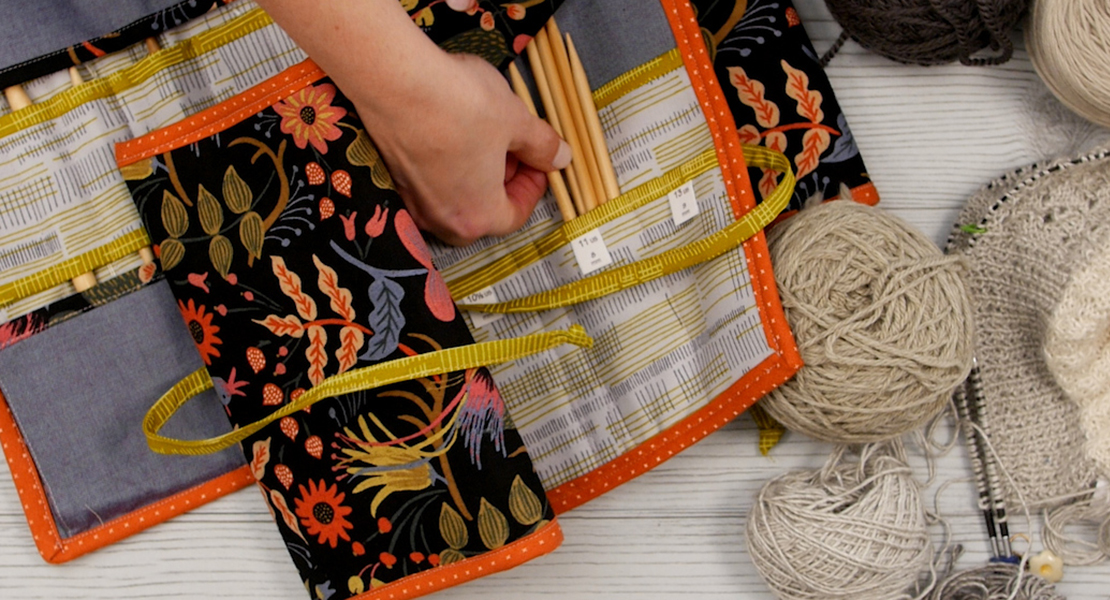
This technique makes a great edge finish for many kinds of sewing projects. I have used this for napkins, curtains, aprons, shirts and on quilted placemats. It’s all about the angle and requires no hard math. The bernette 05 ACADEMY machine is a great match for fast and precise sewing because it comes with so many feet, including the edgestitch foot.
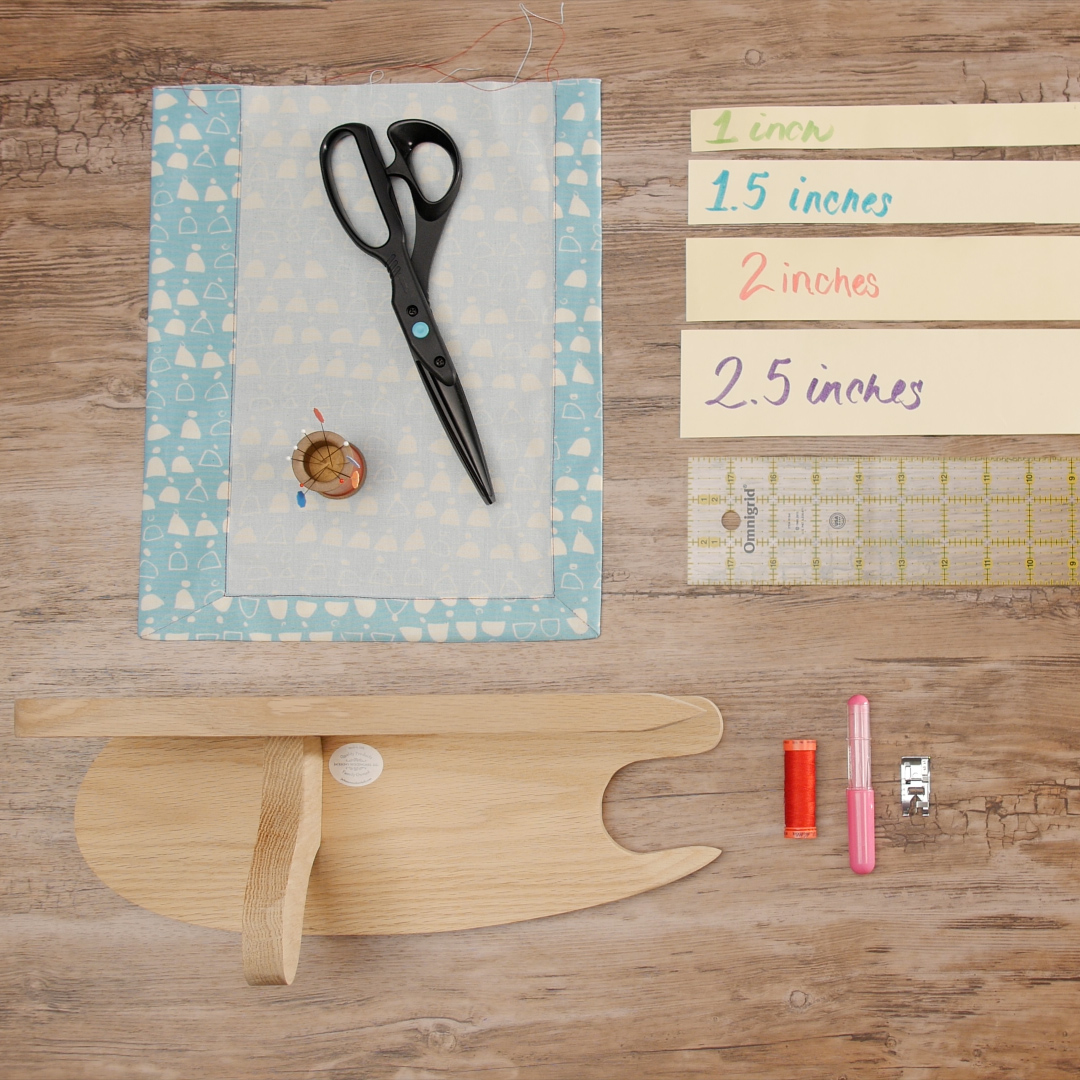
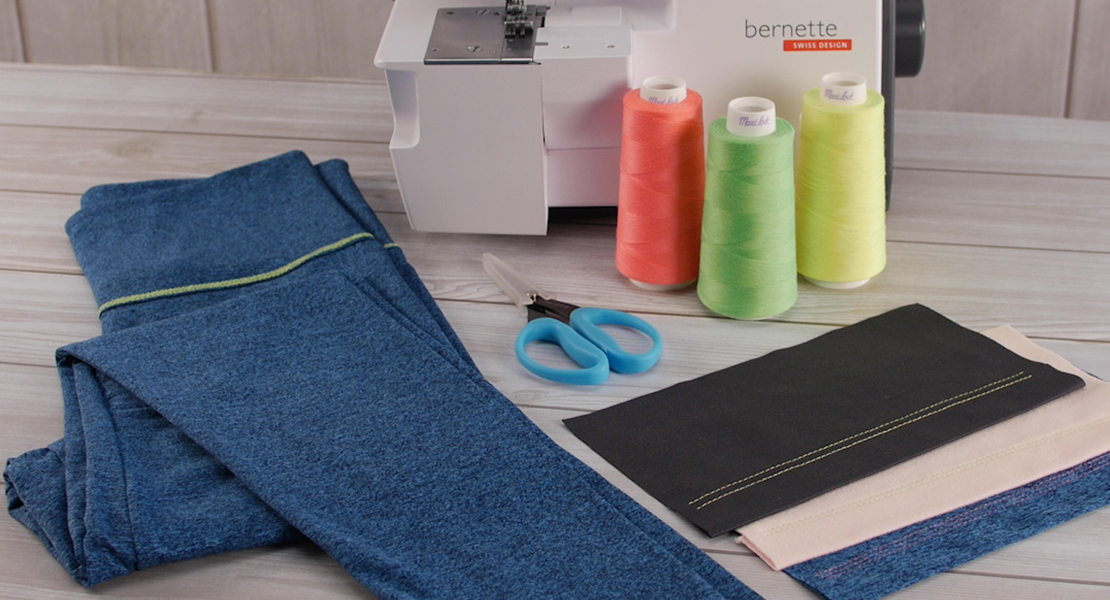
Materials to Sew Mitered Hems
- bernette 05 ACADEMY
- Edgestitch Foot
- Fabric Marker
- Scissors
- Glass Head Silk Pins
- Tagboard Pressing Strips
- Microtex Needle 80/12
- Iron (we love Laurastar)
- Point Press and Pounding Block
I learned these techniques and more from a great little book by Linda Lee, Mastering Miters.
Steps to Sew Mitered Hems
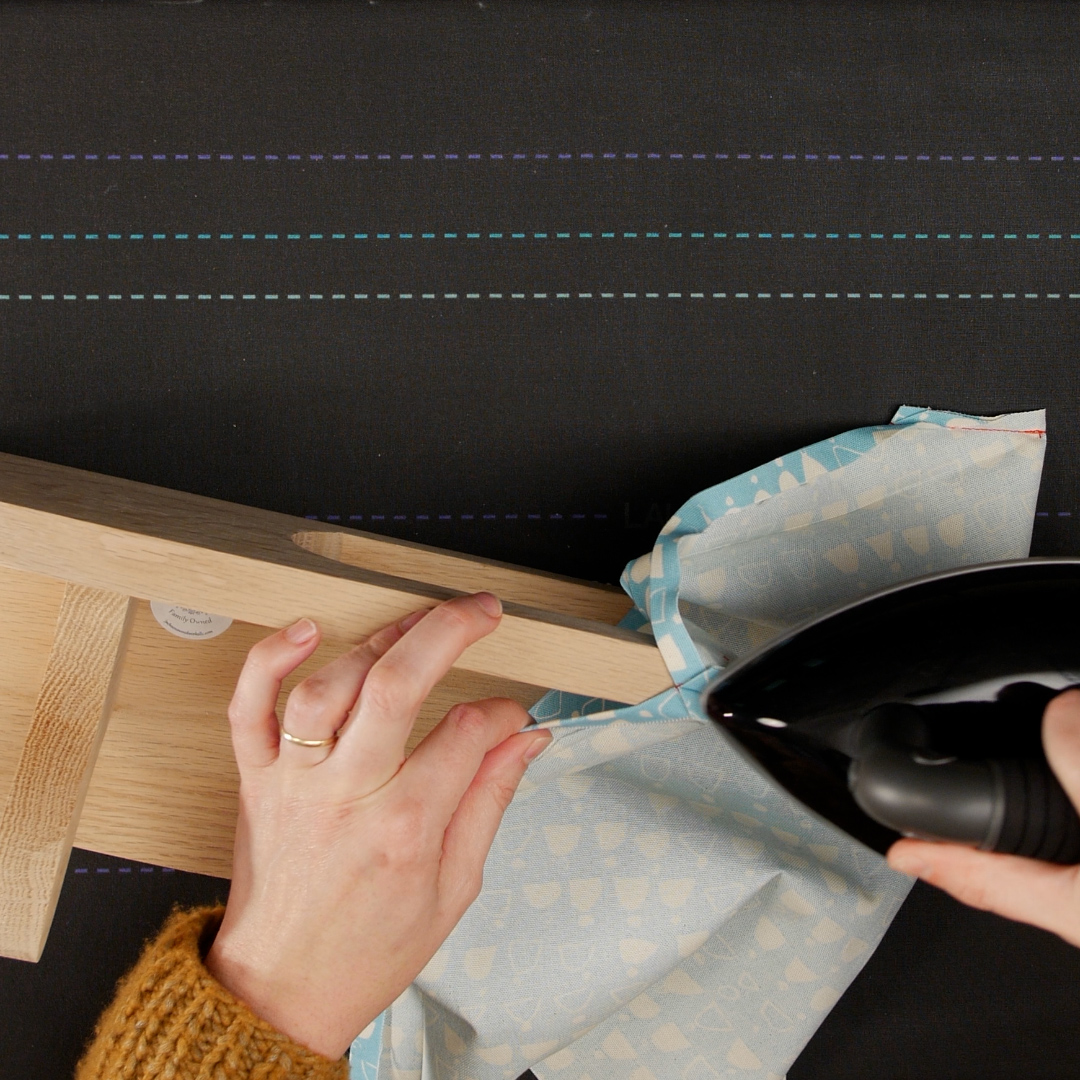
Step 1. Pressing Hems with Tagboard
I also learned about pressing hems with handmade tagboard from Linda Lee and this is a fast easy way to measure hems. I used leftover manilla folders for this. Using a rotary cutter, trim the folders down to various widths and label them with markers.
Make these in pairs with the desired hem amount as one and one with the seam allowances (amount folded under 1/2″ for me) added.
- I made 1” symmetrical hem allowance for one side—tagboard templates: 1”, 1 1/2”
- For the asymmetrical hem allowance, I used 1” and 2” hems—additional tagboard templates: 2”, 2 1/2″
Press the fabric over the larger template first.
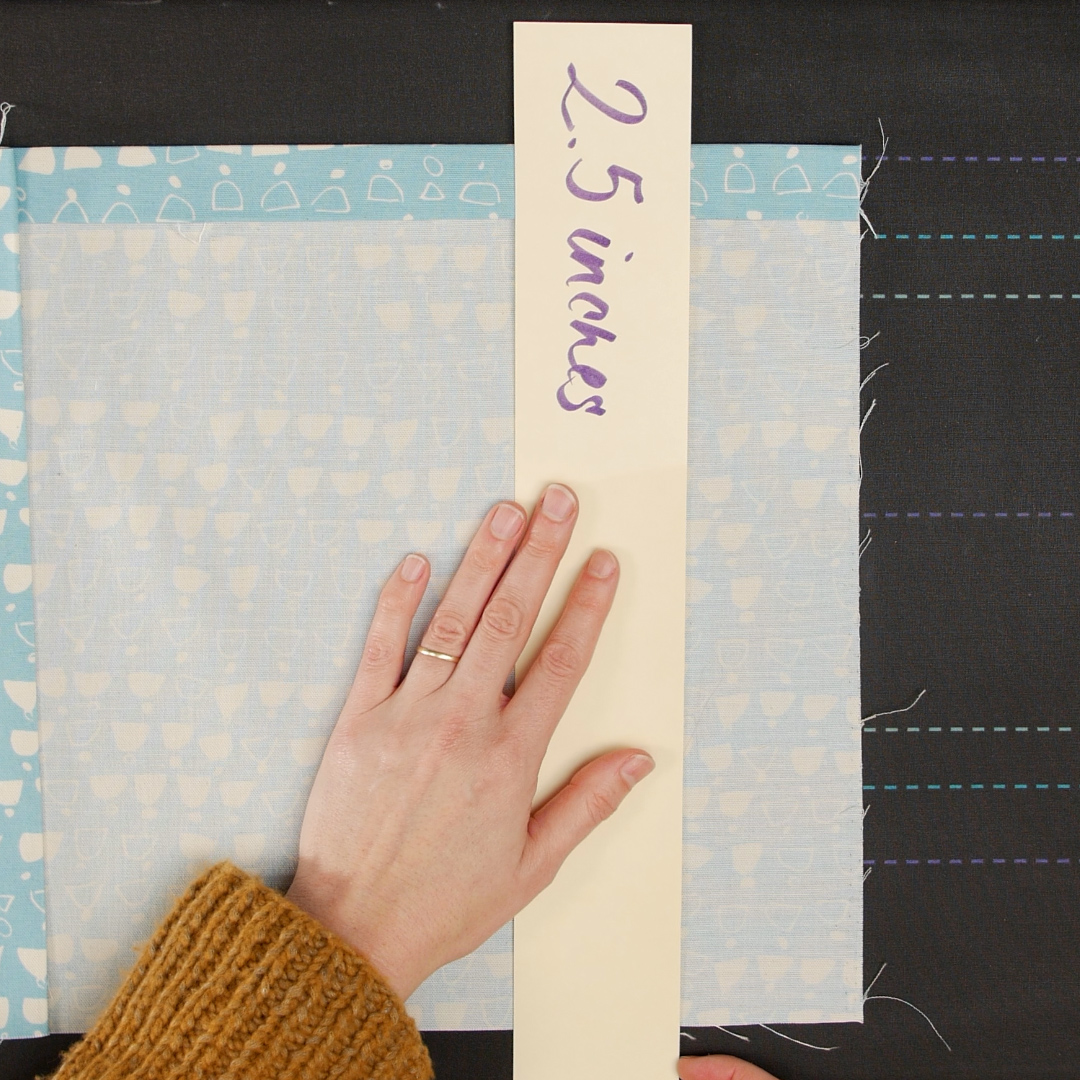
Then align the smaller template along the crease and press over the seam allowance—1/2”.
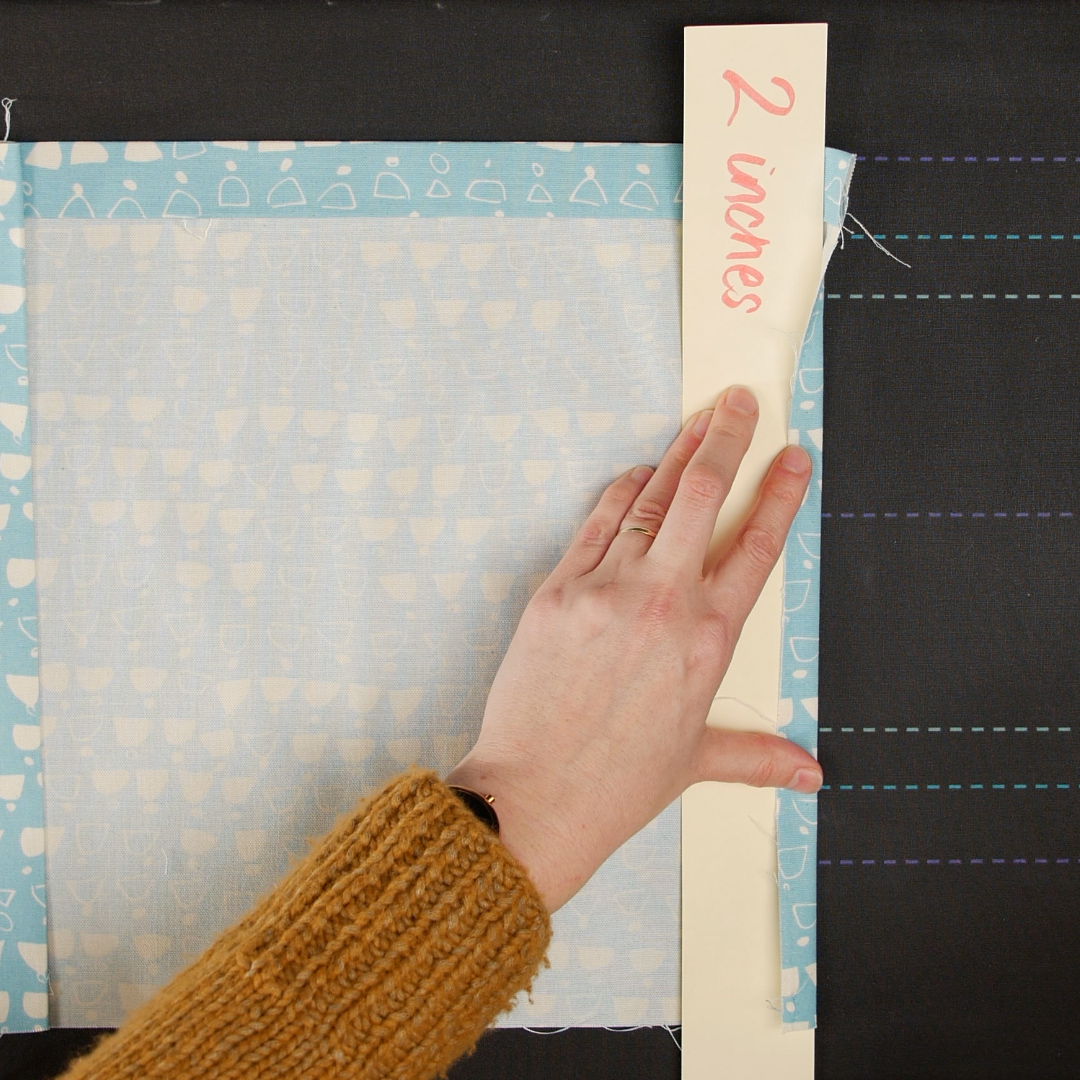
Repeat this process for the adjacent hem—whether they are symmetrical or asymmetrical.
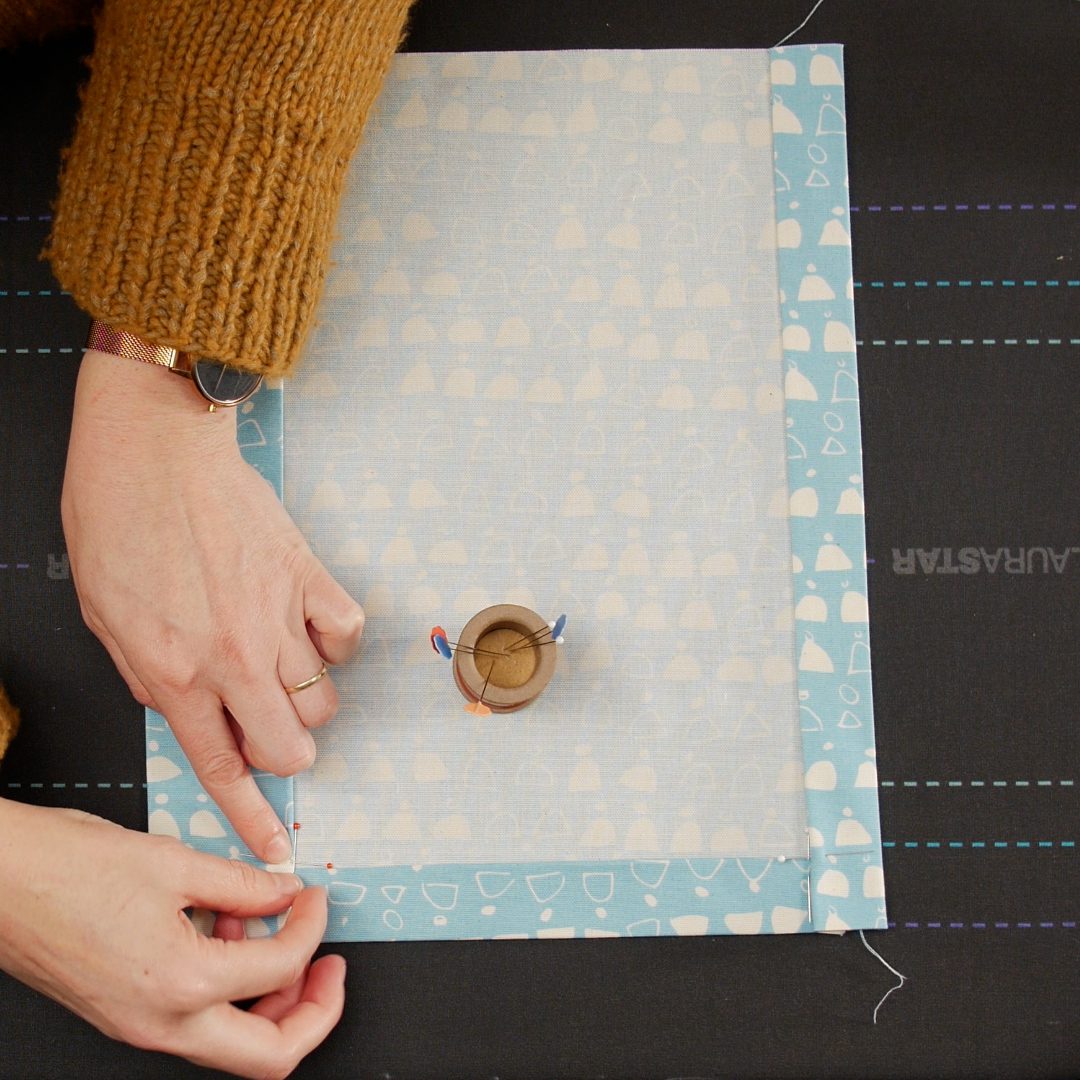
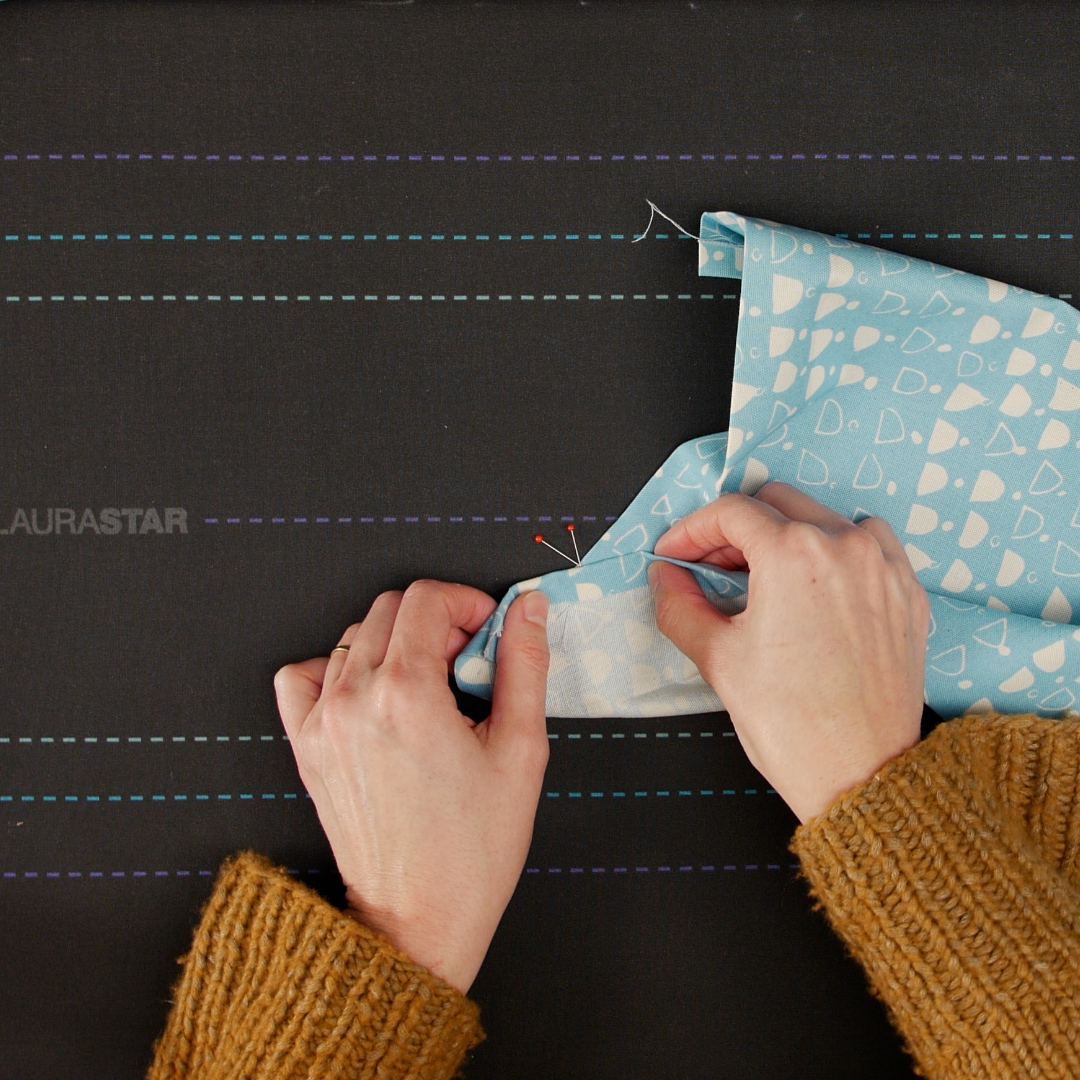
Step 2. Pin the Corners
With your hems all nicely and expertly pressed, you can place the glass head pins in the corners where the hems meet. I use glass pins because I can iron without worrying that they will melt.
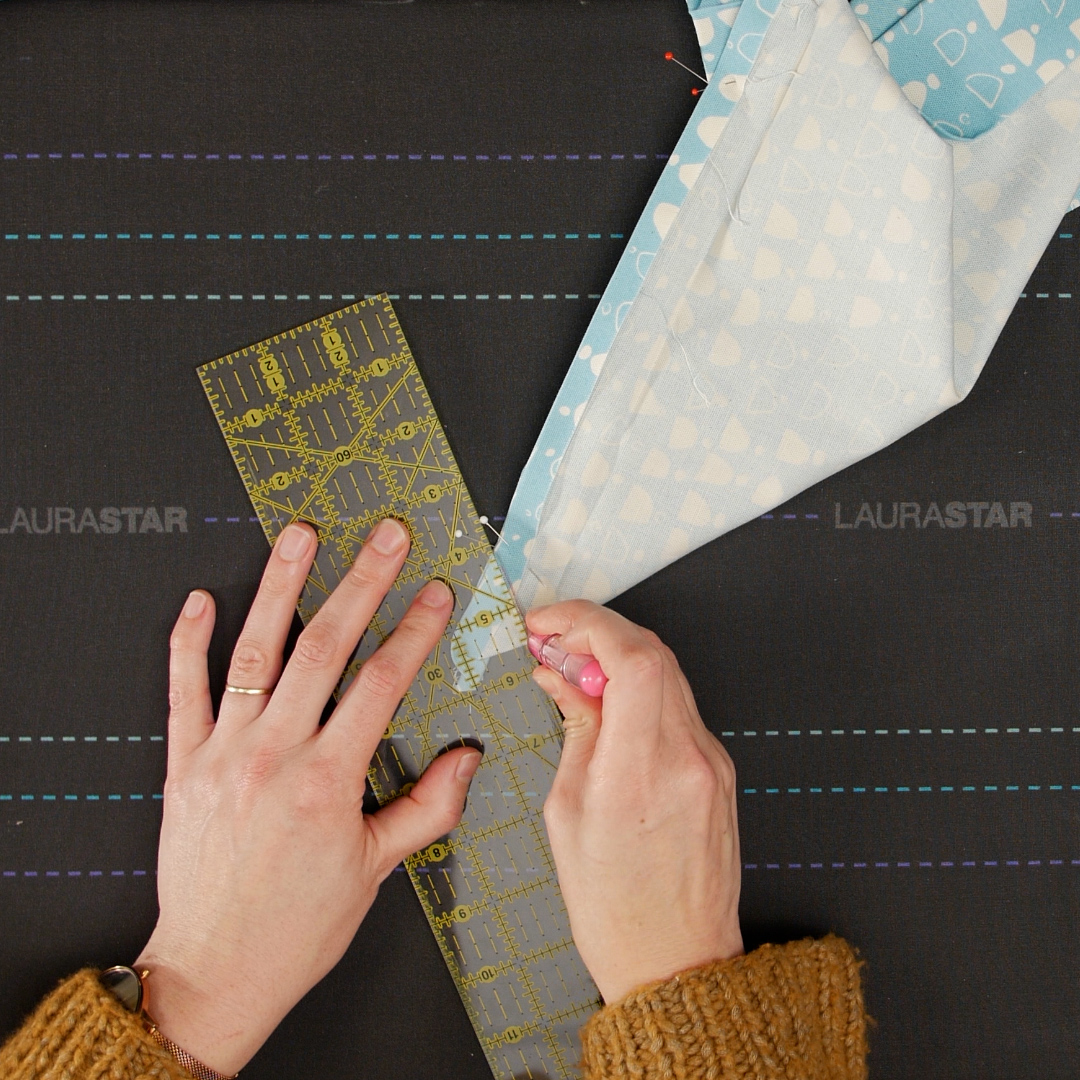
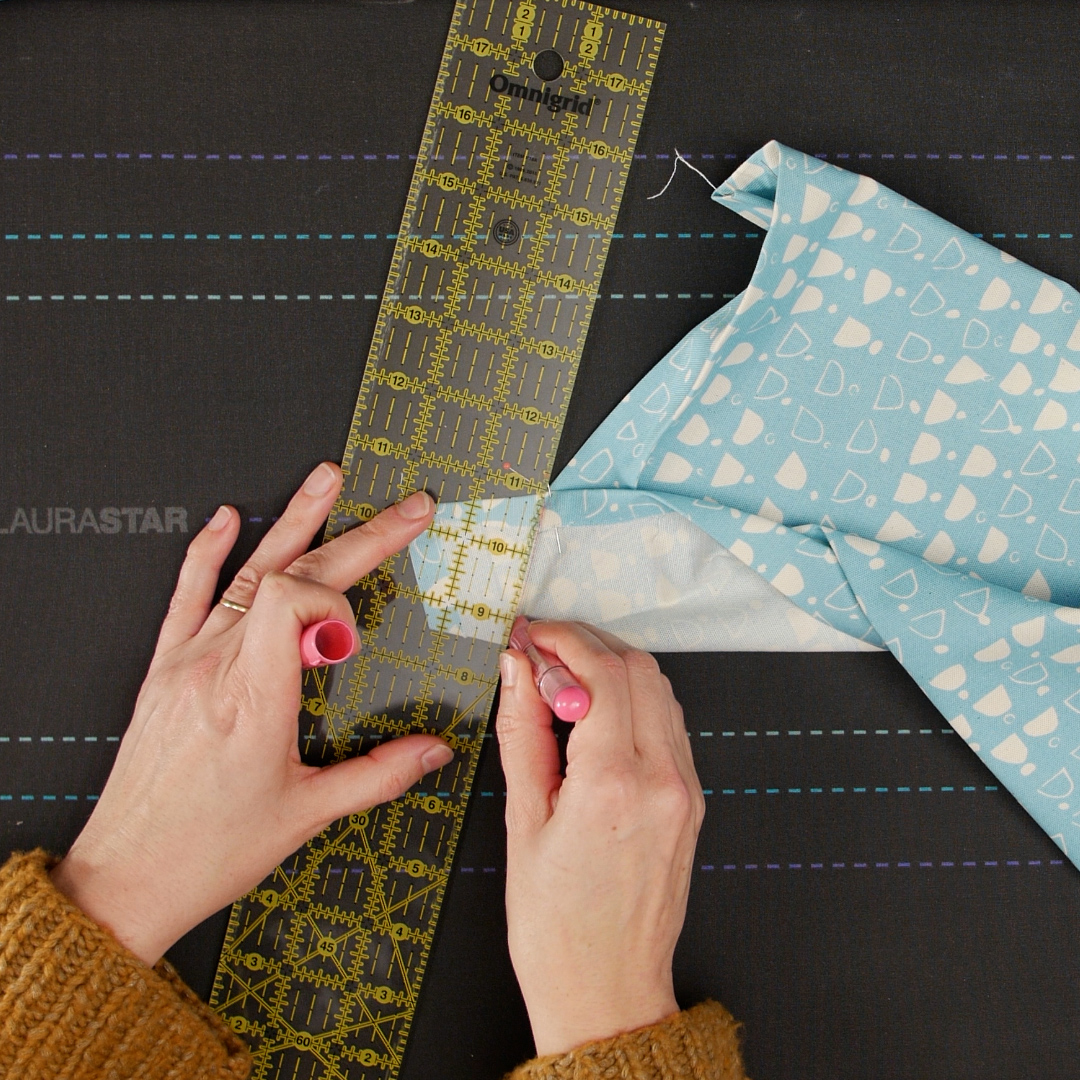
Step 3. Mark the Miter
This is the most important step to achieve a precise miter, so take your time to get this as accurate as you can. When you open up the hem, leave the seam allowance (1/2” hem), folded under (do not open up this section).
- Open up the hems and fold right sides together, match the pins at the folded edge.
- Draw a diagonal line from the pins to the crease. Be precise here—this is your sewing line.
Symmetrical Miter
Asymmetrical Miter
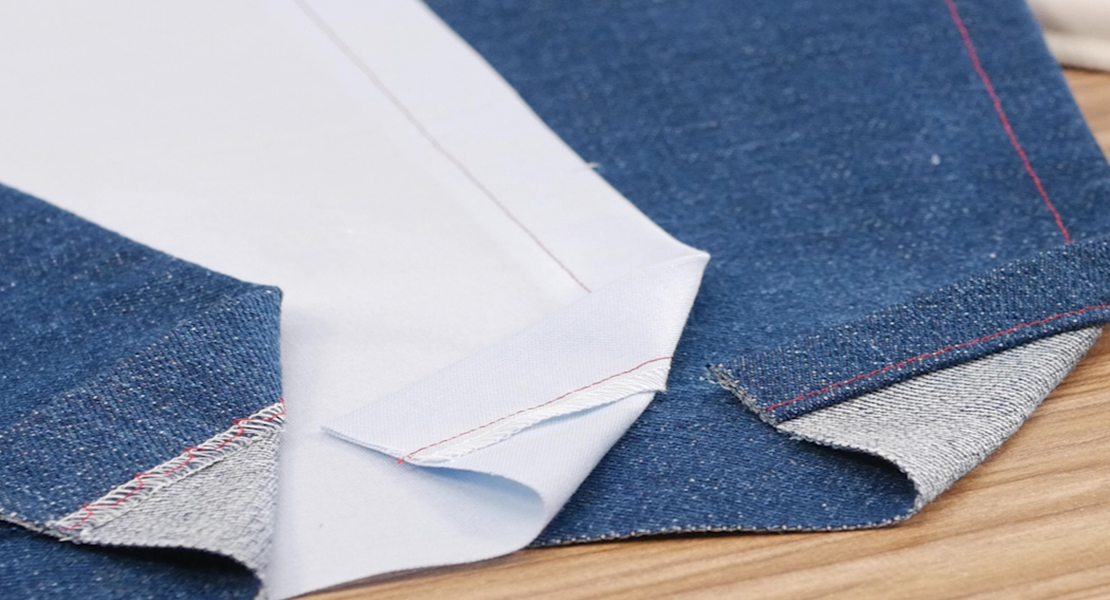
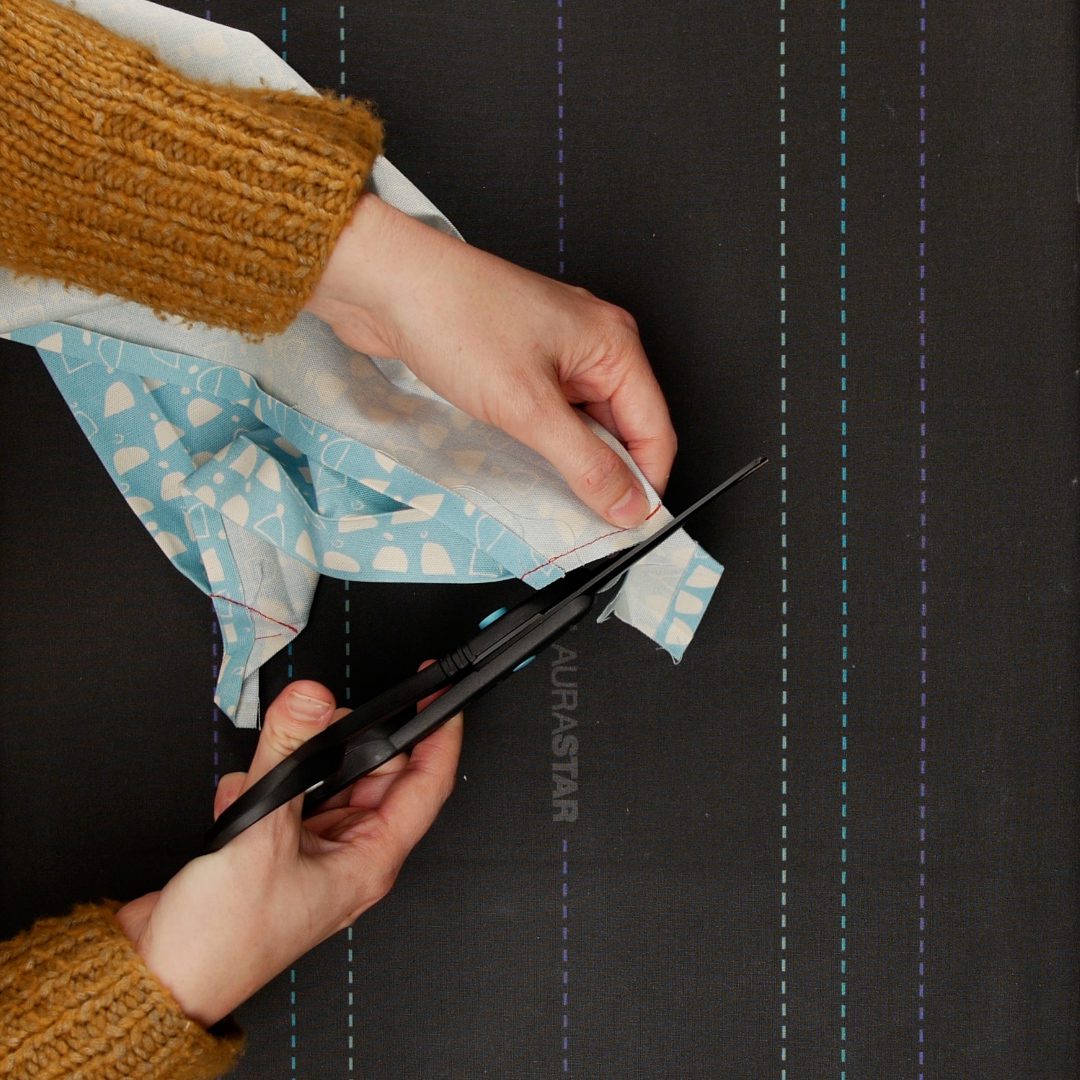
Step 4. Sew Miters
Sew along the marked line, backstitching at the beginning and the end.
Trim the seam allowance to around 1/4″.
Press the seam allowance open.
Tip: Use a point pressing board for nice pressing into a point.
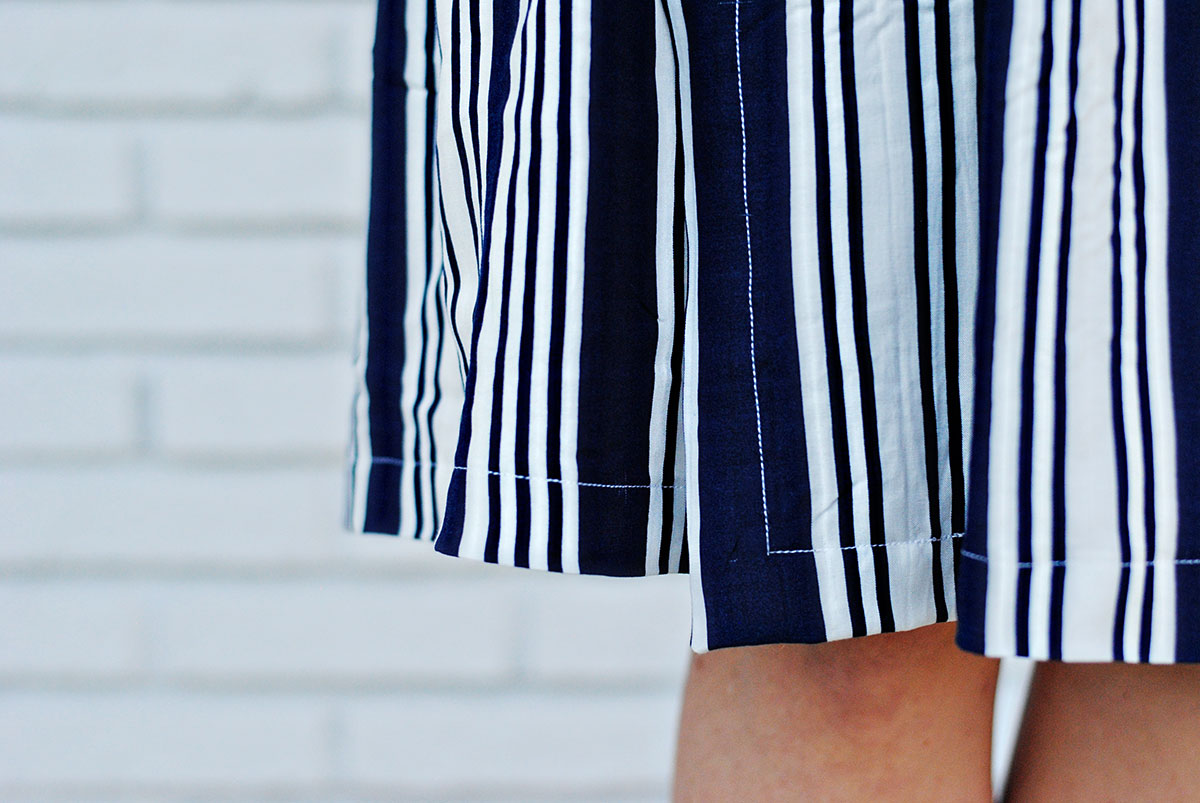
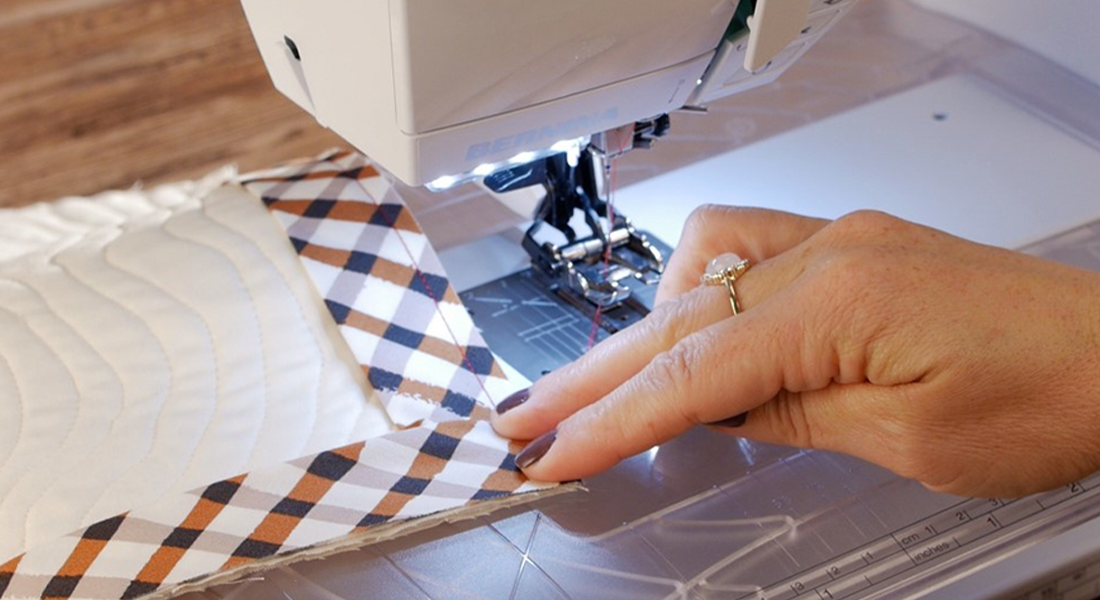
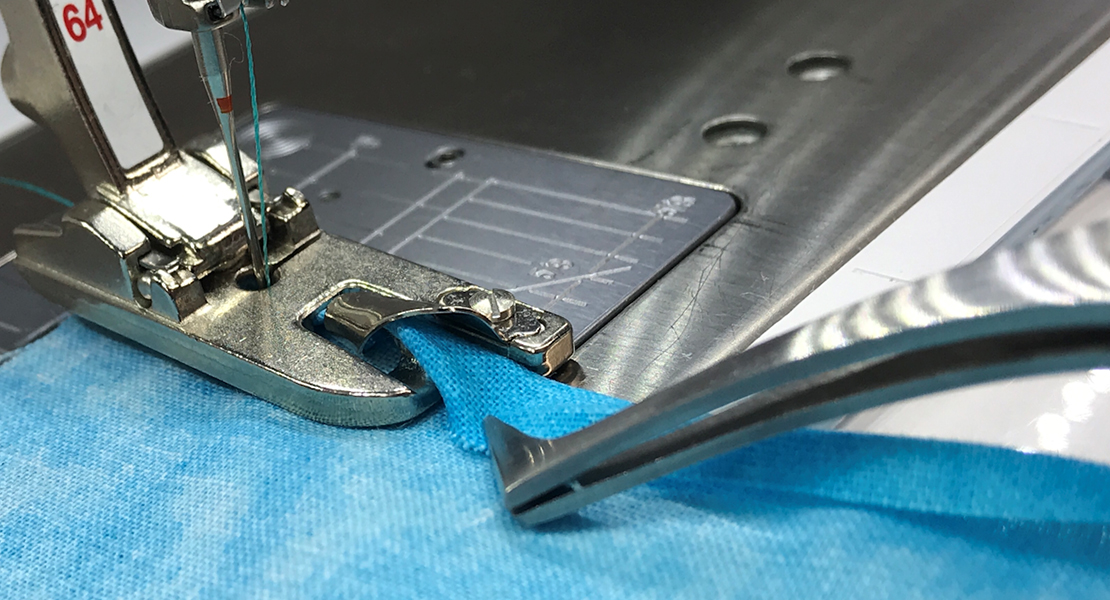
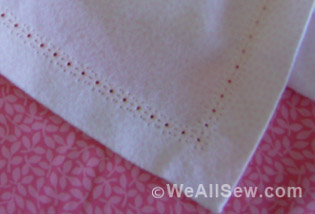
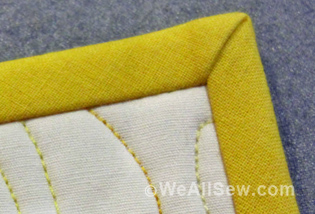
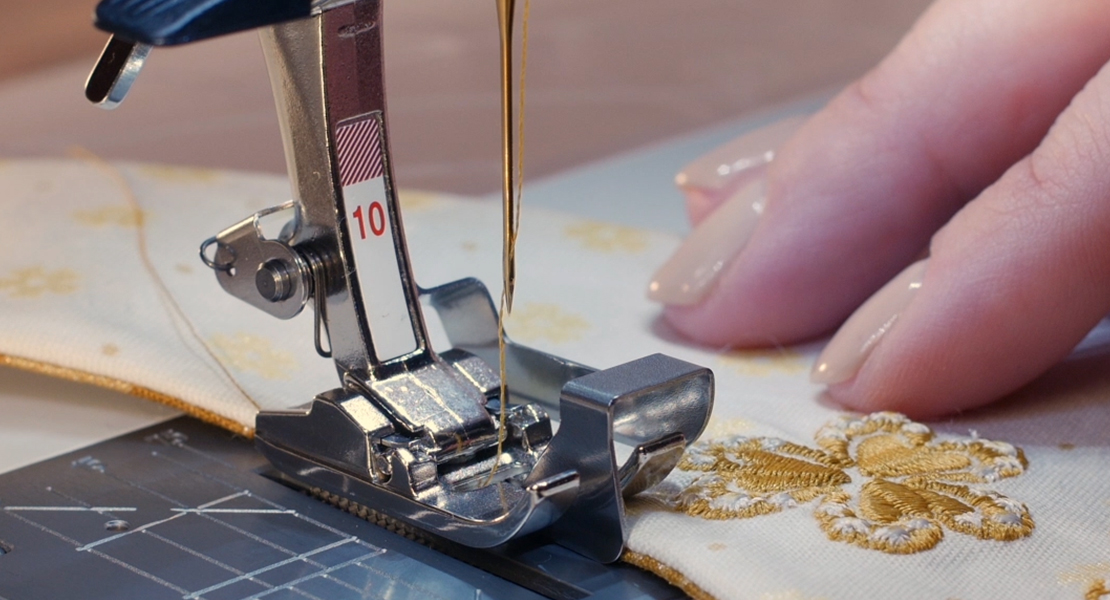
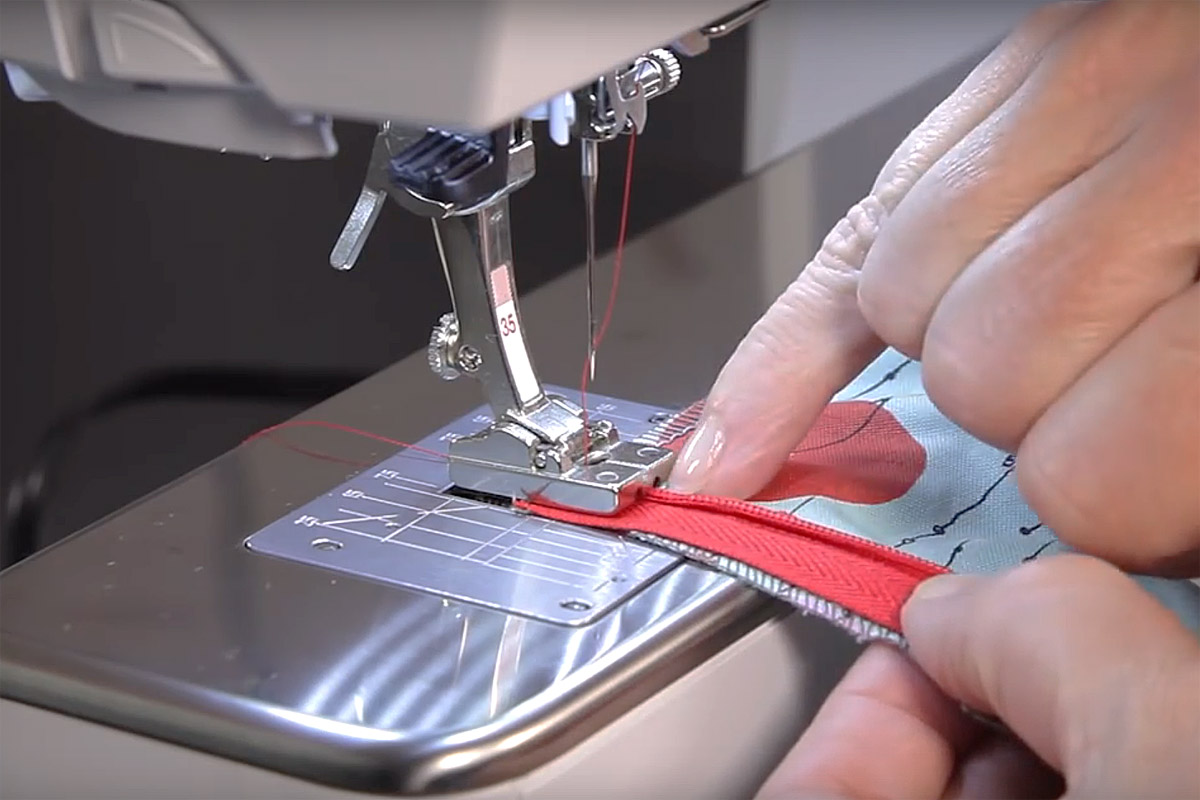
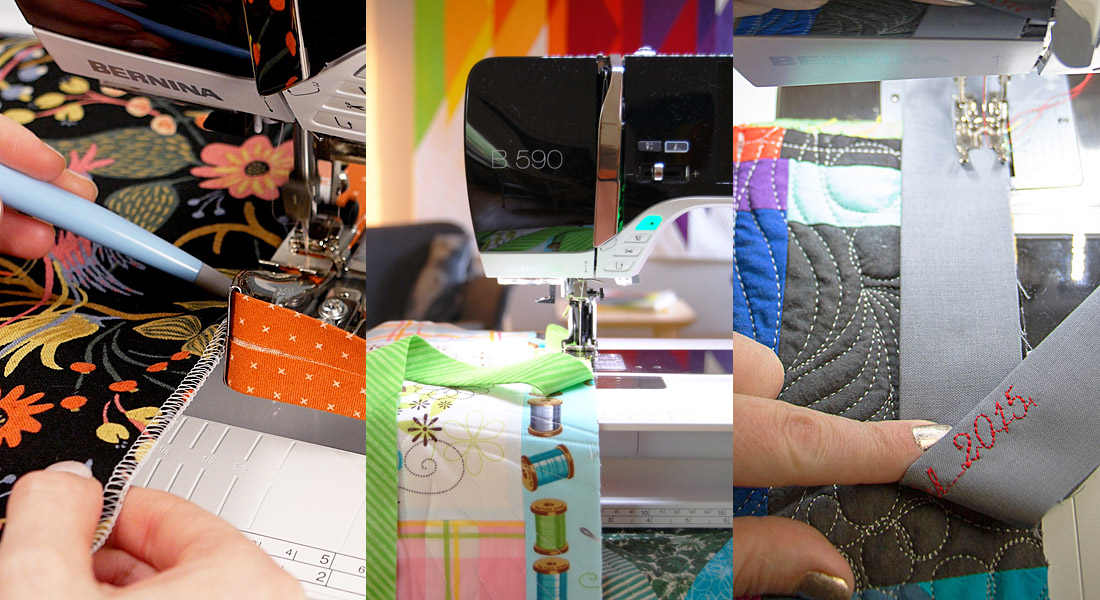
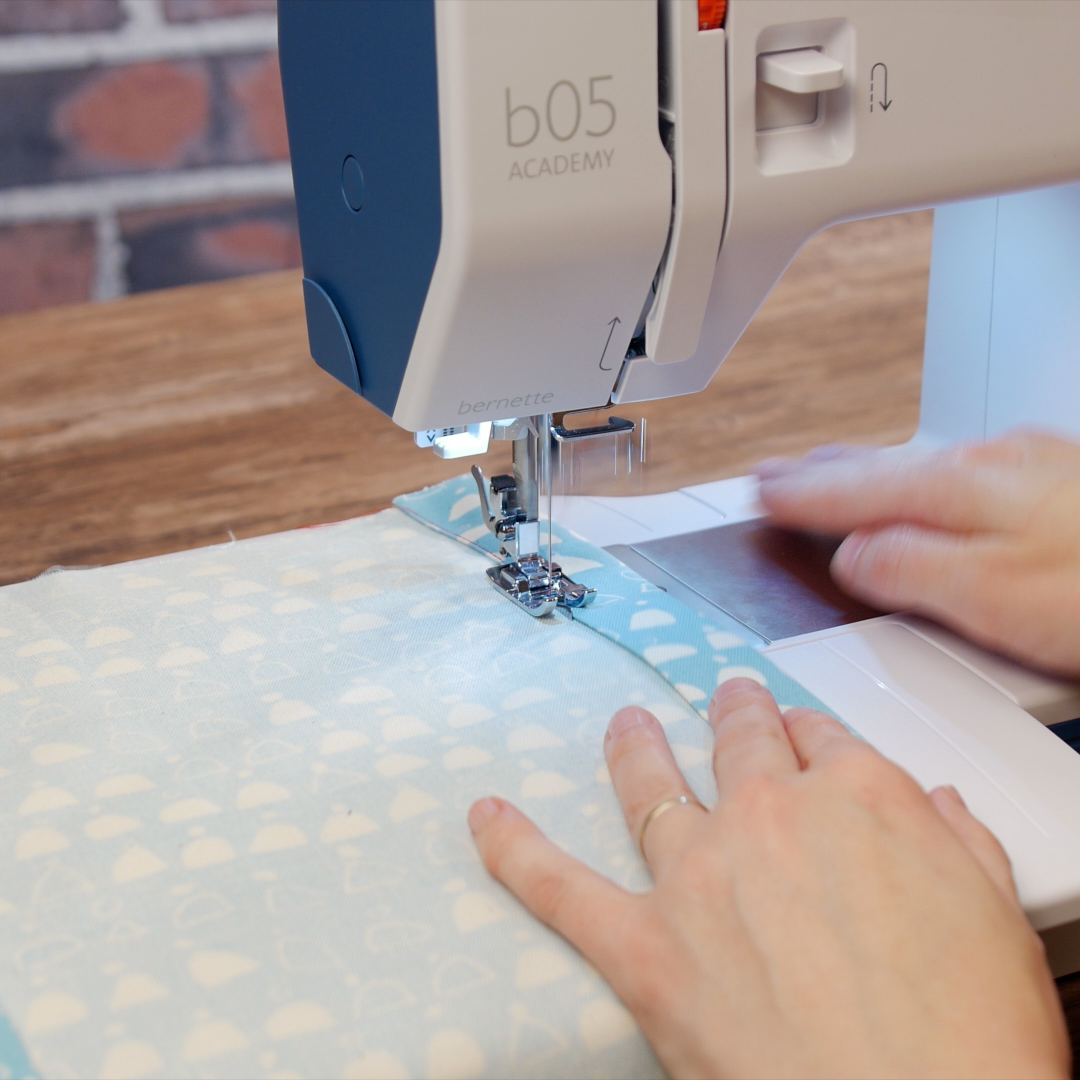
Step 5. Topstitch
Turn the right side out and press again. Then using your edgestitch foot, topstitch the hem in place for a professional finish.
Enjoy your fancy mitered hems and your new sewing skill!