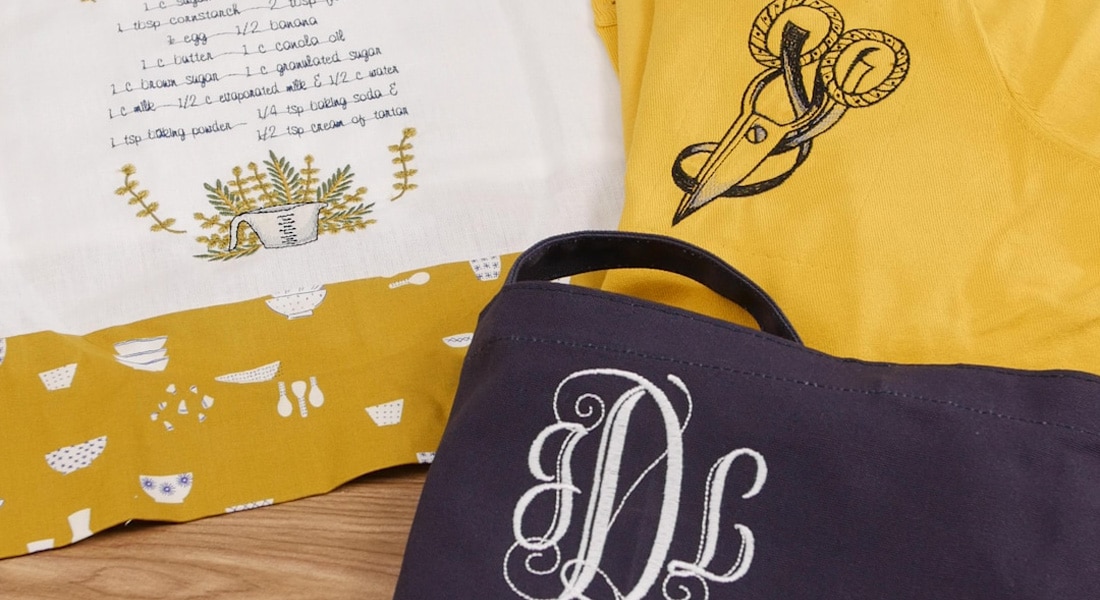
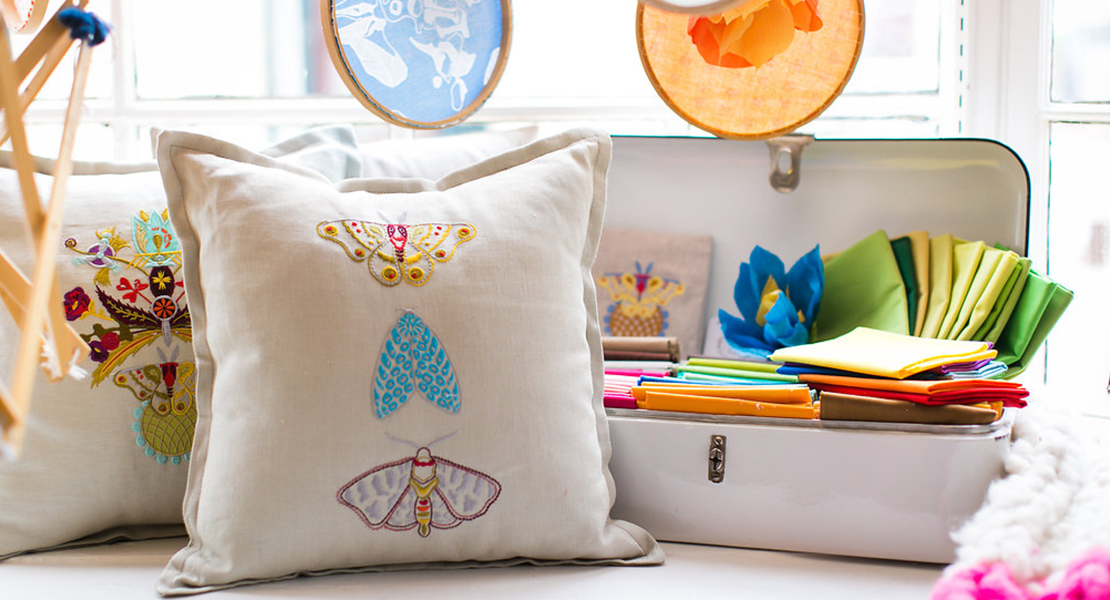
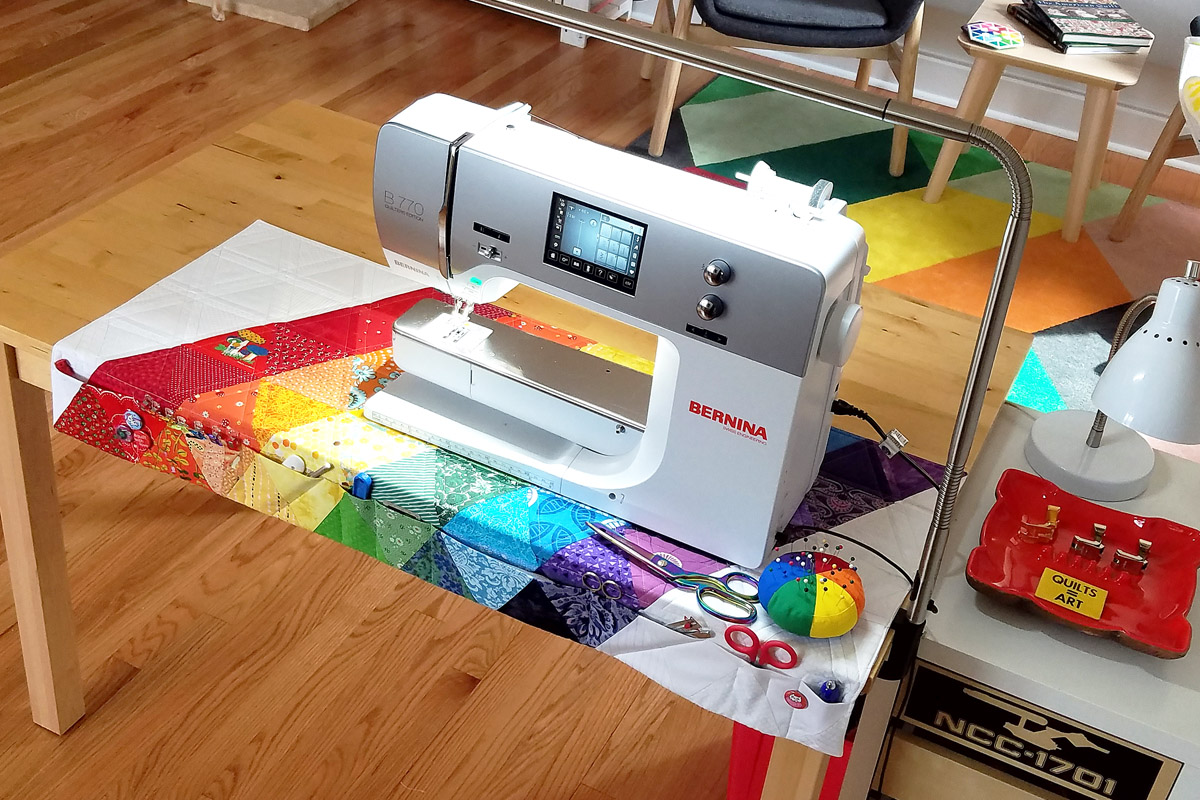
Shimmering Feathers Sewing Box: Mylar Machine Embroidery
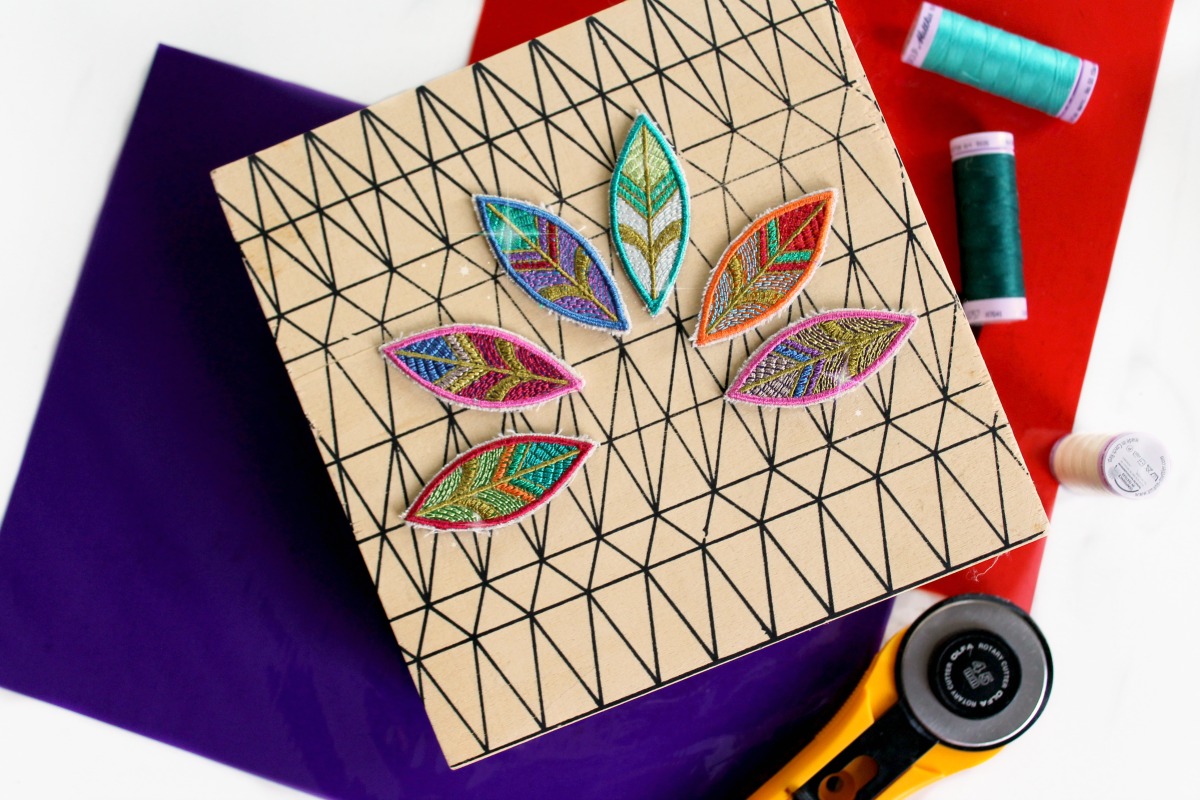
Glistening in all angles of light, using Mylar in your machine embroidery offers a subtle glittering and magical effect beneath your stitches. Today we are going to embellish a beautiful sewing box to keep or gift a friend this holiday season.
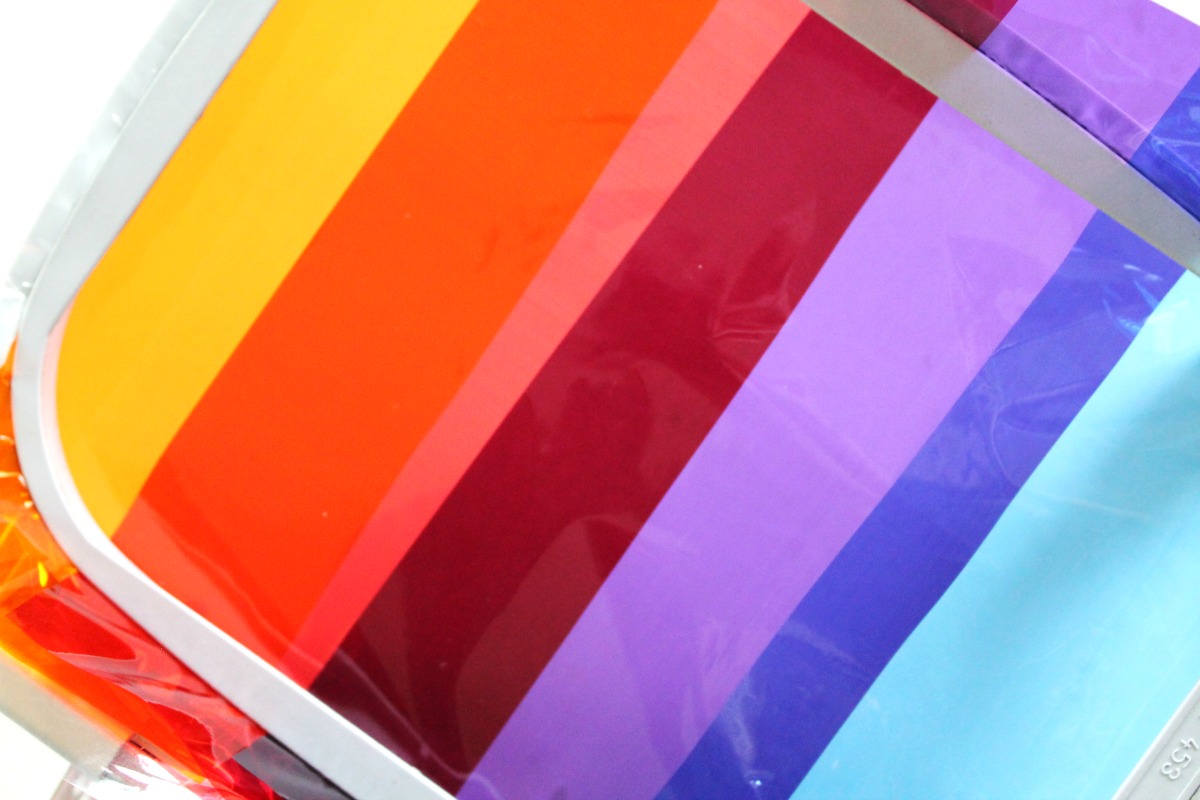
First, let’s talk a little more about what Mylar is? Mylar is a poly film available in a variety of weights and colors. There are companies that produce Mylar specifically for machine embroidery, but as many of you know, I have a knack for repurposing and I’ve found cellophane gift bags and even birthday balloons will do the trick (though Mylar balloons are not the same material as your purchased sheets.) The effect looks as if you may have stitched it out using metallic threads without the fuss! Keep in mind Mylar embroidery will not hold up to ironing or machine wash.

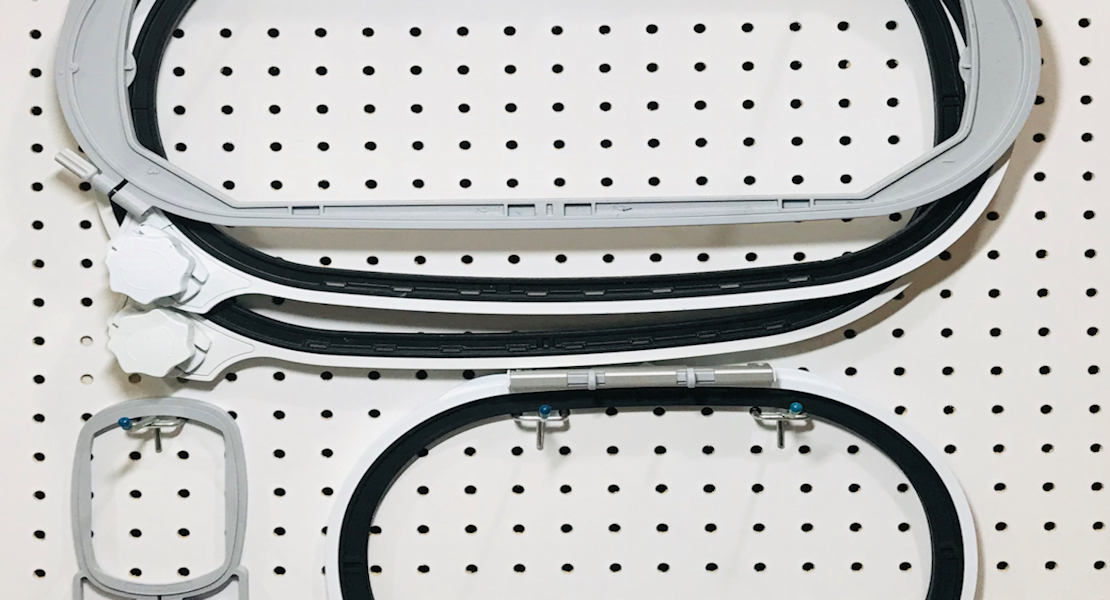
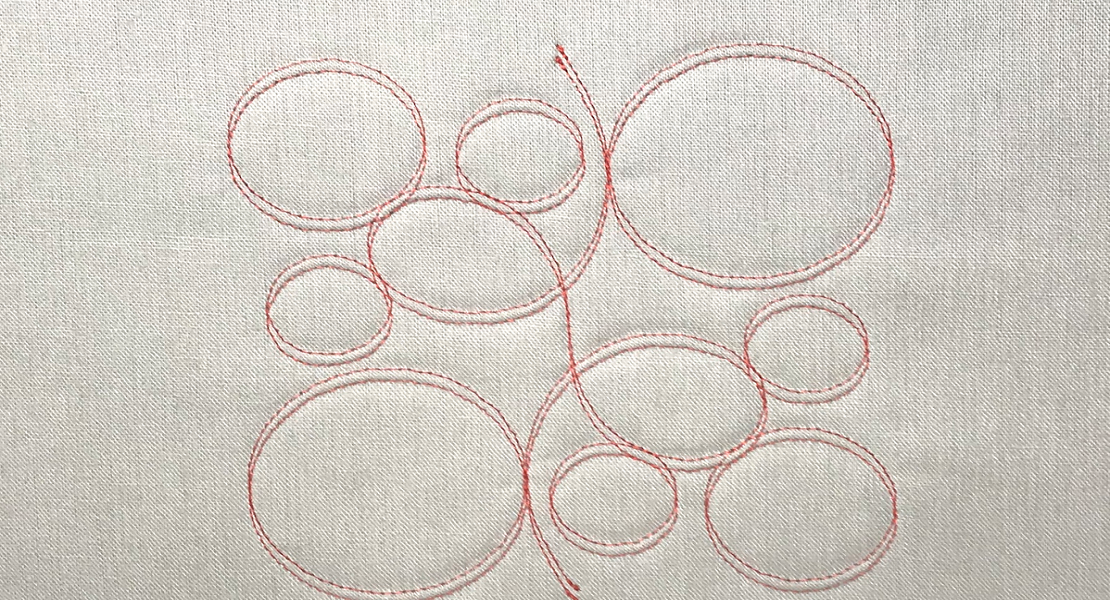
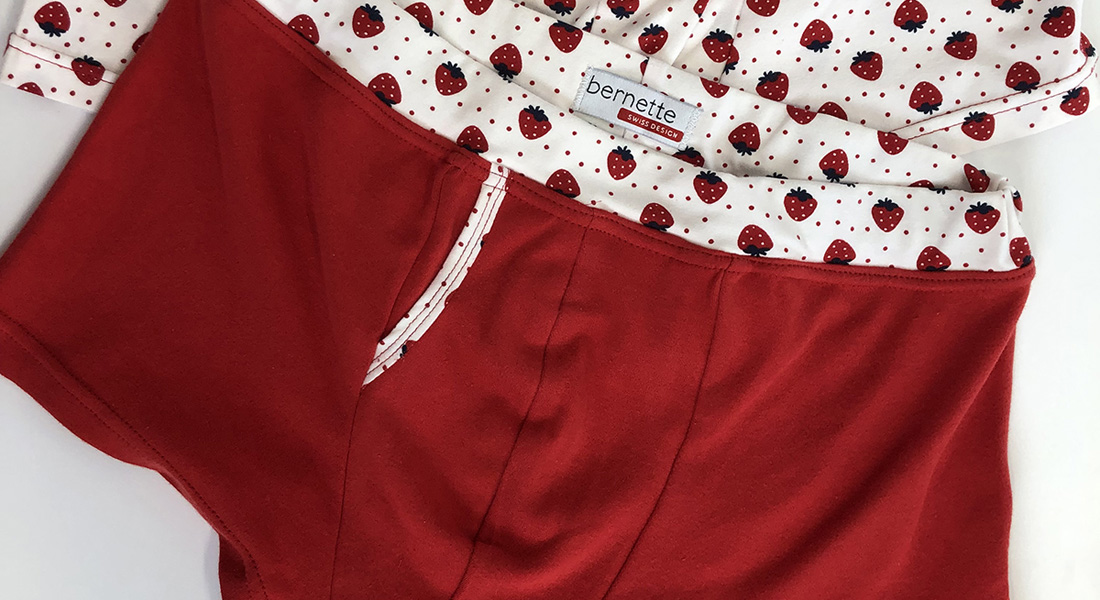
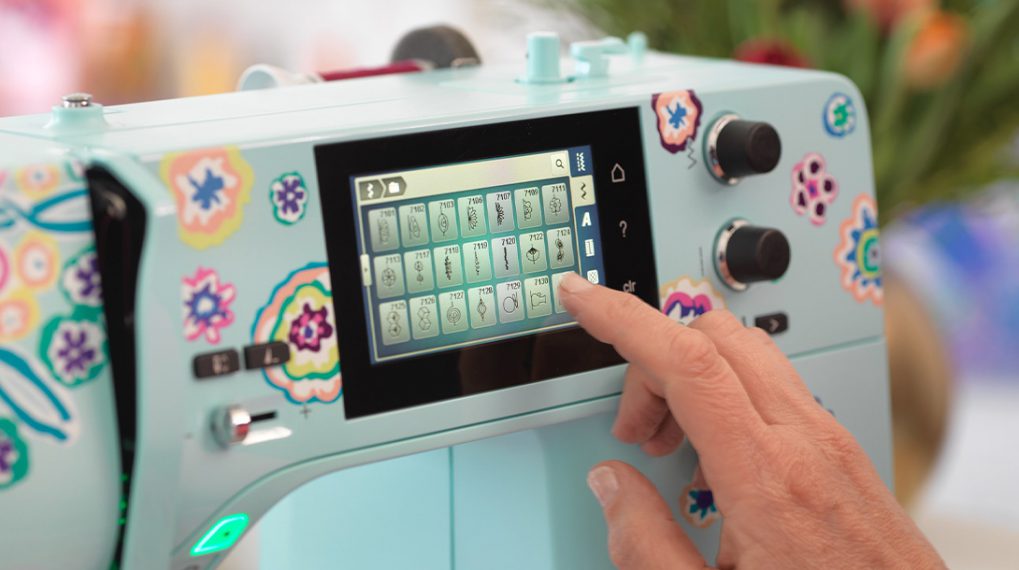
One thing I love about experimenting with embroidery & Mylar is that you can try this in any size hoop. The process is exactly the same as appliqué only it can be done using a variety of designs (even if they are not specifically digitized for Mylar embroidery.) Today there are so many options and styles when it comes to embroidery, choosing a design that isn’t densely stitched will allow the shimmer to peek out between stitches. Look for water color and painterly styles, feathery stitch fill, or make alterations using any BERNINA software. Above you’ll see a close up of the design I’m using today. Notice how the stitching is spaced. Even if you don’t own an embroidery machine this technique could be adapted to create magical free-motion or mixed media designs!
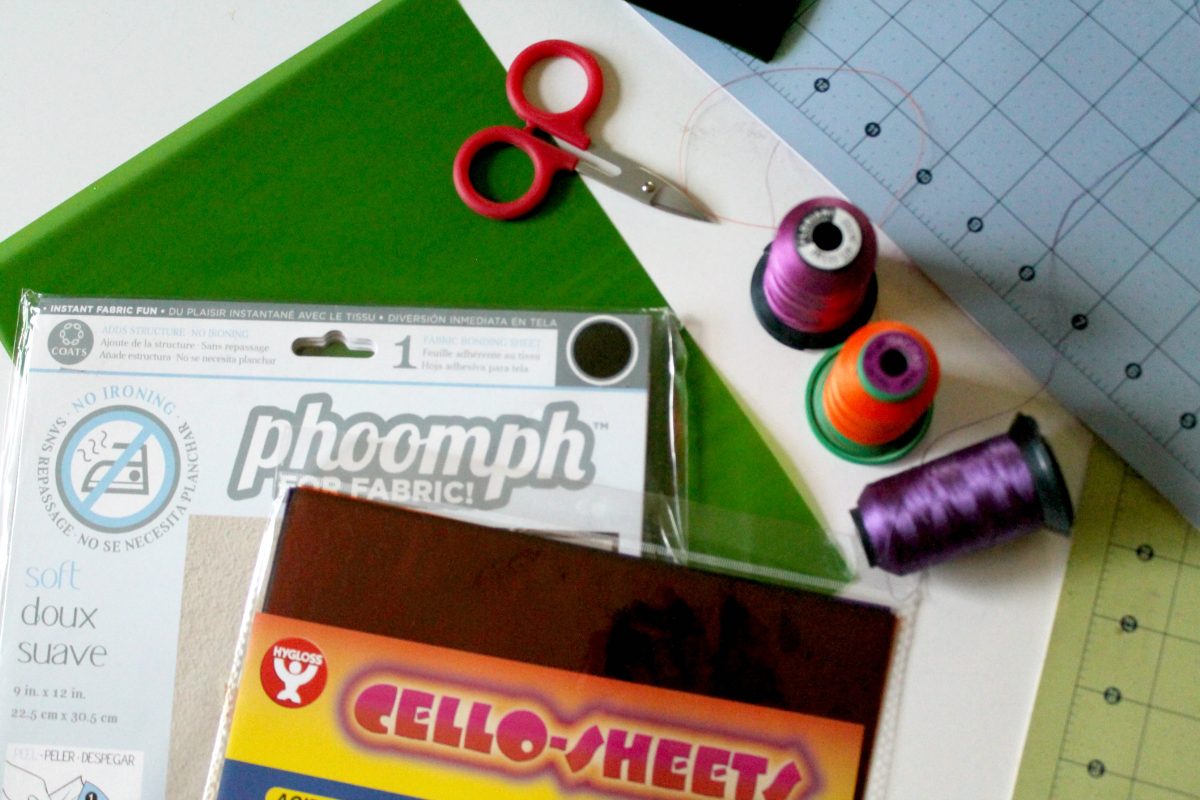
Materials needed to embroider with Mylar
- Mylar (I purchased a rainbow of cello sheets)
- Medium Weight Stabilizer
- Feather Flower OESD Design
- Phoomph for Fabric by Coats
- BERNINA Oval Hoop
- Embroidery Thread
- Embroidery Perfection Tape
- Any Customizable Box
- Fray Check
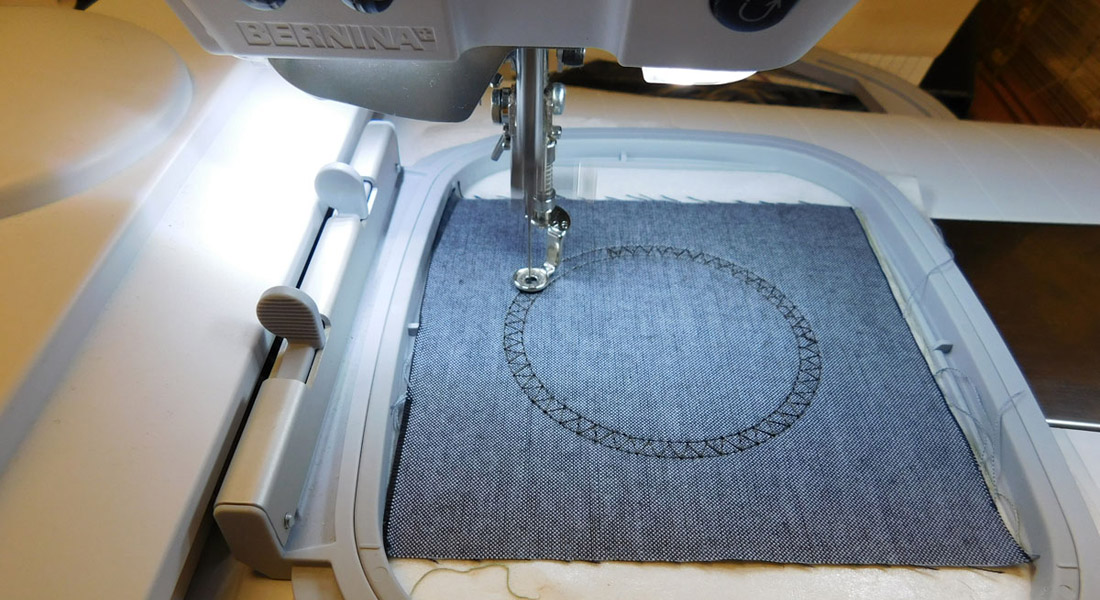
1. Prepare hoop medium weight stabilizer and design layout on your machine.
2. Lay 5″ x 5” piece of mylar on top of stabilizer tape down on corners.
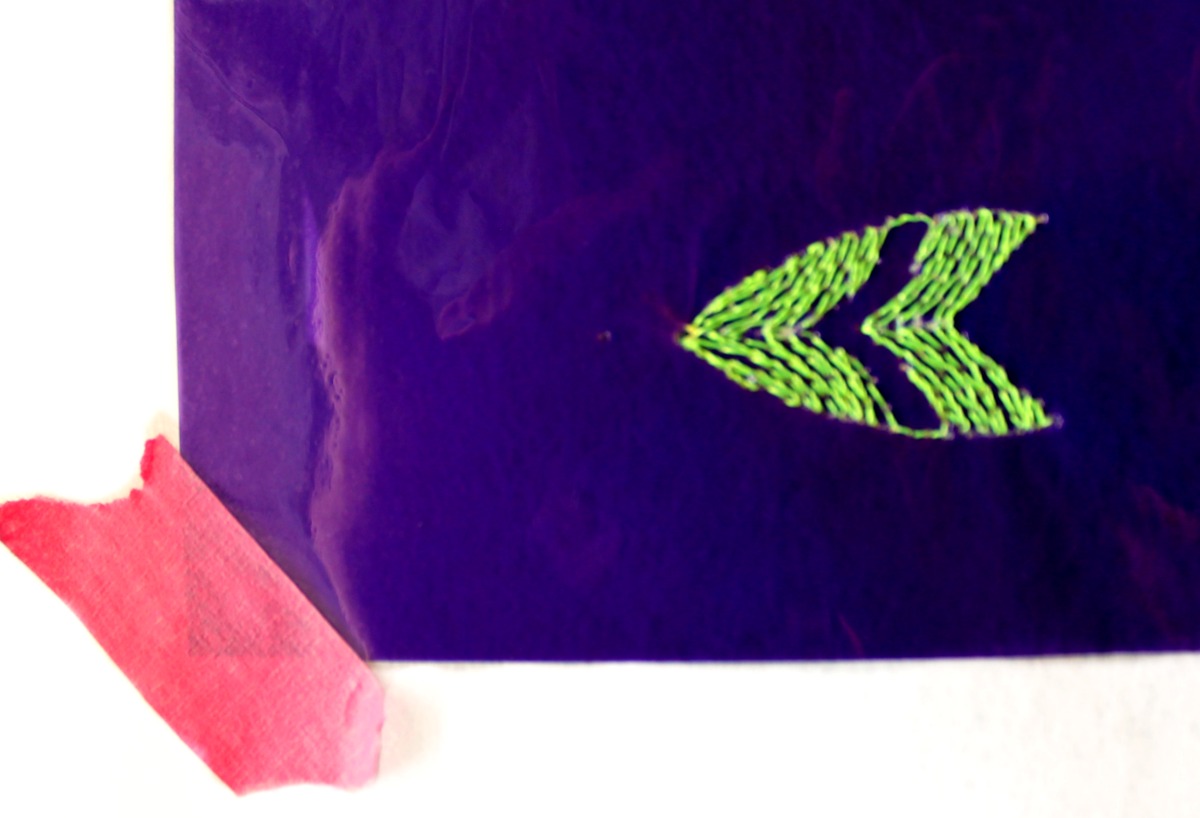
3. Stitch out first feather changing threads as directed.
4. When first feather design is completely stitched out, stop and remove hoop from the machine.
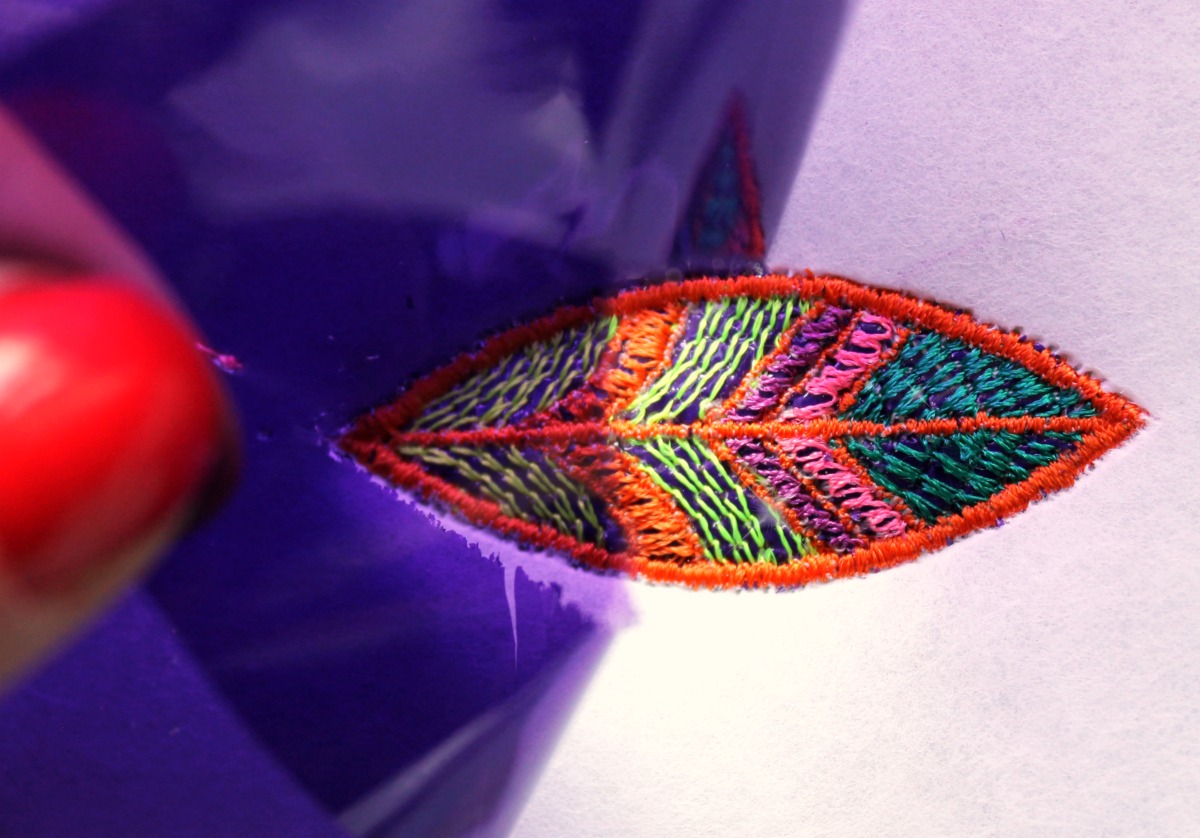
5. Use tweezers and gently pull the Mylar film away from embroidery along the edges. The stitch out has perforated the plastic film and it should be easy to remove excess. If you find you have trouble use a small pair of snips.
6. Repeat steps 1-5 for remaining feathers option to change colors if you’d like to along the way.
7. Remove embroidery from hoop and trim away any excess stabilizer.
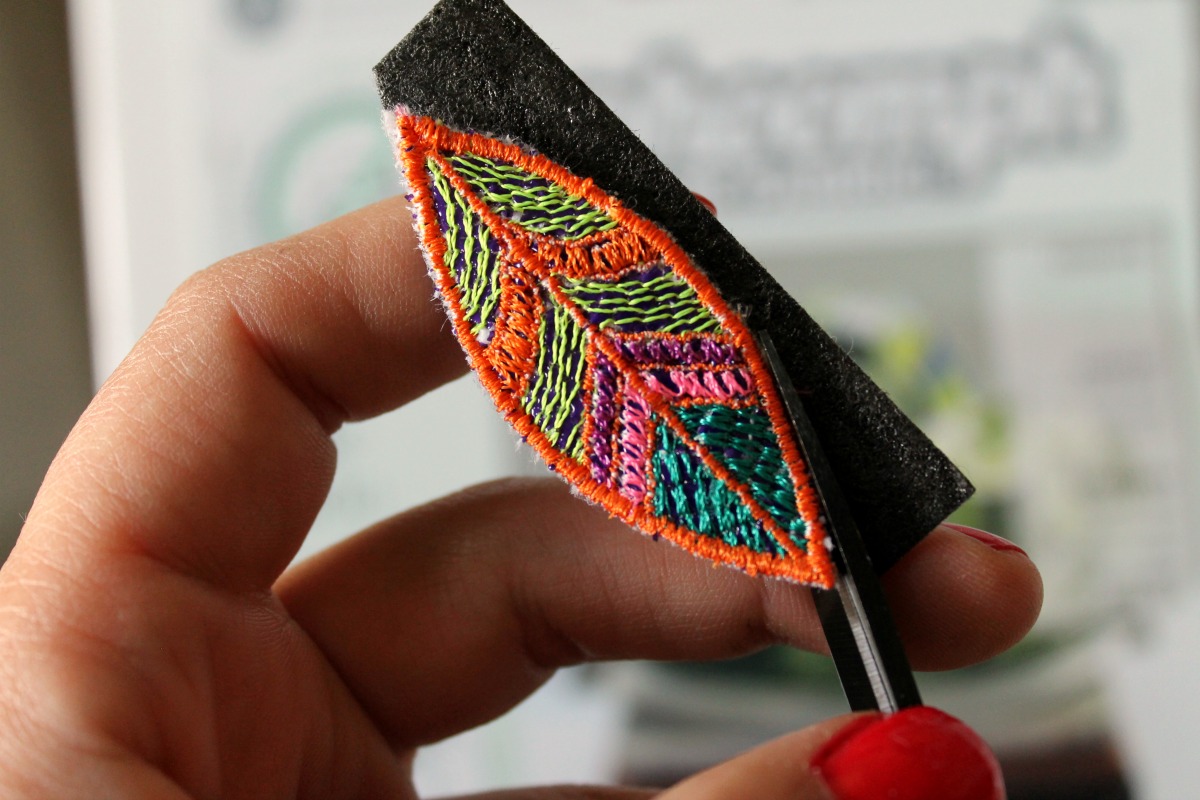
8. Apply Phoomph for Fabric to back side of embroidery. This product is an adhesive that adds structure and dimension without sewing or ironing. Trim to size.
9. Apply fray check to edges of embroidery.
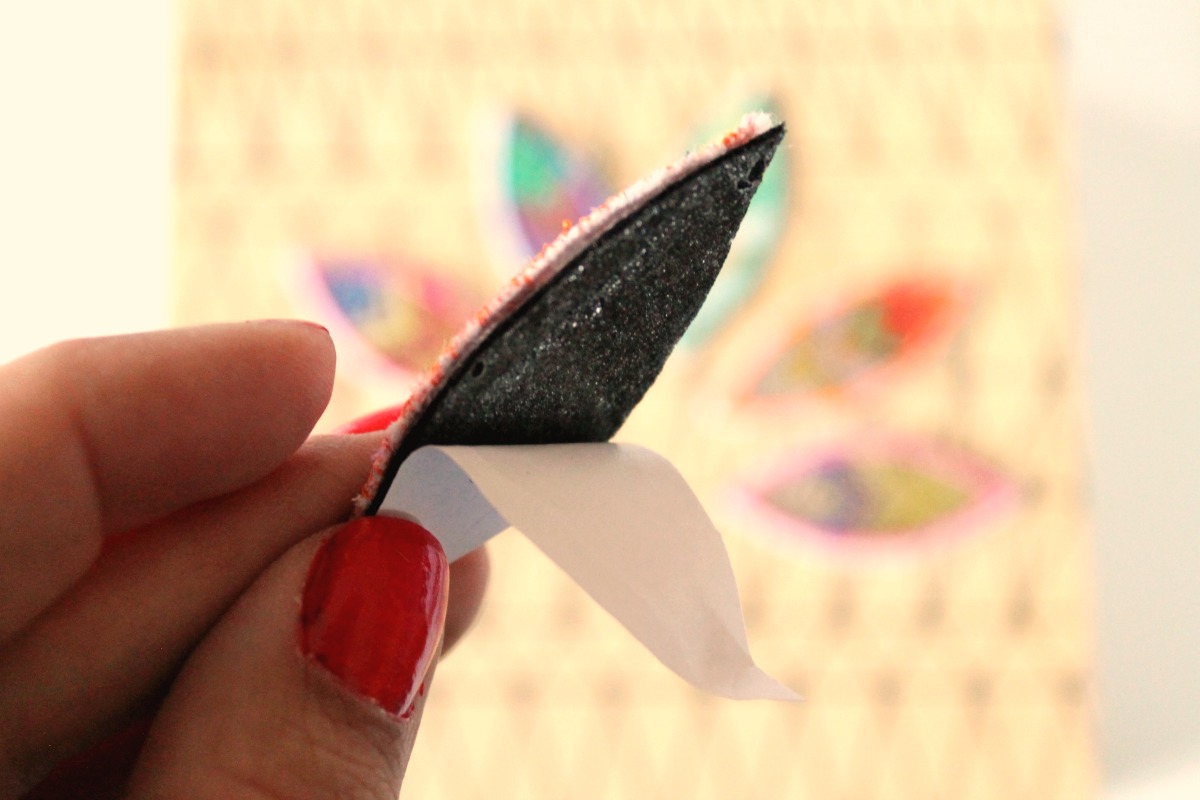
10. Remove paper backing and adhere to top of box.
Our December 23 Gift for You:
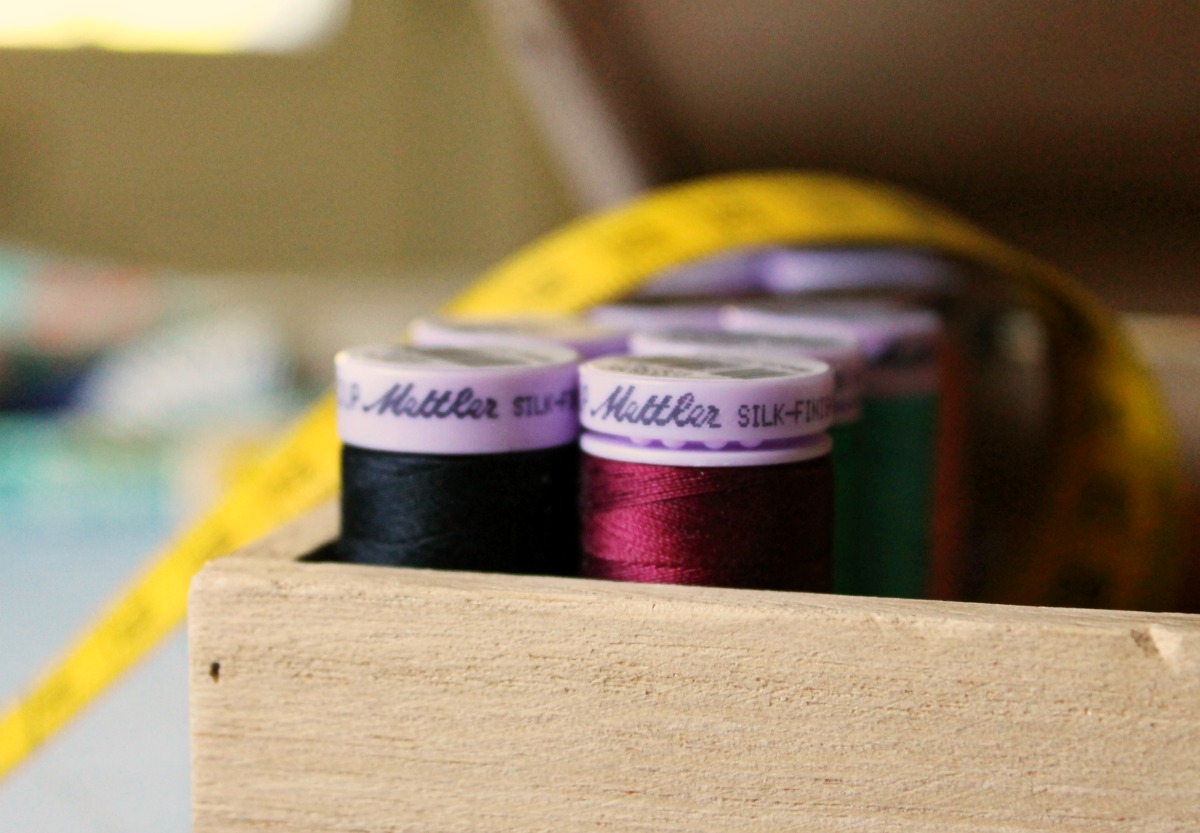
Today’s gift is a kit including 18 spools of Mettler’s Silk Finish yarns.
All you have to do is post a comment below answering the following question:
Do you create machine embroidered gifts for the holidays?
A winner will be chosen at random on December 24 , 2016 and announced the following week!
Good luck!
The contest is open for comments until December 23 at 12:00 midnight Central Time. Click here for contest rules.
Congratulations to WeAllSew reader “cmbwell,” the winner of our December 23rd gift. Enjoy!
Used Products


What you might also like


76 comments on “Shimmering Feathers Sewing Box: Mylar Machine Embroidery”
-
-
I have embroidered towels with holiday designs to use as hostess gifts or to give to my sewing bee.
-
Not so much butt made scarves for the Golden Retriever puppies
-
-
I love this idea! I’ve never heard of phoomph before I will have to check it out. Yes I do machine embroider gifts for the holidays! Thanks for all the ideas, projects, and gifts!
-
Not this year!
-
I made about 12 embroidered dog bandanas and about 6 dish towels this year. About half of those were “commissions” from my mom.
-
Embroidered holiday gifts is my primary use for my embroidery module, although I’ve not progressed far beyond embellished towels and napkins. I appreciate the new-to-me techniques introduced in this tutorial.
-
My embroidery unit is still in the box with the shipping straps I am hoping to learn how to use it so next year I can make lots of Christmas gifts.
-
Yes, I made mug rugs, personalized cross bag purses, and jumbo pillows with embroidered name for each grandchild.
-
For gifts this year, I embroidered many little hanging monogram “welcome pillows” as well as linen throw pillows with 3-letter monograms. Love my Bernina embroidery function!
-
Yes! This year 28 mug rugs, 2 table runners, and oven mitts!
-
I made several machine embroidered gifts. Mostly hand towels and mug rugs!
-
Over the years I have made cards,towels, bags and stockings with my machine embroidery .
-
I put dogs’ names and dad’s phone numbers on their collars. His furbabies are wild and have managed to lose tags so hopefully these will last.
-
I just bought my embroidery unit recently and I’m still learning to use it. I hope to be doing gifts next year for Christmas gifts.
-
Oh yes–I love to make machine embroidered gifts at Christmas! I am well known throughout my immediate and extended family for making machine embroidered kitchen towels, bath towels, aprons, blankets, pillows, pillowcases. Regardless of the age, I can always find great designs to match the varied personalities. This is one of main reasons I purchased the Bernina 880–to ensure that I could continue making gifts that match up to professional customized gifts! Thank you Bernina!
-
I machine embroidered tote bags that I created for gifts.
-
I just recently bought my embroidery machine, so I haven’t made anything yet. I’ve only done some practice stitching. Hopefully, I will be able to make some embroidered gifts for next year.
-
Not so far…I just purchased my embroidery module.
-
Yes, I do create machine embroidered projects for the holidays. All my Christmas cards were stitched in the hoop, monogrammed in the hoop zipper bags, and some machine embroidered pillows this year.
QuiltShopGal
http://www.quiltshopgal.com -
Looks like fun! I’ll need to give this a try with some of my mixed media and free motion projects.If I had a machine that embroidered I would ; ) Thanks for the chance to play!
-
I make all my gifts from my sewing room from quilts to everyday usage. My family enjoys receiving the gifts I make it is one of I kind and all made with love! Merry Christmas to everyone and happy sewing into the new year!!
-
I like small projects for my sewing friends.
-
I use embroidery for lots of gifts, but I especially like to monogram things.
-
I do not have an embroidery machine, but I have created gifts using the special stitches on my Bernina 380 and with special threads, and it has been fun.
-
I like to include a Christmas themed mug rug, a FSL ornament or FSL bookmark in my Christmas cards to friends and family.
-
Yes. I make machine embroidered ornaments that double as gift tags! Happy Holidays!
-
I don’t do machine embroidery, but I could use the thread anyway.
-
I have this year for the first time. I’m really enjoying making monogrammed napkins and embroidered table runners. I love the look of Mylar and will have to try it.
-
This year I made all my family personalized bath towels with the person’s special interest such as flowers and then their name. I sure hope they all like it. Other years I done oven mits and jelly jars with pretty embroidered Christmas decorations on them.
-
yes, lots of putting names on items: mugrugs, bookjackets, coffee cozies, bags, etc.
-
Yes, my favorite this year was an Advent calendar shaped like a tree and sent to my granddaughter in Europe.
-
I’m new to machine embroidery but I am making FSL snowflakes to give to family members this Christmas.
-
I do when appropriate. It depends on the person
-
Yes, I do every year. This year I embroidered the names of my grandchildren on beach towels, embroidered nativity pictures for my 7 children, and made a Noah’s Ark kit for one of my grandsons. I’m always embroidering something.
-
Yes but need to improve!
-
Do I create machine embroidered gifts for the holidays? That all depends on how you define “machine embroidered” gifts. I’ve never been able to afford an expensive embroidery machine so I have to improvise. I cut out my holiday designs (snowman, wreath, mittens, etc.) from fabric, iron them onto my fabric using Heat n Bond, then blanket stitch around them. I have created some beautiful items this year using this method.
-
I love creating embroidered gifts for the holidays.
-
Yes, I made table runners for our children
-
Yes, I definitely create machine embroidered gifts for Christmas. I have been busy making ITH potholders, embroidered pillow cases, embroidered ITH quiet books and wall hangings. I love my Bernina 880 embroidery machine. Thank you for this wonderful tutorial. I have been a little afraid of trying mylar but now I am ready to give it a try.
-
Yes. I like to add unique detail to table runners.
-
Most definitely! I just finished10 snowman candy cane holders for the neighbors grand kids. I also made a new travel toiletry bag for my husband and decorated it, and a couple of fabric covered boxes with emb. for my sewing friend.
-
Personalized gifts and embroidered kitchen towels are fun to make and give for the holidays.
-
No, I don’t machine embroider gifts. My machine only has simple embroidery stitches. These shimmering feathers are lovely though!
-
I usually make small projects that include some verbiage and birds
-
I make embroidered hand towels. There are so many fun designs out there. My family seems to like them.
-
No, I don’t have an embroidery machine. 🙁
-
Not really machine embroidery. But I made pillow shams for a commission with FMQ around the fabric flowers. And I put some appliqued owls on my daughter’s t-shirt quilt.
-
I embroidered Christmas cards this year
-
I did some machine embroidery work on a pillow with my B560 for my Mom for Christmas! Easy Peasey! Love it!
-
Yes I do, I love to give Lace gifts, ornaments-tree toppers-gift boxes et, as presents for the holidays. My Bernina sewing and embroidery machine makes it all possible !
-
No I have never attempted machine embroidery. One of my Berninas has the embroidery hoops and everything else to do it but never had the courage to try.
-
I do not have embroidery machine capabilities, but I have embroidered gifts.
-
I machine embroider small projects such as cute hand towels and pieces to use on pillows. Love to machine embroidery Christmas items!
-
No, I have not started any projects yet.
-
Yes, I love to make my Christmas cards.
-
I have embroidered holiday designs on kitchen towels to use as hostess gifts or to give to members of my sewing bee.
-
Mug right is a great little gift to attach a gift card to. Other than that I am a baby when it comes to embroidery.
-
Sometimes, but not this year!
-
They look great. Hope to do some machine embroidery in the new year.
-
Yes, I made a very good friend a quilted pillow in her favorite color. Many quilted shades of blue embroidered squares. And in the middle I scripted her initials in a pretty color blue square. Whenever she visited, she always brought a rectangular pillow with her. I had asked her once about that, and she said she always wanted a pillow to hug. After I gave that pillow to her I, learned that when she traveled for work (which is VERY often) she always takes my pillow with her.
-
I don’t do machine embroidery
-
I really like this design. Didn’t know you could use the Mylar without an embroidery specially digitized for Mylar.
-
I started early this year and stitched out all my gift labels. I made a few tissue box covers and several ITH pocket tissue holders. Merry Christmas everyone!
-
Usually kitchen towels
-
I absolutely love machine embroidery and try to embroidery just about everything. I definitely make machine embroidered gifts throughout the whole year.
-
I have dome minor things, like monogrammed items, but would like to learn other ways to use my embroidery unit.
-
I’m excited to try embroidery on Mylar. I purchased some Mylar now I need to try some designs
-
Yes, Last Christmas I made my brother a table center mat with a buffalo embroidered on it in his college colors. This year, though I had limited time, I made some cute snowballs with faces for grand nieces and nephews.
-
I haven’t done any embroidered gifts for this Christmas, but I did earlier this year. I absolutely love these feathers! I’m definitely going to try this project!
-
Yes, I do. I made pot holder/hot pad sets all in the hoop and angels and snowflakes too. My 830 is so looking forward to its annual spa treatment after the holidays!
-
I did! I made dishtowels with Snowmen and Sunbonnet Sues from OESD.
-
I love to gift homemade Christmas presents. This year there has been some family trials so I did not hit my machine as I would have liked. I was able to stamp tags for small gifts. I’m not a great embroiderer, but slowly playing with my machine to get it.
-
No, my current Bernina does not have embroidery capability, but someday…
-
I embroidered several shirts for family members for Christmas gifts!
Leave a Reply
You must be logged in to post a comment.

This Christmas season, I machine embroidered holiday designed mug rugs which I gave away as gifts. One of the designs was a free download of a Christmas tree from the Bernina website. Thank you.