How to Sew a Detachable Statement Collar, Part 2: Pointed Edge Collar
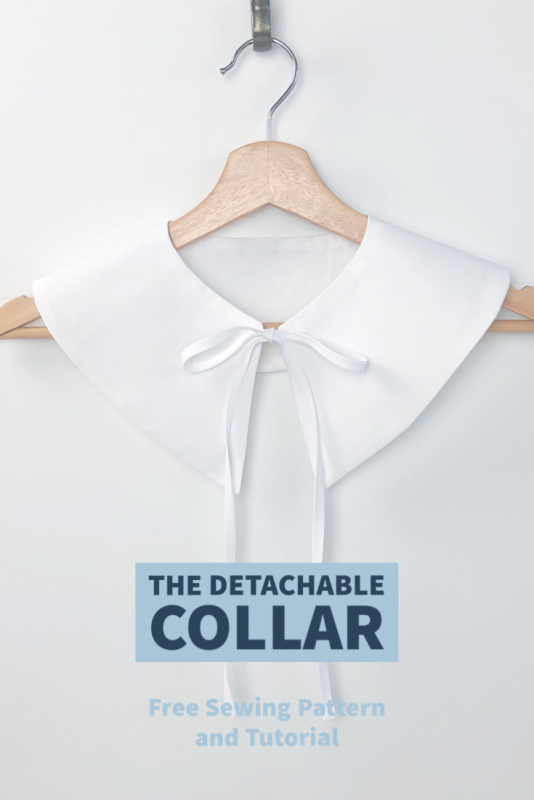
Learn to sew a detachable statement collar with perfect collar points.
Welcome to part two of the series, How to Sew a Detachable Collar. Detachable Statement Collars are such quick and satisfying sewing projects. There is so much mix and match potential in the variations that you might find yourself amassing quite a collection. Throughout this series, we will begin with a basic collar pattern and learn how to change the design to create a look that is uniquely you. In my introductory post, I showed you how to make a Peter Pan-style rounded collar with additional tips for sewing curves. For this installment, we are going to learn a bit about the structure of woven fabric and how it relates to creating sharp points to sew a Pilgrim-Esque maxi collar.
If you missed the first post, catch up here: How to Sew a Detachable Statement Collar, Part One
Lesson Plan
- Rounded collar tutorial and construction tips
- Pointed edge collar tutorial and construction tips
- Ruffled collar tutorial and construction tips
- Creating and adding edging and ruffles
- Embellishments (BERNINA DesignWorks fun!)
Detachable Statement Collar Notes
- The construction of this collar is quite similar to the previous rounded collar tutorial. Before sewing this version, please read through the Rounded Collar Tutorial. Instead of re-writing all of the construction details, this post will instead focus on the importance of the fabric’s grain and how it relates to sewing super sharp collar points.
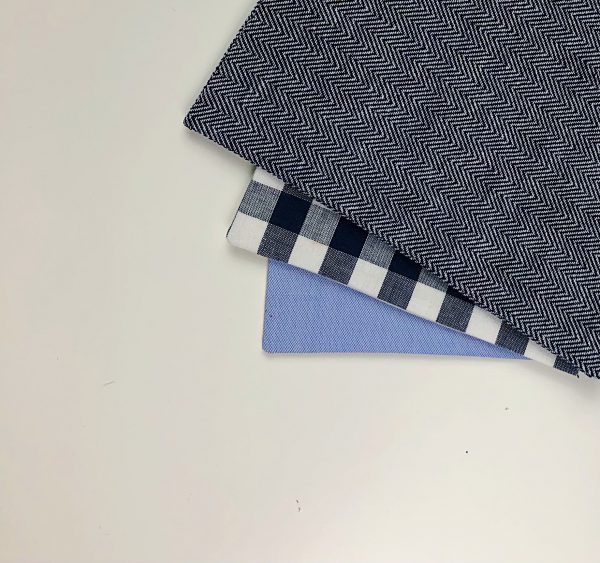
- This pattern works best with light to medium-weight woven fabrics like cotton lawn, chambray, linen, light-weight corduroy, and poplin.
- Optional: One yard of grosgrain or double-faced satin ribbon. (Instead of fabric ties.)
Finished Measurements:
Large Pointed Collar (without added ruffle) approximately 4.5″ side collar width
Materials to Sew a Detachable Statement Collar
- 1/4 Yard of Fabric
- Coordinating thread
- *Interfacing (sew-in or fusible)
- One yard of ribbon (3/8 to 1 inch) or make Two (2) fabric ties that are 1/4 x 18 inches
- Download, print, and assemble the PDF pattern
Preparation
- Cut 2 collars on the fabric’s fold
- Cut one collar out of *Interfacing. Trim Interfacing so it is about 1/4” inch smaller than the collar.
Steps to Sew A Detachable Statement Collar
Pressing and Pinning
- Press collar fabric flat. If using *fusible interfacing, press to adhere to fabric, keeping the interfacing ‘centered’ on the collar fabric.
- Transfer the pattern marks with tailor’s chalk or water-soluble marker to the wrong side of the fabric.
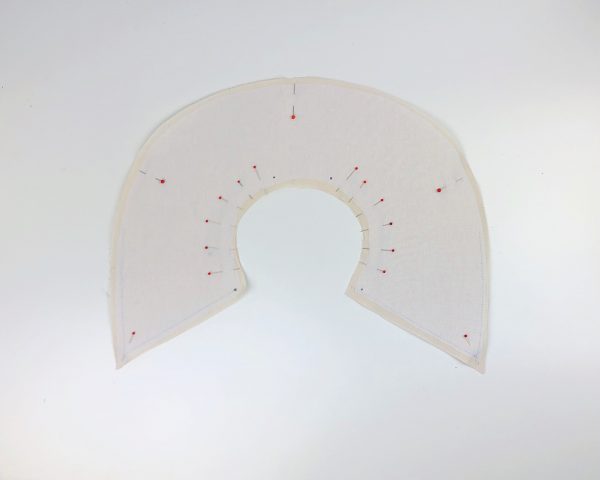
- Place the collar pieces with the right sides facing together. Pin a few pins around the outer curve to keep everything in place.
- Pin the inner curve as shown in the picture, leaving the turning space open.
Stitching the Detachable Statement Collar
- Beginning at the center opening, stitch toward the collar edge. Repeat for the opposite side. This is called Directional Sewing and will help to keep your collar symmetrical and prevent stretching and distortion. **See Directional Sewing in my previous post.
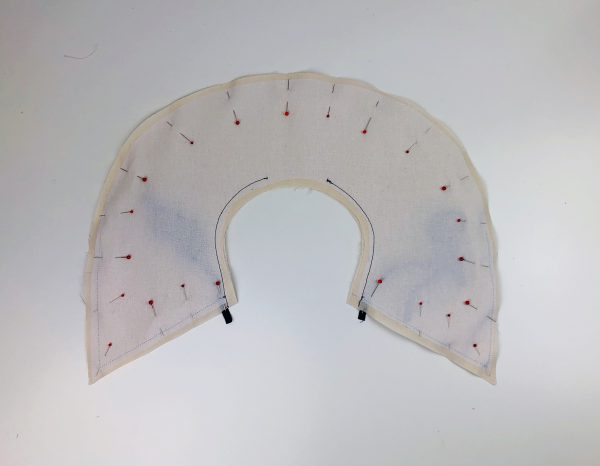
- Pin the ribbons (or ties) into place at the neckline opening. Make sure that they are between the layers of the collar and not in the seam line.
- Place more pins along the outer curve, making sure that the top and bottom layers of the fabric are flat and that their edges are aligned.
- Sew the outer curve directionally. Beginning in the center back, stitch toward the collar edge. Be sure to stitch over the ribbon to secure it. Repeat for the opposite side.
Clipping and Finishing Details of the Detachable Statement Collar
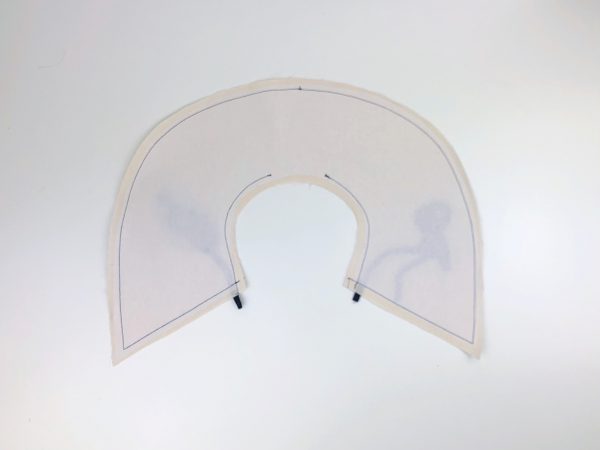
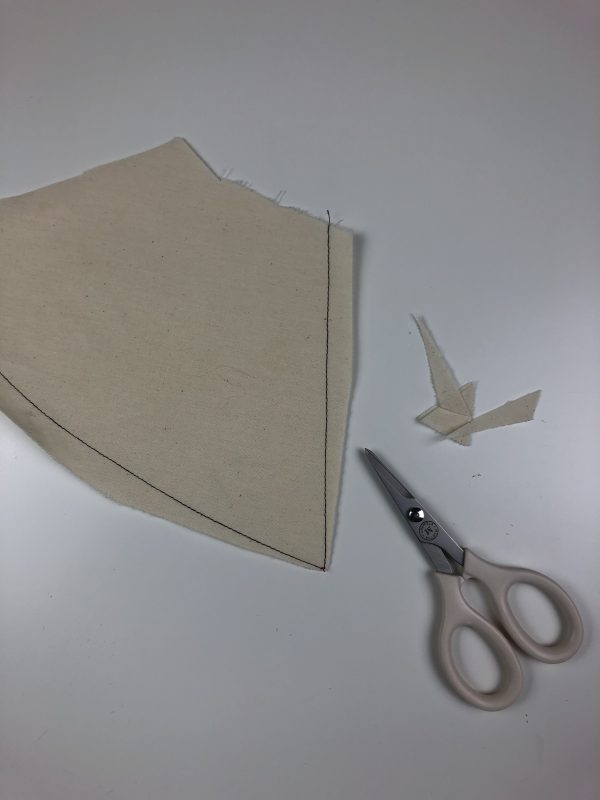
- Once your collar is stitched, grade the seams and trim as close to the corner as you can without cutting through the seam.
- Press.
- Clip and trim the curves. For more detail on clipping and trimming, see *Shaping Curves.
- Turn the collar right side out through the opening.
- Tug on the ribbon to pull collar to shape.
- Before giving a final press, take your finger and trace the inside seam to help encourage the fabric to take the curved shape.
- Press the opening seam allowance closed.
- Pin and slipstitch the opening to complete.
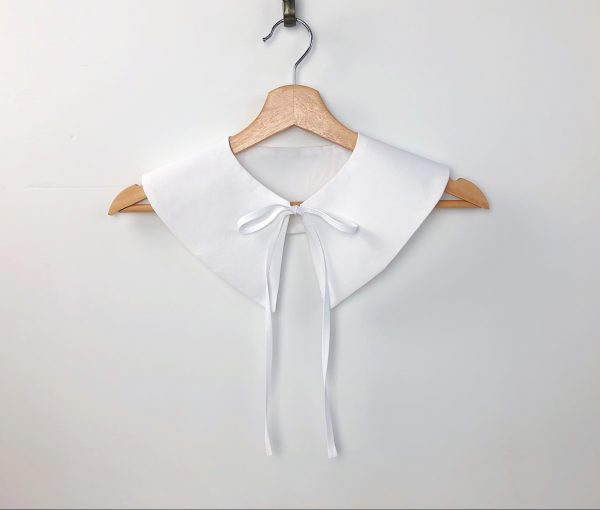
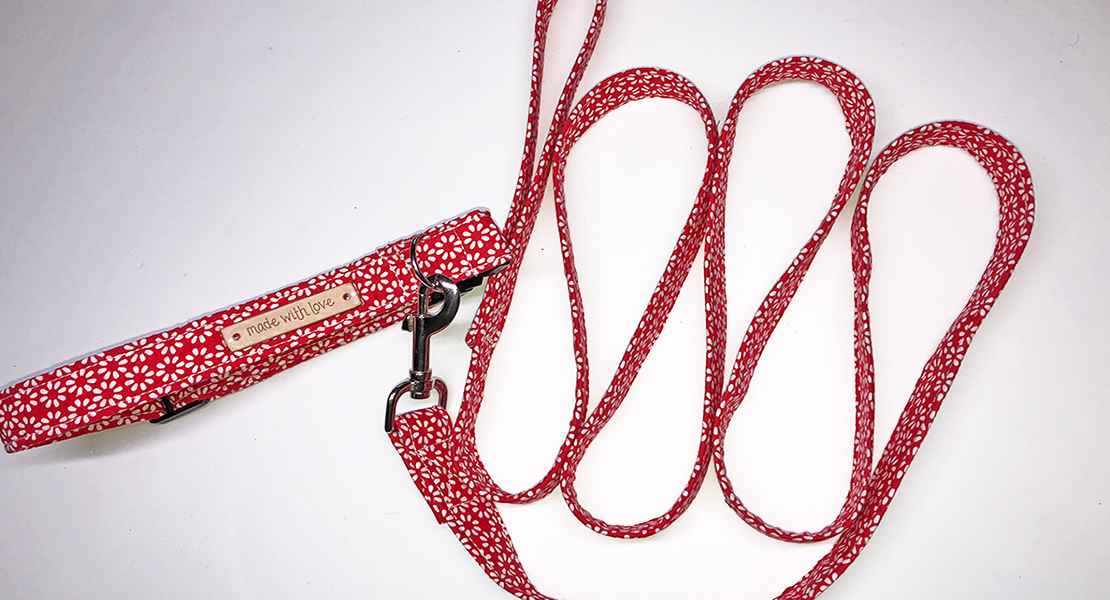
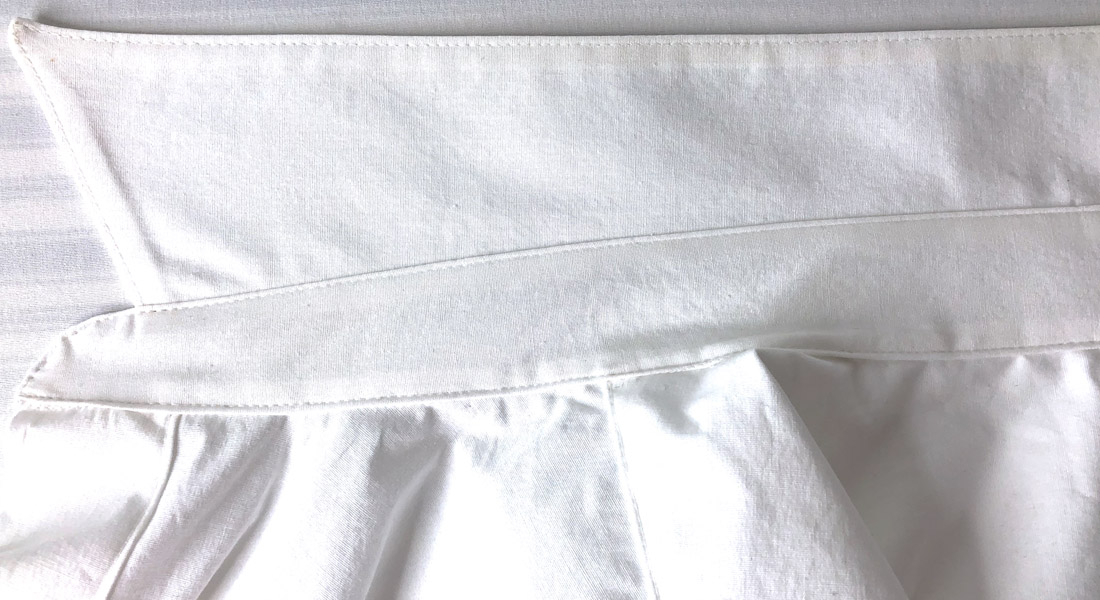
Collar in white cotton poplin with self-fabric ties.
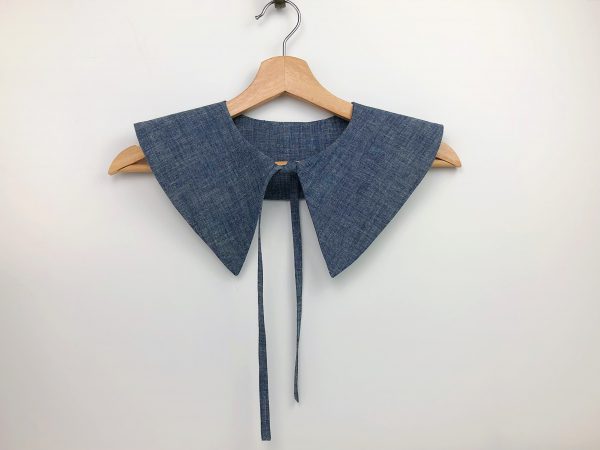
Collar in cotton chambray, again with self-fabric ties.
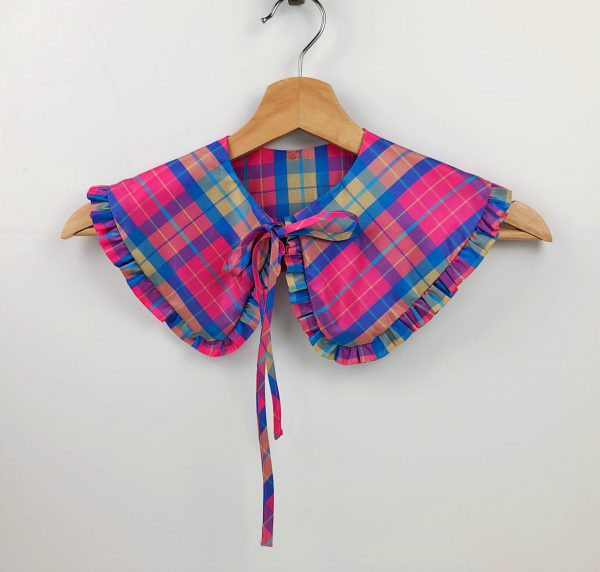
Detachable Statement Collar Pattern Variation
This collar was made using the pointed collar pattern. However, I slightly rounded the collar points before cutting out and added a gathered ruffle edge to trim.
Fabric Grainline
The grain of every cut of fabric has inherent properties that affect how the fabric hangs on the body. Cutting on the appropriate grain ensures your garment maintains its shape and drapes beautifully. I cannot stress enough how spending a little more time preparing your fabric makes everything you make turn out so much better. I encourage you to experiment with grain to better understand the fabric.
Basic Structure of Plain Weave Fabric
Fabric is woven on a loom in an interlacing over and under pattern using two threads: a lengthwise, or warp thread and crosswise or weft thread. This is of course a very simplified explanation, but one that I hope will help you to begin to make a connection with the structure of a fabric and how it relates to a finished garment.
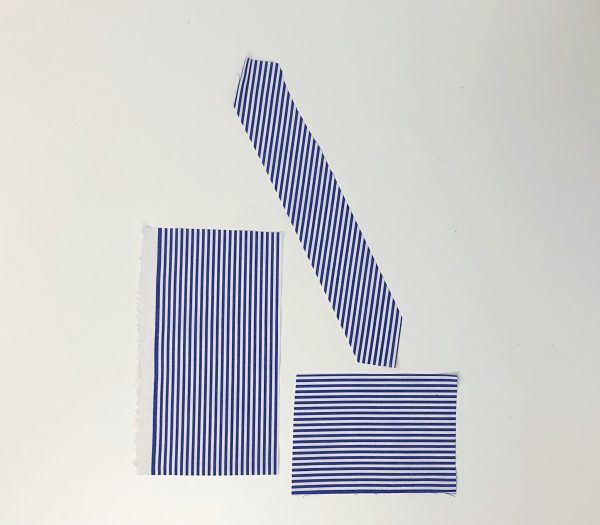
Straight Grain
The straight grain or warp thread runs parallel to the selvage. It has little stretch due to a denser number of threads per inch, hence it is the strongest grain. In garment construction, it is typical to cut the fabric so the lengthwise grain is vertical in relation to the body to minimize stretch and distortion.
A straight grain of fabric means the fabric’s warp (lengthwise) yarns are perpendicular to weft (crosswise) yarns.
Cross Grain
Also called the weft grain and is perpendicular to the selvage. This cut tends to have more stretch than the straight grain.
Bias
Fabric when cut at a 45-degree angle. You ‘cut on the bias’ to gain shape without darts and achieve a beautiful drape. Bias cut, which is diagonal to the straight grain was introduced by Madeleine Vionnet in the 1920s.
Selvage
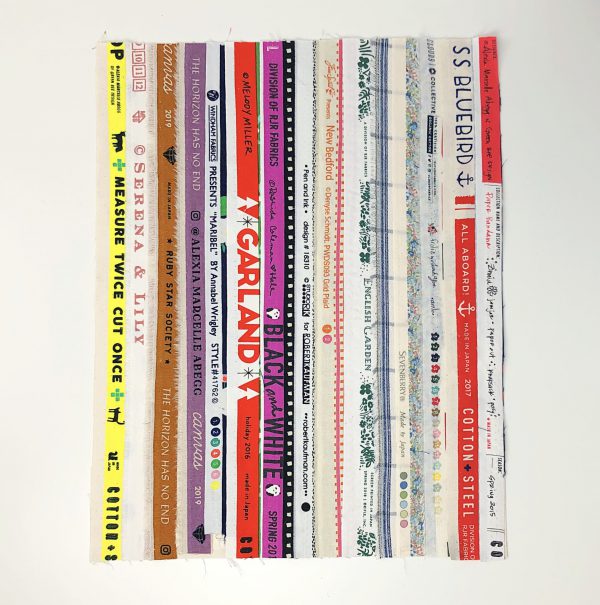
Selvage is French for self-edge. The selvage is created during the weaving process when the weft thread is turned back around the end of each row in a loop. This creates a tighter weave than the rest of the fabric. You want to try to avoid including the selvage in the garment as it tends to shrink and pucker.
Establish the grain of the fabric.
Strips of selvage cut from lots of fabrics. Can you think of a way that you could re-use the selvage strips?
Fabric cut on straight of grain (with selvage edge), cross grain, and bias.
How to Straighten the Fabric Grain
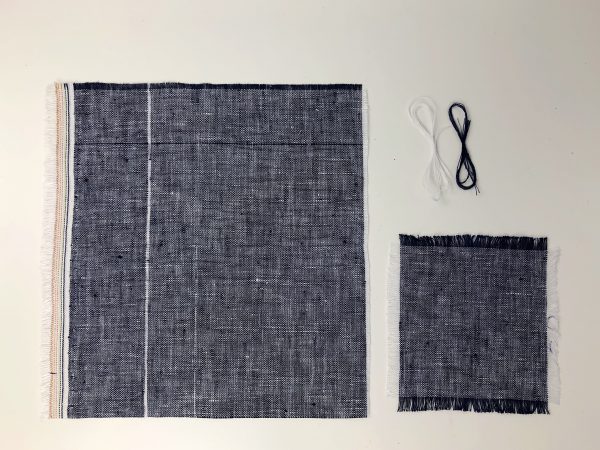
During the manufacturing and finishing processes, the fabric can be pulled off-grain and will need to be “straightened” before laying out and cutting. There are a couple of methods that can be used to re-align the original grain. To begin, you will need to identify the crosswise grain of your fabric. Remember- the crosswise grain runs perpendicular to your fabric’s selvedges (the selvedge is the factory-finished edge of your fabric).
Pulling a thread to straighten the fabric grain.
You can find the crosswise grain of your fabric in one of the following ways:
Method One: Tear Your fabric
This method is appropriate for tightly woven, plain weave fabrics.
Clip into the selvage close to the cut edge of your fabric. Tear the fabric all the way across the width. (This is a remarkably satisfying experience!)
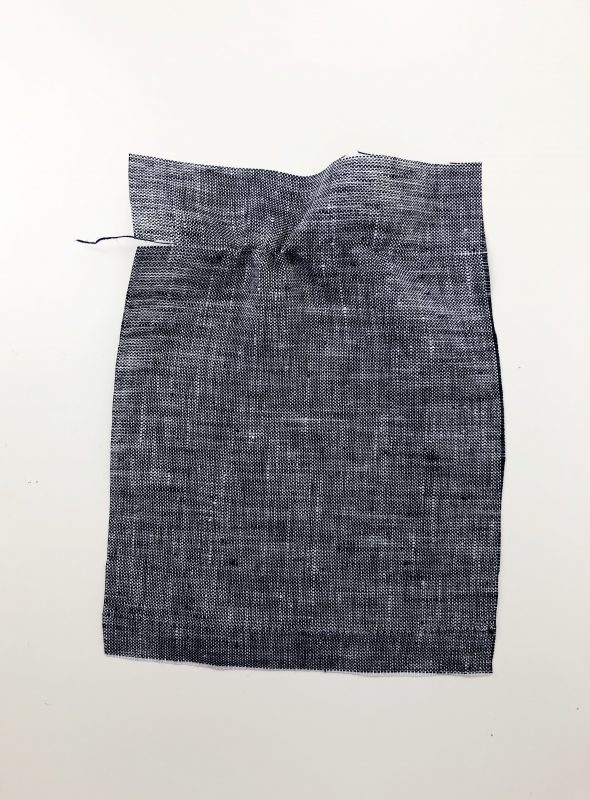
Method Two: Pull a Thread
This method is a little easier with loosely woven fabrics.
Clip into the selvage close to the cut edge of your fabric. Find a crosswise thread and begin pulling it so that the fabric gathers a bit.
Continue to pucker your fabric all the way to the opposite selvage. Pulling the thread creates a negative space from which you can cut along- ensuring a straight grain.
Sewing Sharp Points
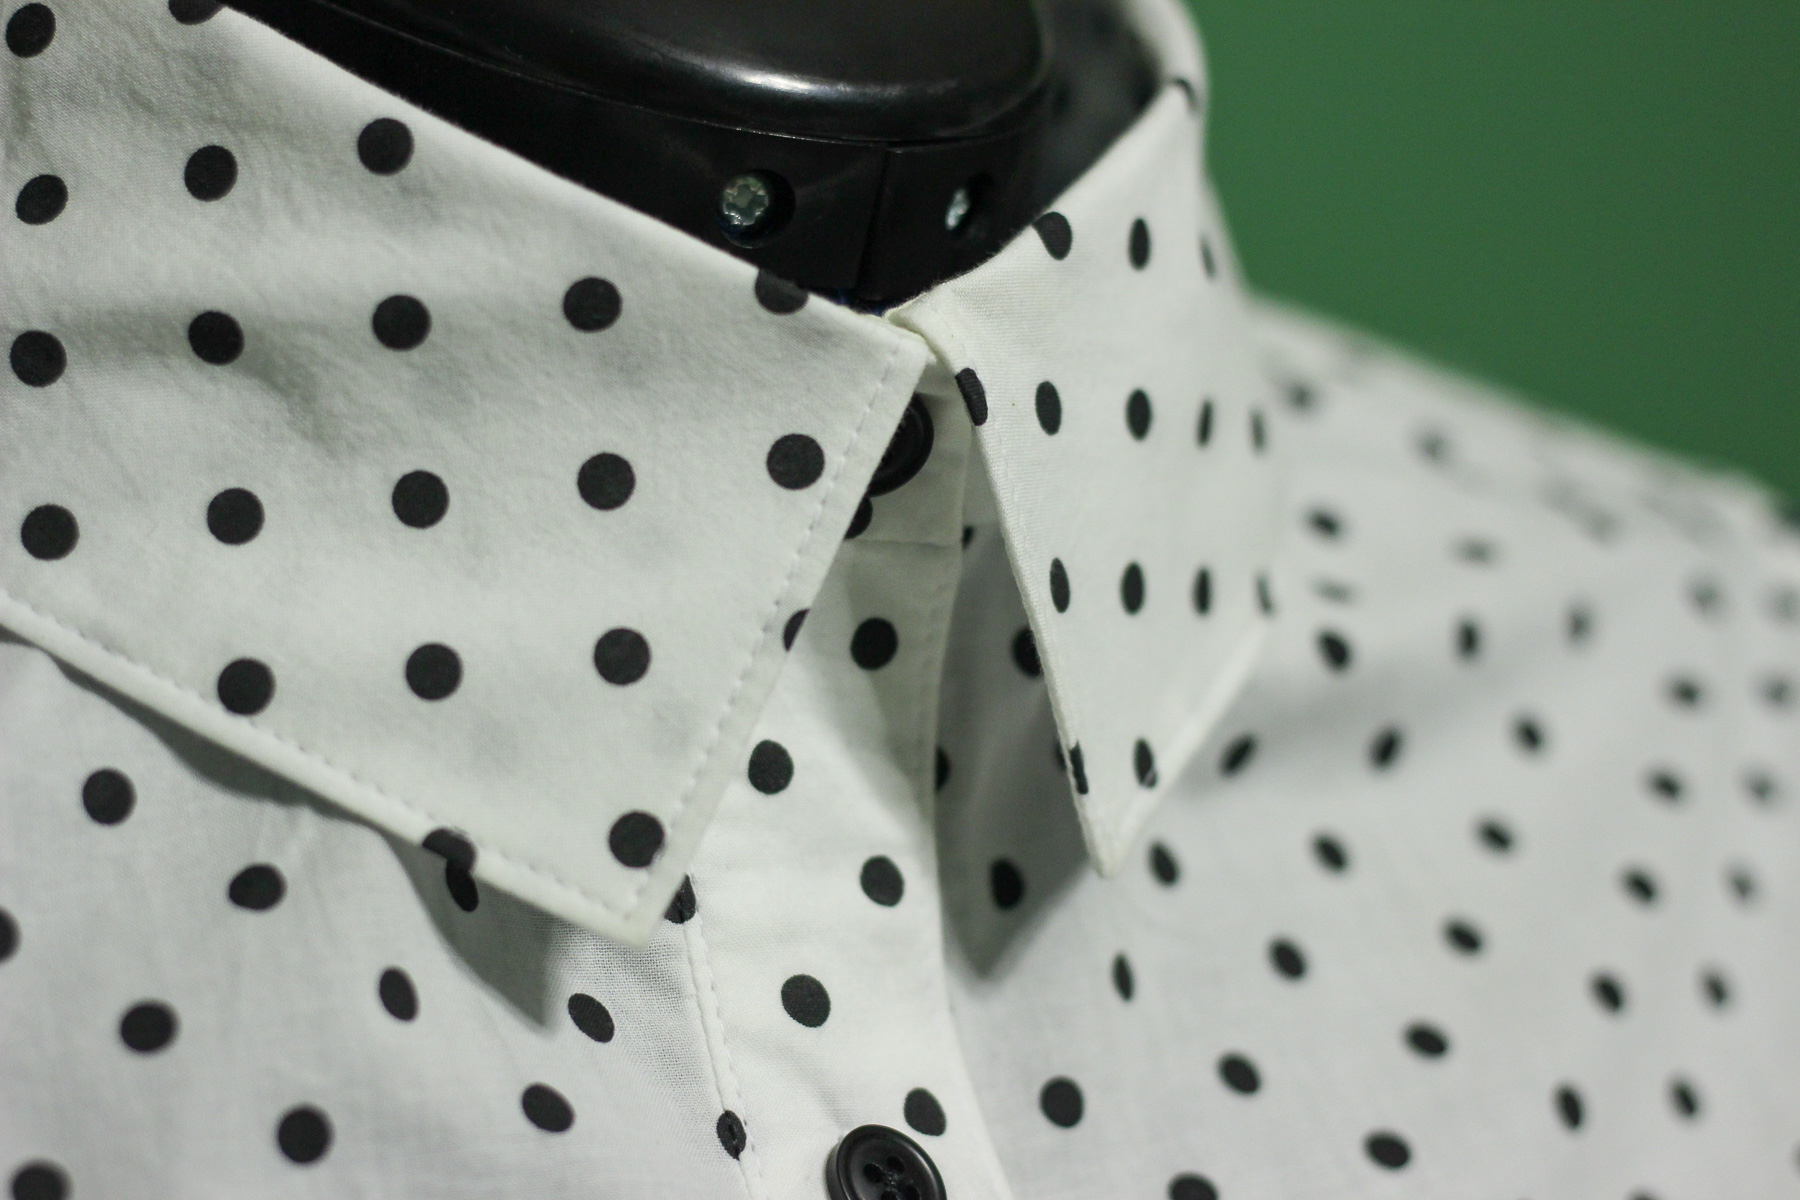
Sewing sharp collar points.
Creating beautiful corner points may seem a bit intimidating, but it’s really as easy as marking, sewing, and trimming.
Begin by examining the grain of the fabric to be sure that the weft and warp threads are at right angles. This helps ensure that the fabric, when joined will drape as intended.
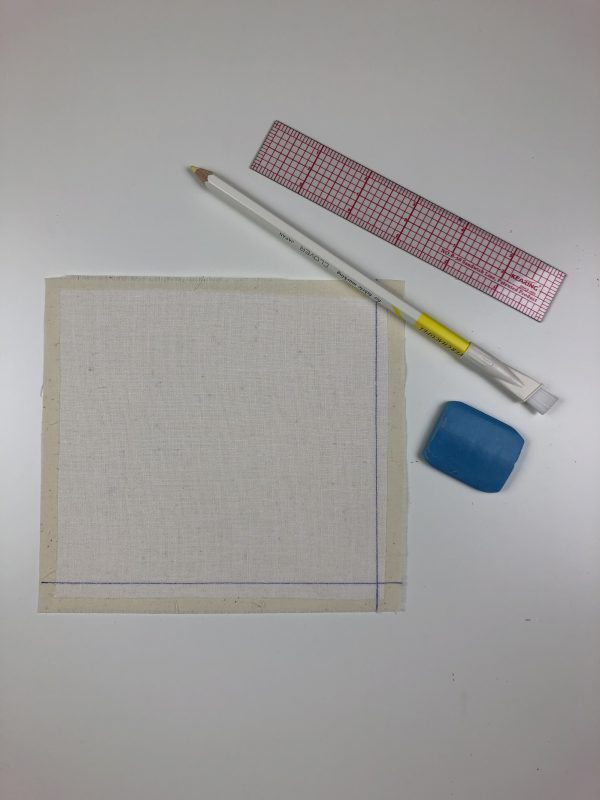
I like to mark my actual seam line on the fabric using chalk or water-soluble fabric marker and a ruler so that I will know exactly when to pivot.
Pin and stitch along the marked seam line.
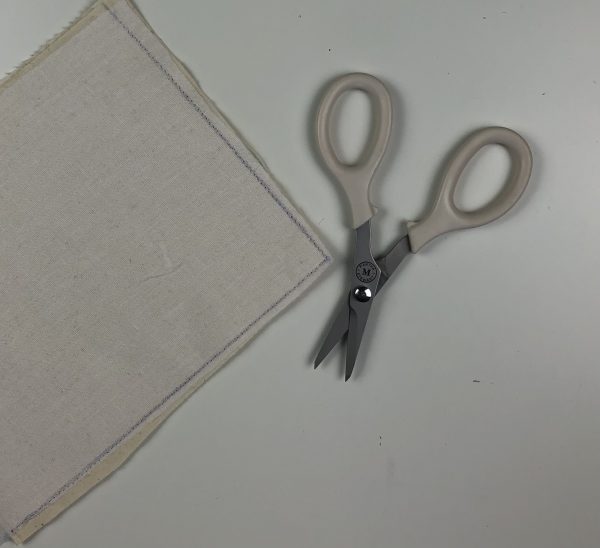
Trim the seam allowance to 1/4’’ and press the seam flat.
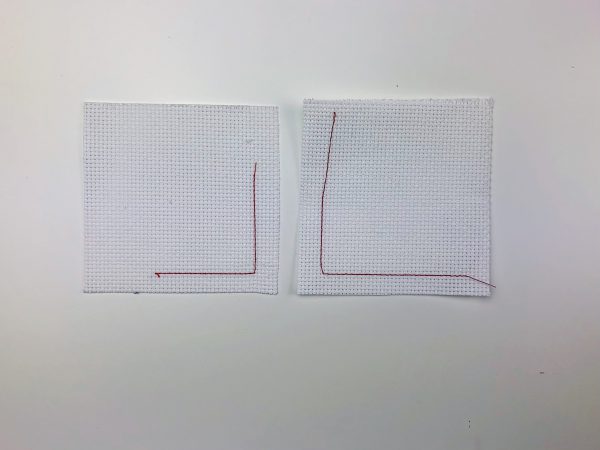
This is obviously not a collar, but two pieces of cloth, generally used for cross-stitching. I find that the scale of the weave of this cloth helps to illustrate what happens when the seam, fabric grain, and cut are out of alignment.
The sample on the left shows the stitching of a point that is “on grain”.
The sample on the right shows stitching that has veered “off grain”.
From what you have learned about fabric structure, you can see that with the wonky stitching, the grain of the fabric will not lay as intended- again reinforcing how stitching and fabric grain work in tandem.
Turning the Fabric
Turn the corner to the inside and gently pull the fabric to shape. Once you are happy with the shape, press with an iron.
I like to use the straight side of a bamboo point turner while pressing to really get a good press.
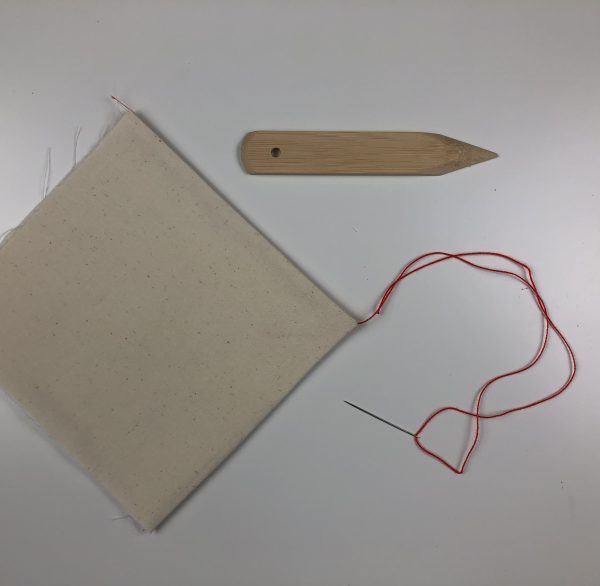
Sometimes the fabric needs a bit of encouragement to form a sharp point. I find that using a hand sewing needle threaded with a knot at the end really helpful to square the end of a point. To do this, I insert the needle inside, between the layers of fabric, and right through the center of the point. Then I gently tug on the thread until the knot pops out, pulling the fabric to a perfect point.
One Final tip!
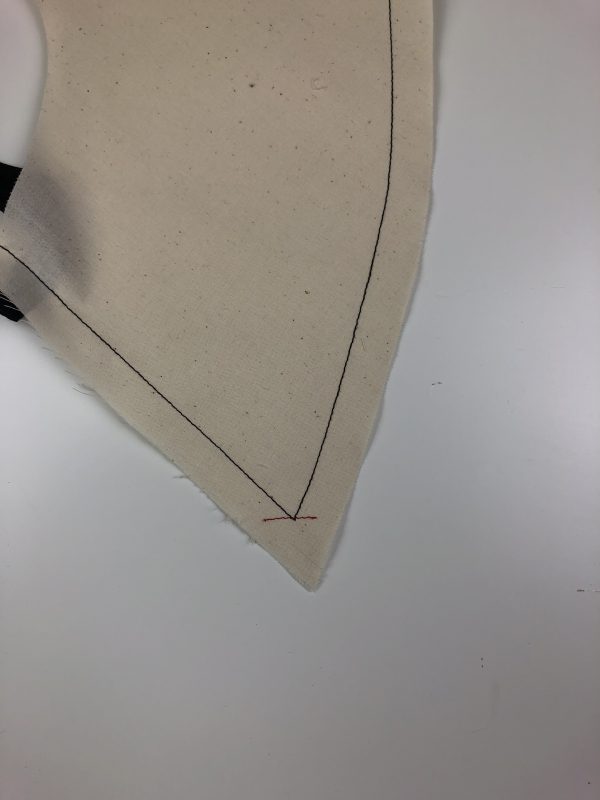
I find it helpful to many of my students to stitch a small line just one or two threads up from the pivot point of the seam. This serves as a helpful trimming guide.
This was a long post! Please let me know in the comments if you have any additional questions.
