How to Draft and Sew Bishop Sleeves
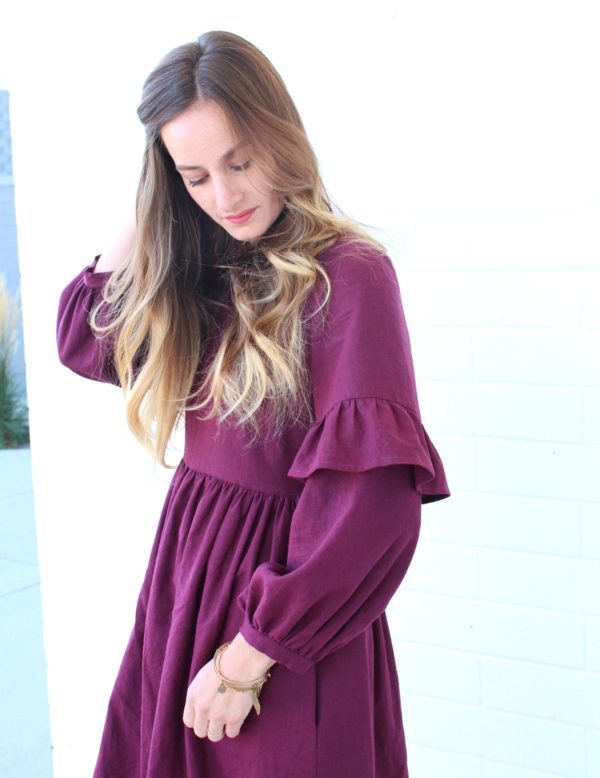
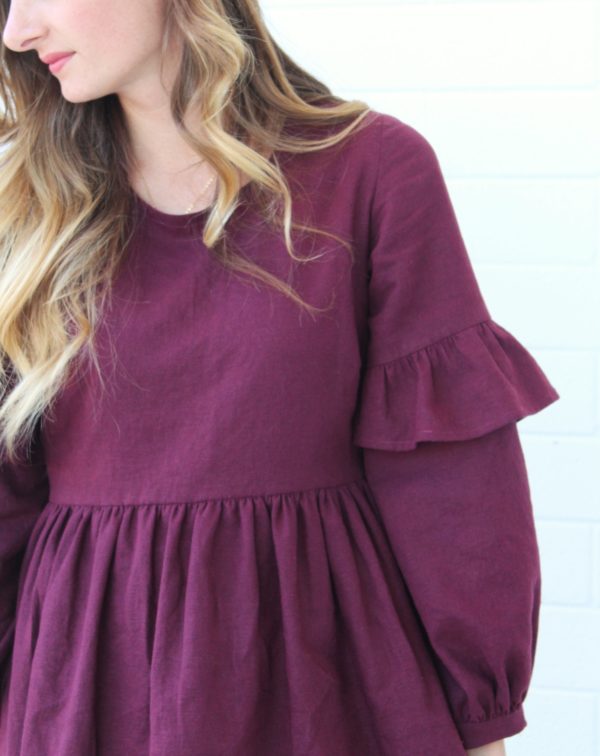
Hey everyone! Sara of The Sara Project here with another great tutorial for you. Lately in the fashion world, I have noticed bishop sleeves on everything. I love the look and I thought it would be a fun and modern update to add to any woven top or dress pattern. I designed these particular sleeves with an added ruffle in the middle of the sleeve. (This is optional if you would prefer a simpler looking sleeve). I used the Hinterland Dress sewing pattern by Sew Liberated as the base for this pattern but for this particular sleeve design, any woven dress or top pattern would also work well for this tutorial. This would also work for any child’s pattern! (Just make sure to add less fullness than the adult version asks for in step 2 of drafting the sleeve).
Let’s begin!
Materials for Making Bishops Sleeves
- Sewing machine (I use a BERNINA 560)
- Edgestitch foot #10/#10C/#10D
- Fabric (I picked mine up at Joann Fabric and used 3 yards, it’s a linen rayon blend)
- Matching thread
- Any woven top or dress pattern will work for this tutorial, but I used the Hinterland Dress Sewing Pattern
- Tracing paper
- Clear ruler
- Pins
- Tape
- Pencil
Altering and Drafting Bishop Sleeves Pattern Pieces
Step 1:
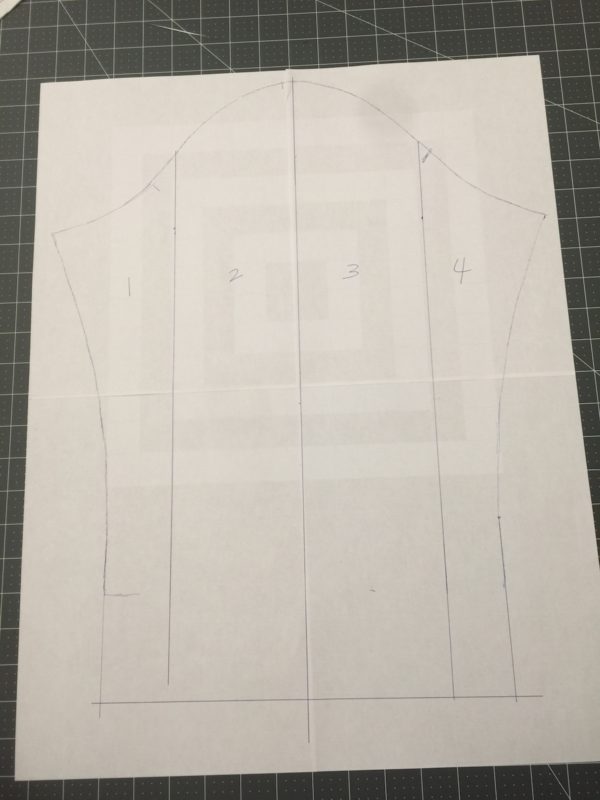
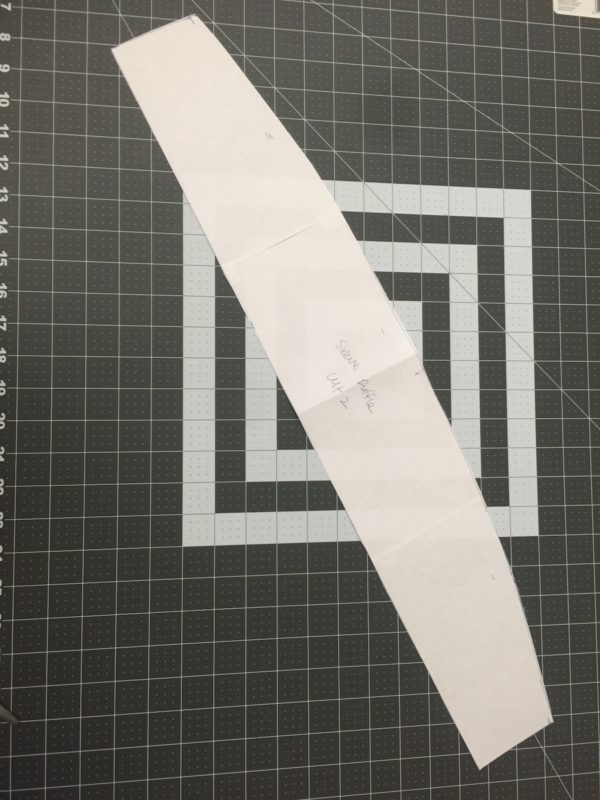
Using the original sleeve pattern from the sewing pattern you decide to use, trace the sleeve using some tracing paper. Once the sleeve is traced, add any additional length you might need. Using this particular pattern , I added 5″ in length along the grainline. Once the pattern is traced, divide the sleeve into 4 even sections.
Step 2:
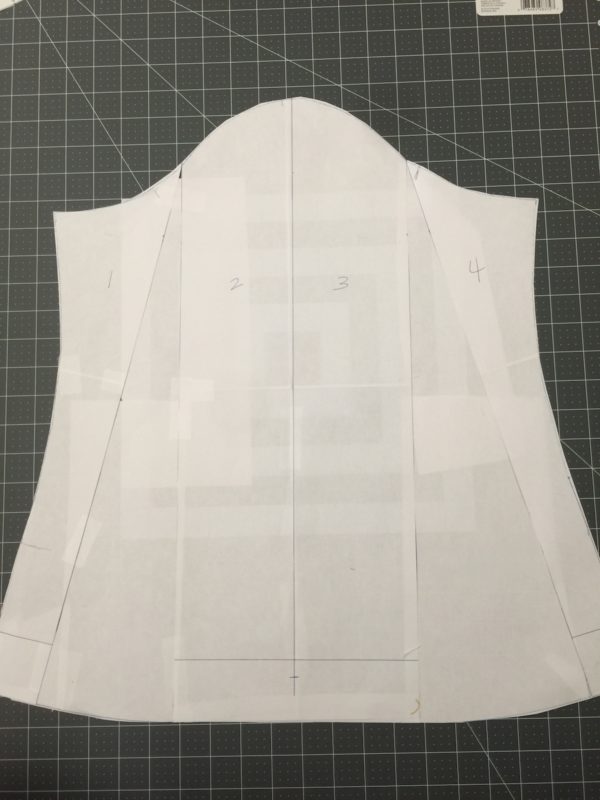
Next, using a pair of scissors, cut along the line between sections 1 and 2 but don’t clip all the way to the top. Leave just a tiny bit of paper attached along the cut line. Repeat for the line between sections 3 and 4.
Get some more tracing paper and tape it underneath the middle sections 2 and 3. Now we need to add some fullness to the sleeve by pulling the outer sections of the sleeve pieces out a few inches along the cut line. Sections 1 and 2 ended up being 4.5″ of added fullness and sections 3 and 4 ended up being 5.5″ of added fullness. Tape in place. Redraw the sleeve hem by connecting the new lines, and cut out the pattern piece.
Step 3:
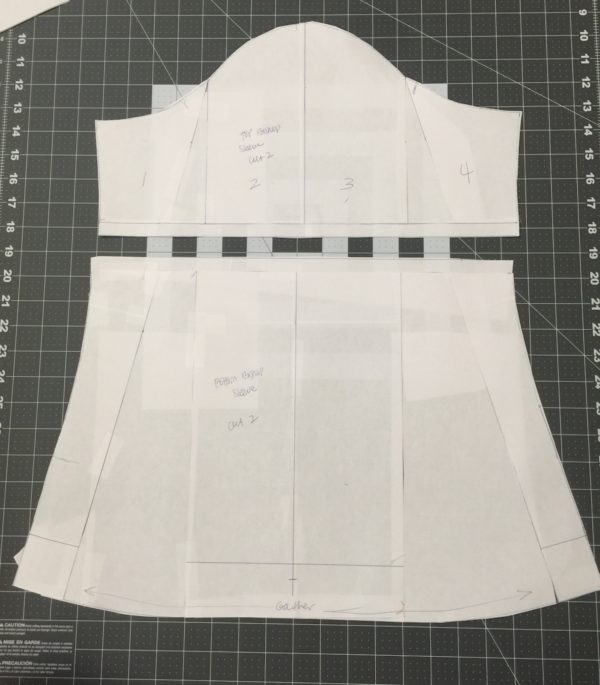
This where you can add a ruffle mid sleeve if you would like. Decide about where you would like your ruffle to be on the sleeve, and draw a horizontal line across this spot. Mine is 8.5″ down from the mid sleeve cap.
Step 4:
If you are adding the sleeve ruffle, cut along the horizontal line and add a 1/2″ seam allowance to each edge.
Step 5:
Now we need to create our sleeve ruffle pattern piece. Here’s how I made it.
First make a rectangle that is 26.5″ wide by 4.5″ tall.
Next fold the rectangle in half. Find the middle between both edges, and mark 4″ in height from the bottom, and then mark 3″ in height at the unfolded edge. Gently trim from the fold to the 4″ mark, down to 3″ at the end to create a slightly curved edge. This will be the ruffle hem. It will look like this when finished:
Step 6:
Now we need to make the little cuff pattern piece. It’s simply a rectangle that measures 10 1/4″ wide by 2.5″ tall.
Sewing Your Bishop Sleeve:
Step 1:
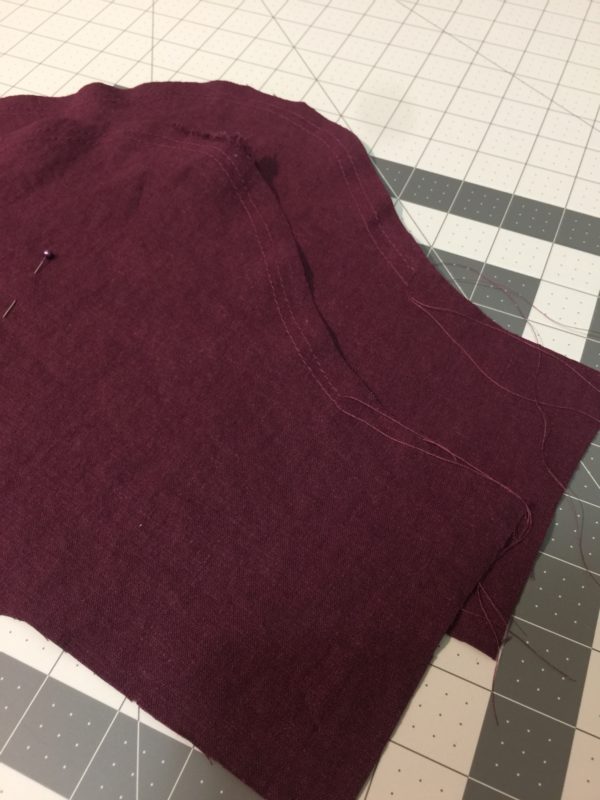
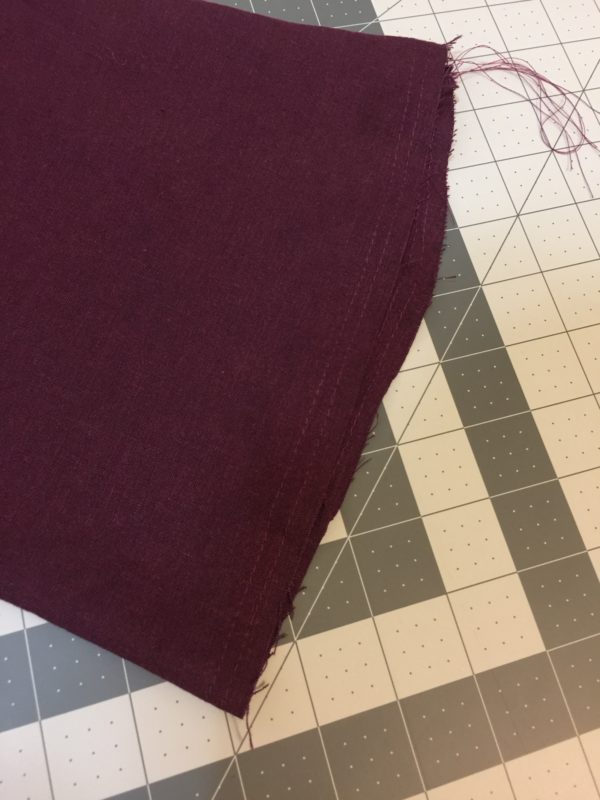
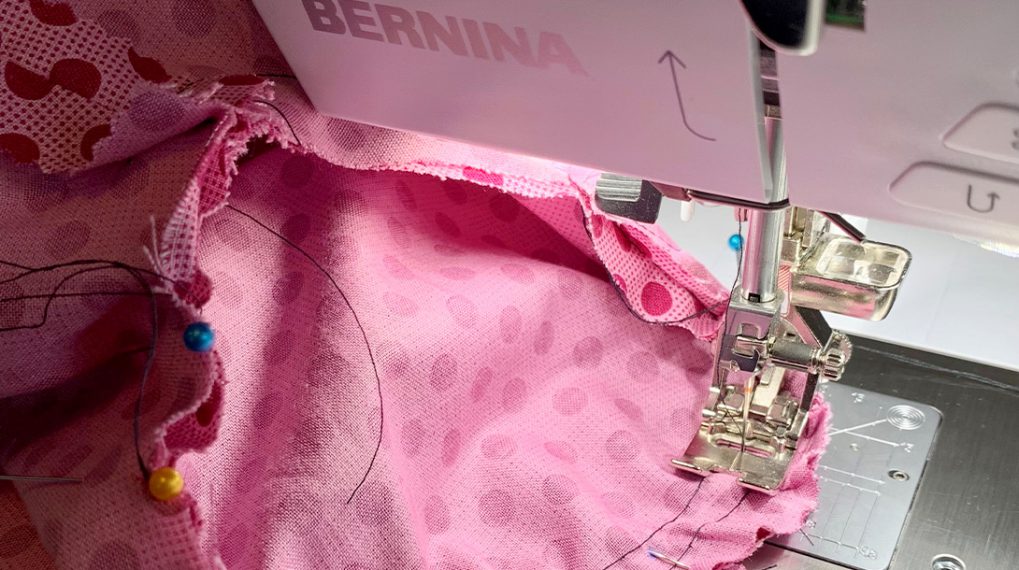
First, we are going to prepare the sleeves. Begin by sewing two rows of basting stitches at 3/8″ and 5/8″ along the sleeve cap.
Step 2:
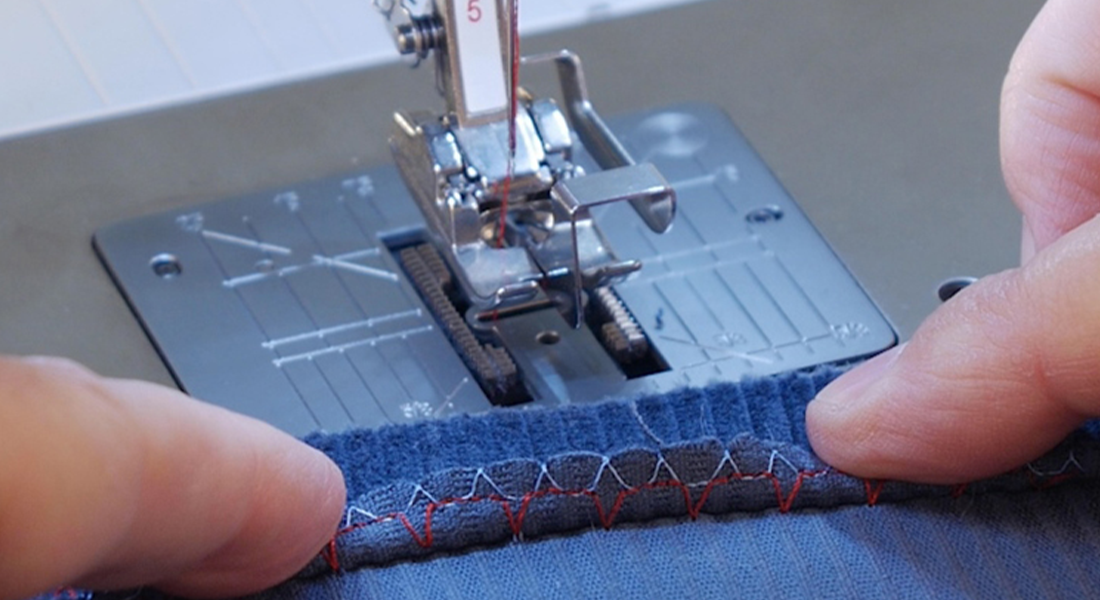
Get your sleeve ruffle pattern piece. Fold and iron the bottom curved edge by 1/4″ and then another 1/4″ again. Pin in place, and sew using your edgestitch foot #10.
Step 3:
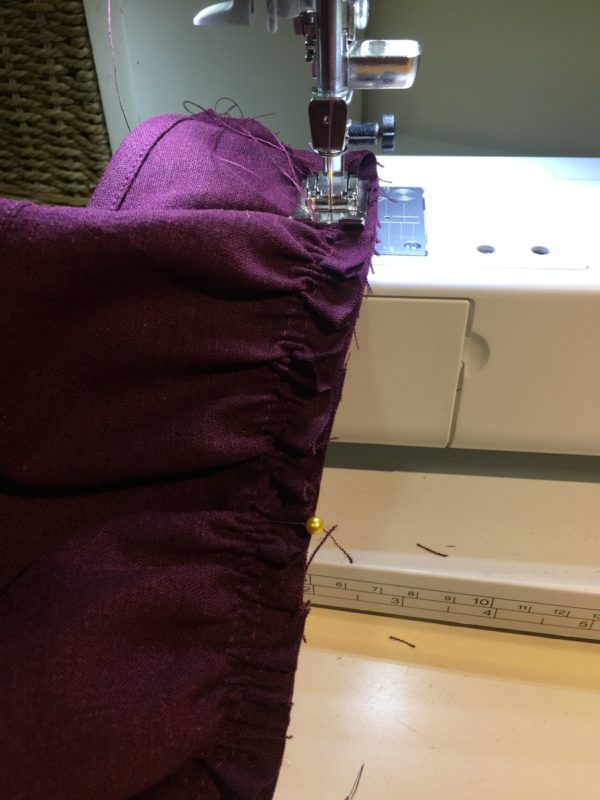
Sew two rows of gathering stitches along the top straight edge of the two ruffle pieces at 1/2″ and 5/8″.
Step 4:
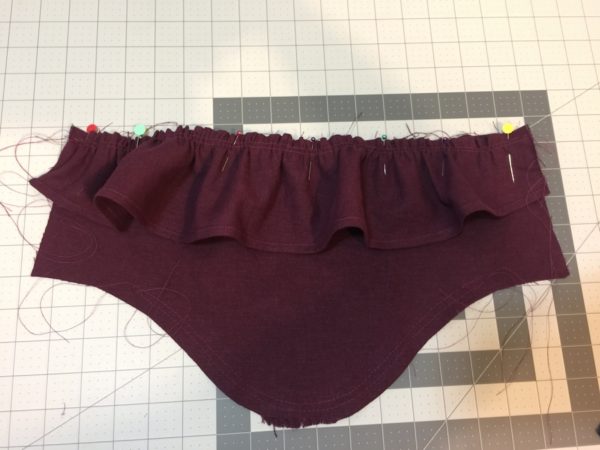
With right sides together, gently gather the sleeve ruffle to the bottom of the sleeve cap. Repeat for other sleeve. Sew together using a 1/2″ seam allowance.
Step 5:
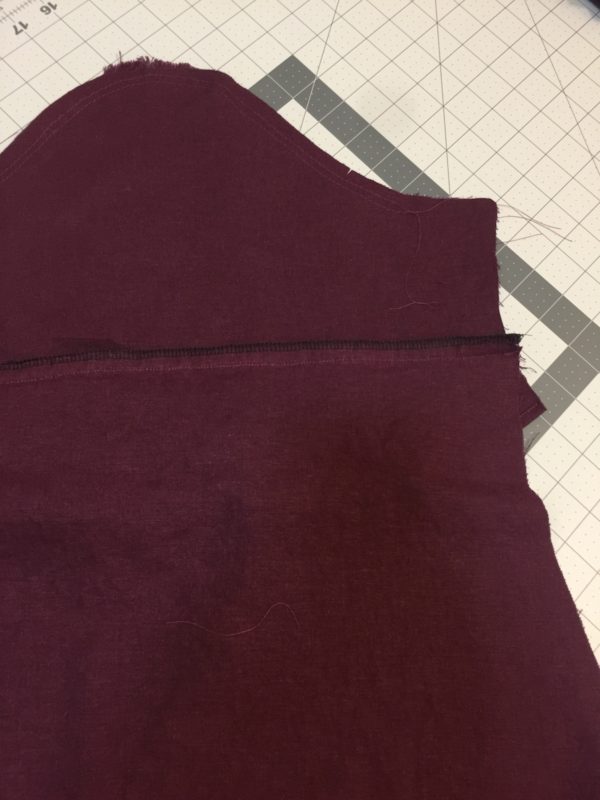
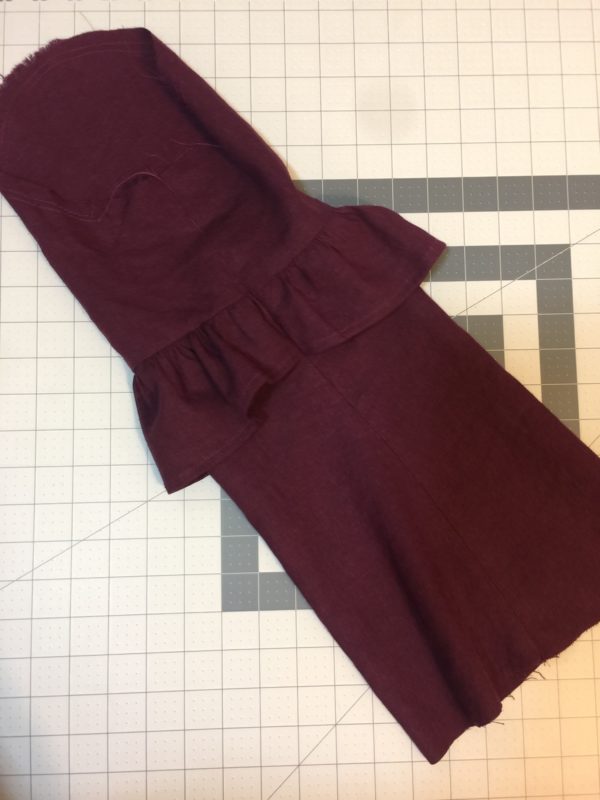
Take the bottom part of the sleeve we cut of from the cap sleeve, and pin it right sides together over the sleeve ruffle and top sleeve. The ruffle will be sandwiched between the two pieces. Sew using a 5/8″ seam allowance.
Step 6:
Finish the seam as desired. Lightly iron the seam upwards towards the sleeve cap.
Step 7:
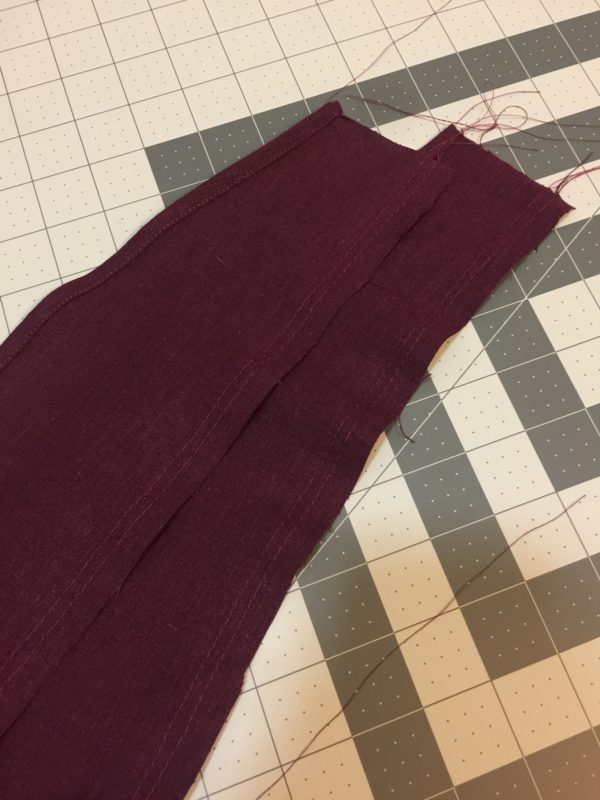
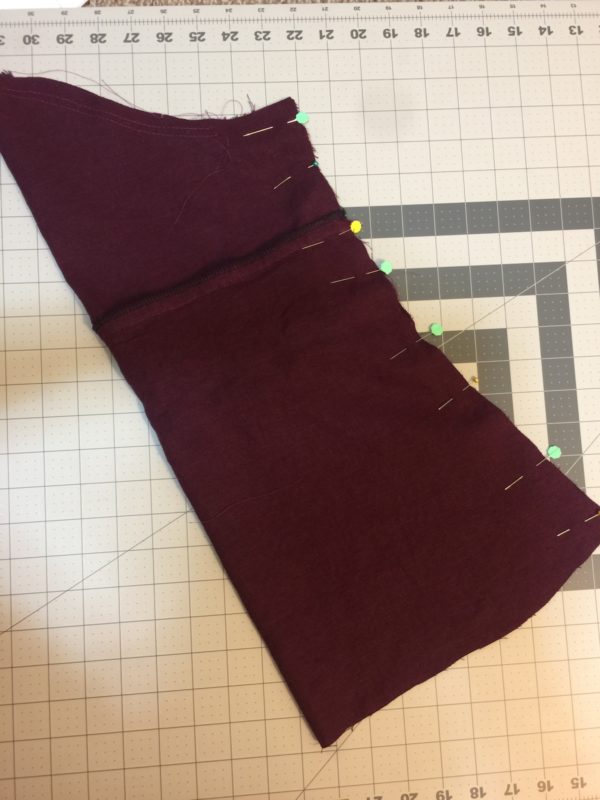
Pin the sleeve side seams right sides together, and sew together using a 5/8″ seam allowance. Iron the seam, and finish as desired.
Step 8:
Sew two rows of basting stitched along the bottom of the sleeves at 1/4″ and 1/2″.
Step 9:
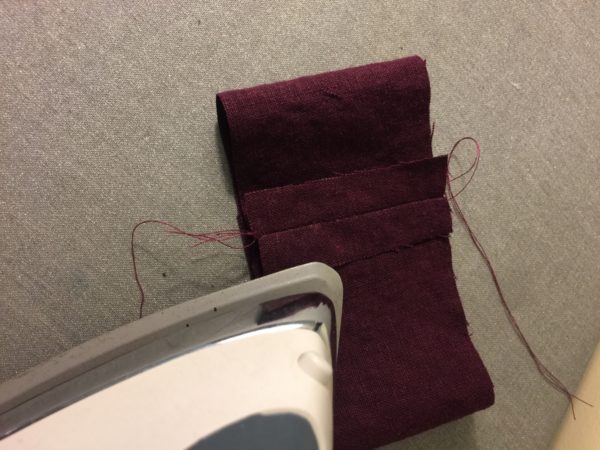
Get your two cuff pieces, and fold them in half, short sides right side together and sew at 1/4″. Iron seam open.
Step 10:
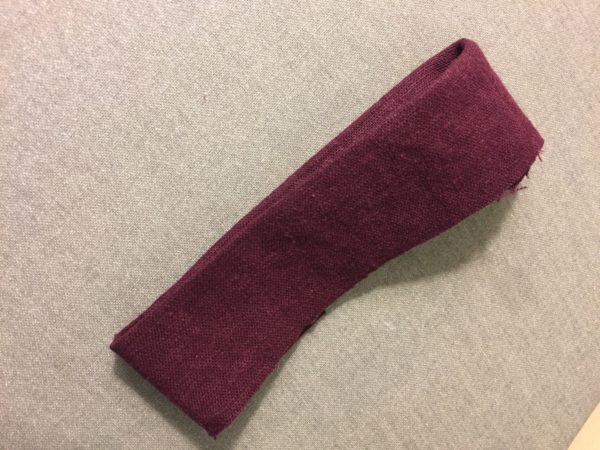
Fold and iron the cuffs in half with wrong sides together.
Step 11:
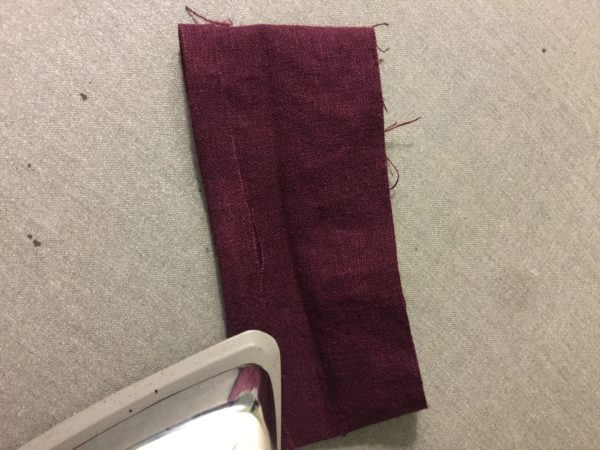
Open the cuff, and iron one edge in at 1/4″.
Step 12:
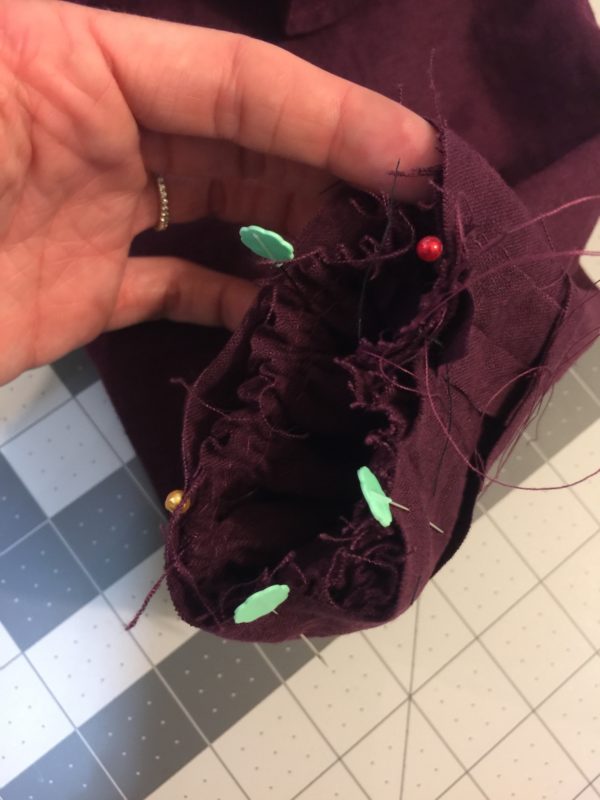
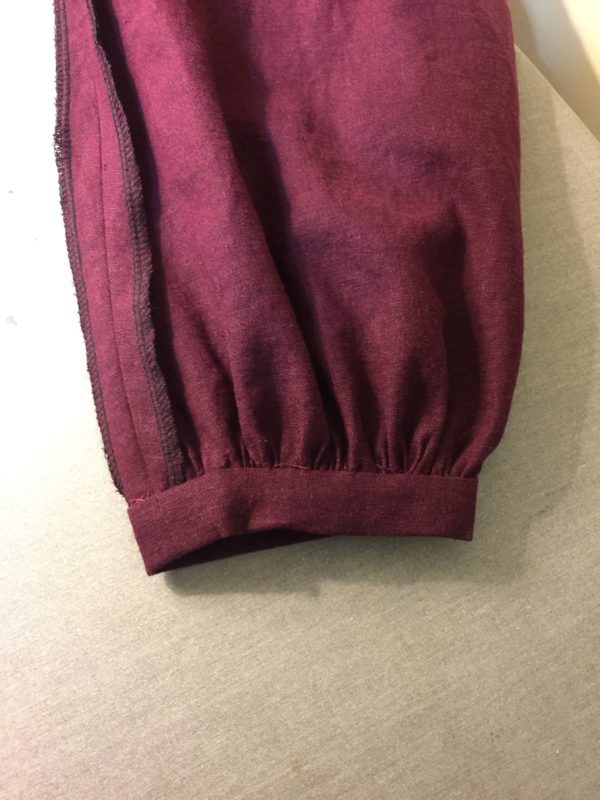
Pin the unfolded edge to the right side of the sleeve edge, lightly gathering the sleeve to fit into the cuff. Pin in place. Sew together at 1/4″ seam allowance.
Step 13:
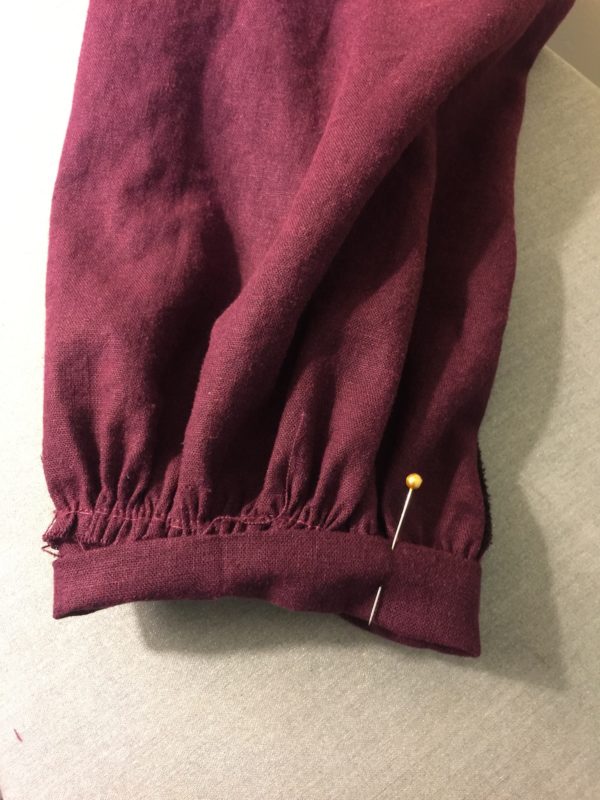
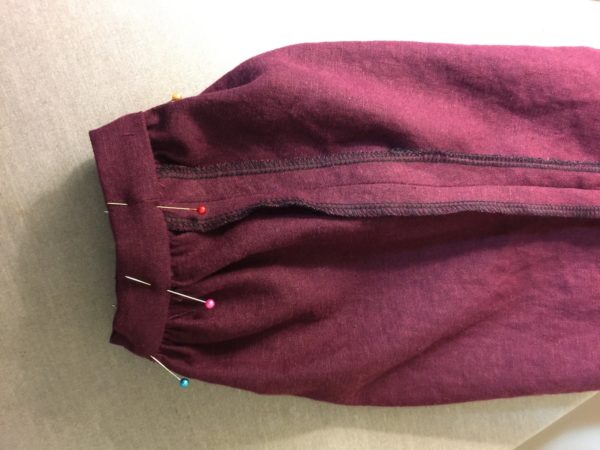
Pull the cuff out and fold it in half with the wrong sides together, and pin the folded edge on top of the seam we just made on the inside of the sleeve. This will cover up the cuff seam, and present a nice, clean finish.
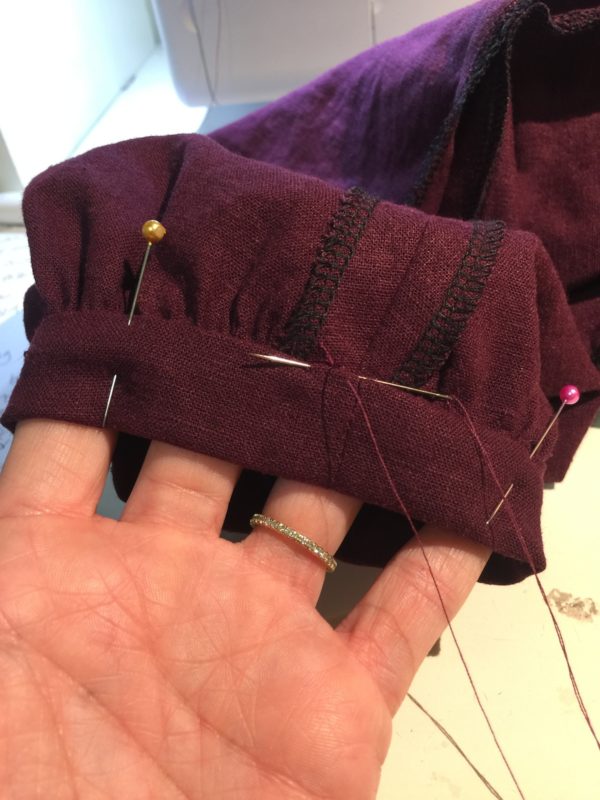
Step 14:
Using a sewing needle and matching thread, use a blind stitch or slipstitch to attach the cuff to the bishop sleeve.
Step 15:
Insert the sleeve into the armhole of your bodice of your top or dress with right sides together, matching the underarm seams, and sleeve cap center and shoulder seam. Gently pull your basting stitches to lightly ease the sleeve cap to fit into the armhole. Sew (this particular pattern called for a 5/8″ seam allowance), and finish the seam as desired. Your bishop sleeves are all finished!
This sleeve tutorial would be so pretty added to a basic blouse or even a dress pattern to give it a little something extra. Thank you so much for reading along, and as always, happy sewing!
