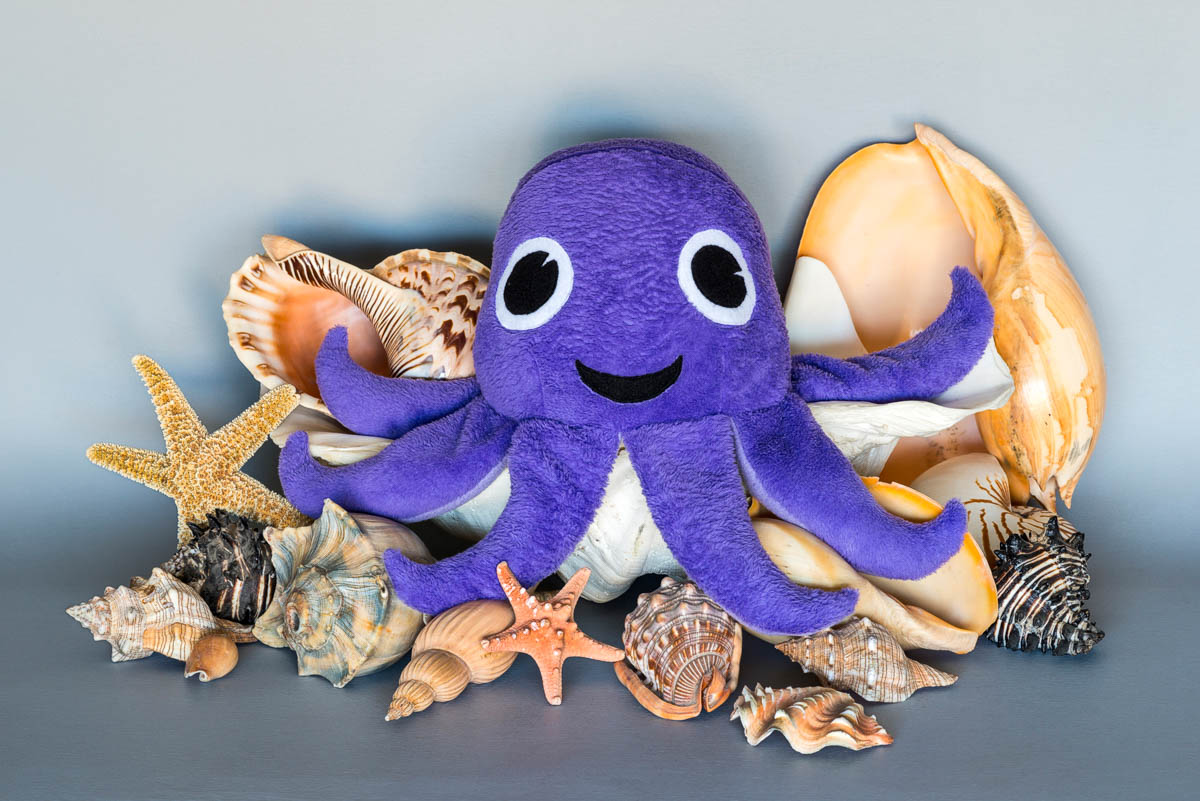
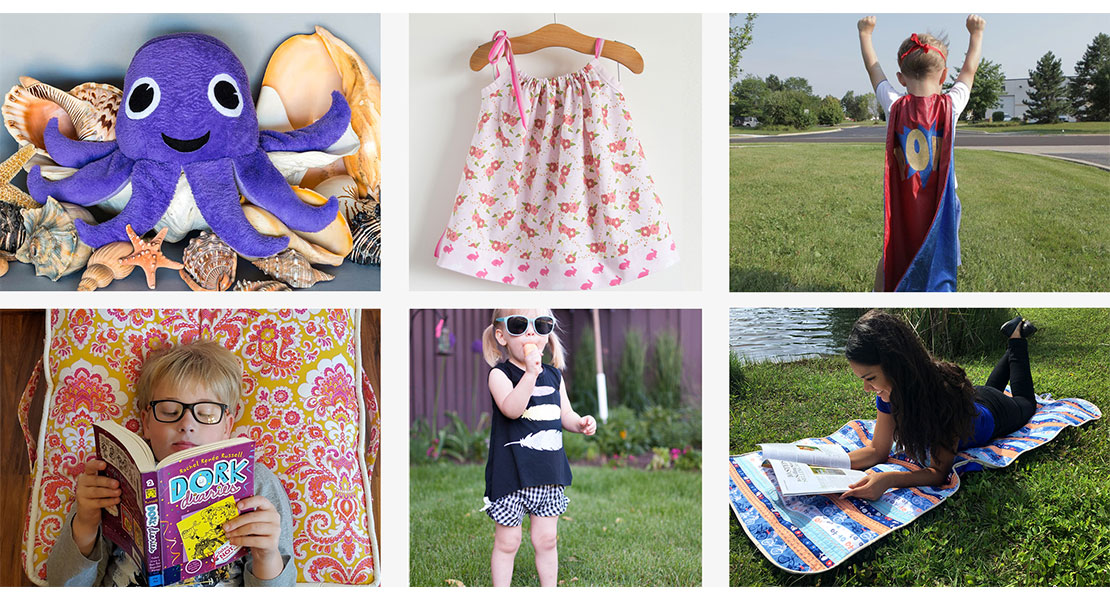
How to Sew a Stuffed Stubby Squid
Inspired by the “googly-eyed, stubby squid” recently seen off the California coast, here is a special project to create a unique, cuddly toy.
The E/V Nautilus team was mapping the seabed off the California coast when it spotted this stubby squid (Rossia pacifica) on the ocean floor. The scientific work being done by the Nautilus team is a project of the non-profit Ocean Exploration Trust. The little purple bobtail squid was sitting almost 3,000 feet below the surface of the Pacific Ocean. You can watch the video of the Nautilus team’s encounter here and listen as one researcher comments, “It looks like some little kid dropped their toy.”
What is remarkable about this viewing of the squid is the little fellow was out in full view. Normally, the small squid will burrow into the seabed floor and camouflage its body, leaving only its eyes exposed. This species of bobtail squid is only 4.3 inches long from head to the end of its tentacles.
I thought it would be fun for the followers of the WeAllSew blog to stitch their own version of this little bobtail squid. Fortunately, I am married to the talented textile artist, Lura Schwarz Smith who, early in her career, made soft sculpture and three dimensional wall hangings so I could turn to her for help in how to create a stuffed fabric squid.
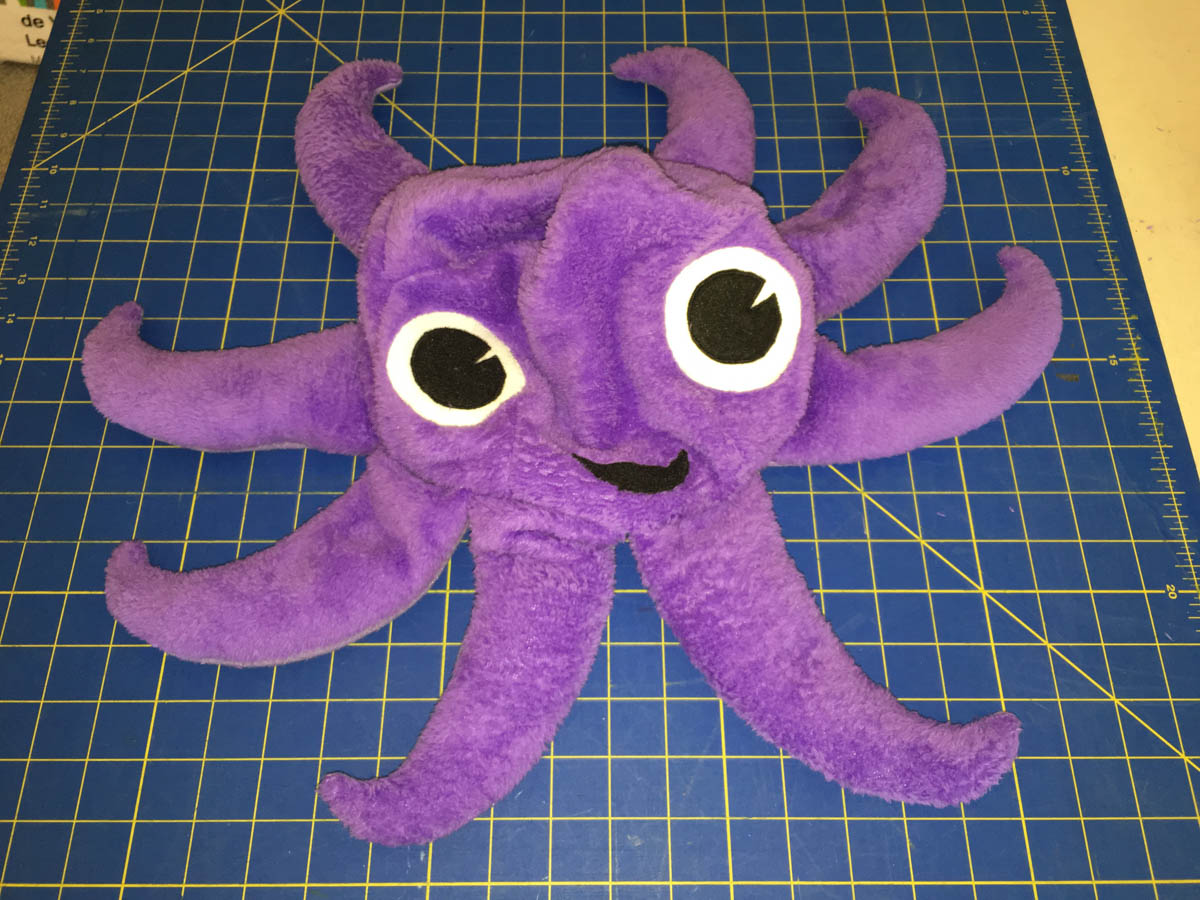
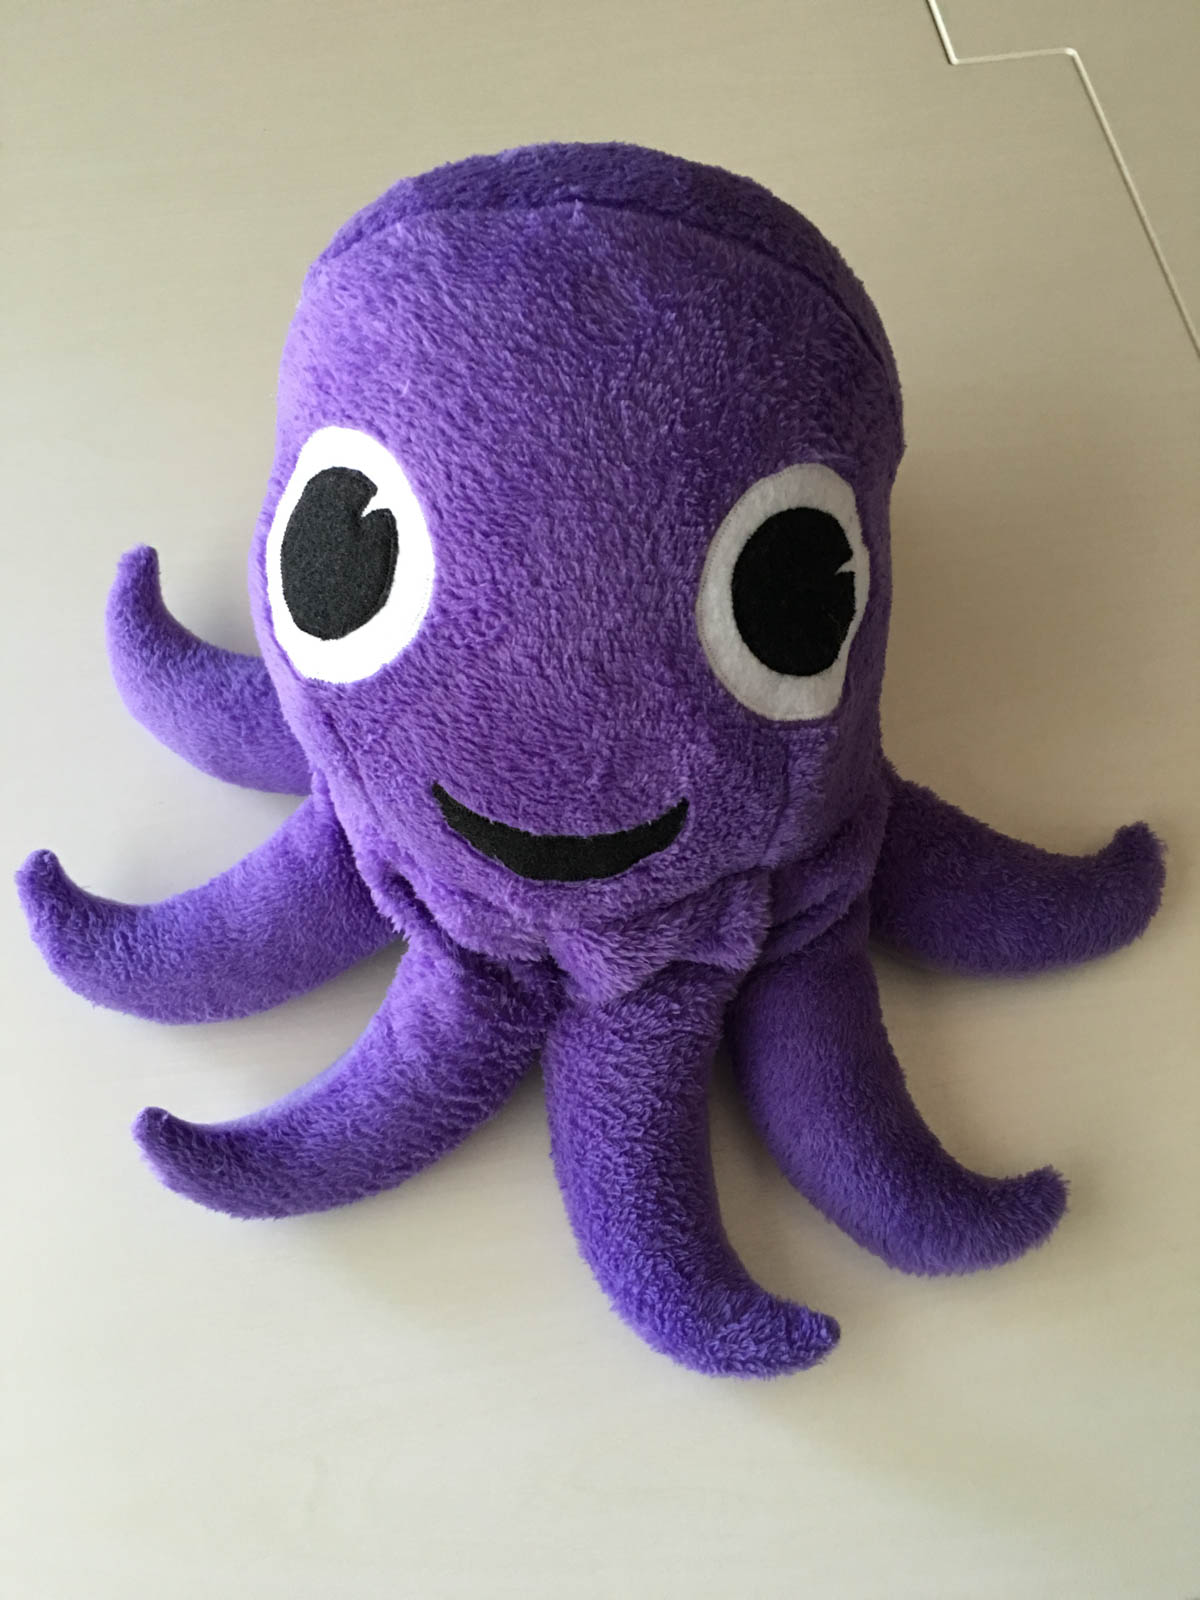
We came up with a pattern for “Stubby the Squid” that can be printed out on standard letter size paper. The finished stuffed toy is approximately 15 inches long, or three and a half times the size of the real bobtail squid.
Materials and Supplies to Sew the Bobtail Squid
- 1/2 yard purple fleece (or other color as desired: we used blizzard fleece for top of toy)
- 1/3 yard lavender fleece
- 1 sheet each 9” x 12”, black and white felt
- Polyester stuffing
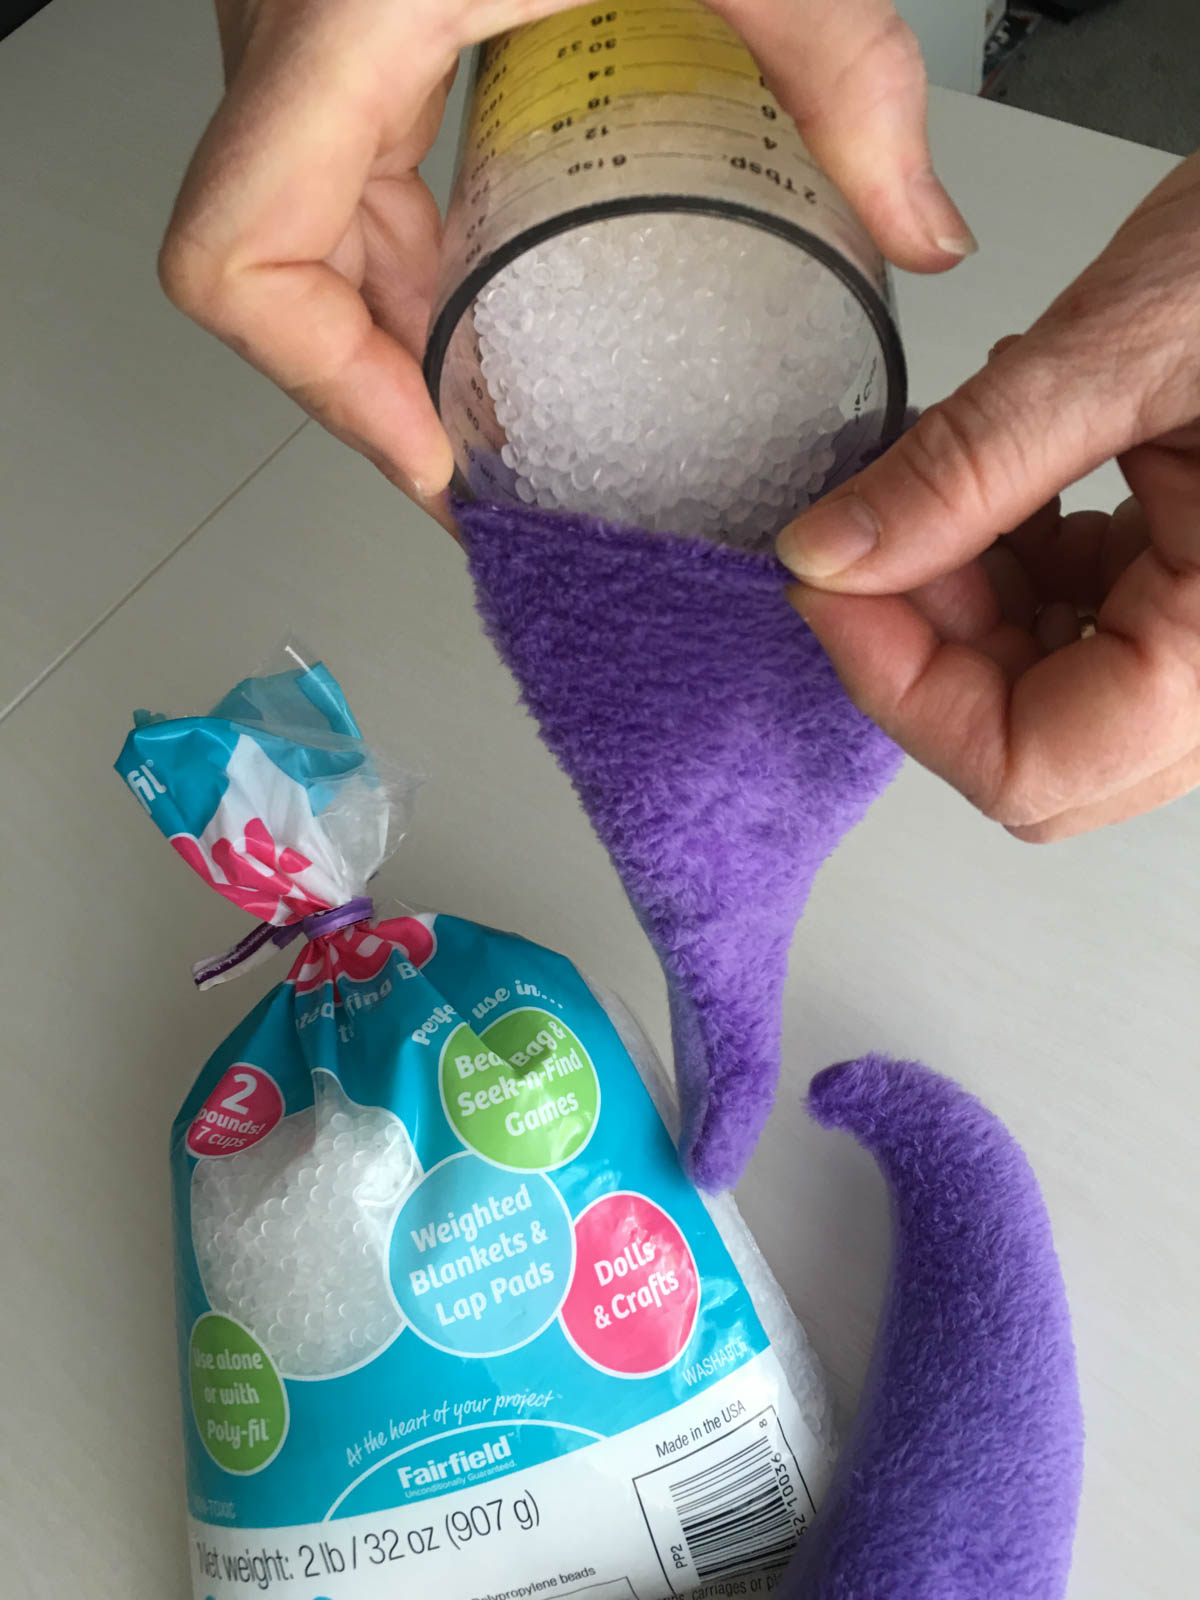
- Poly pellets, if desired (Note: we used poly pellets in the legs for a beanbag weight and drape—the manufacturer of the polypropylene pellets has a WARNING that there is a CHOKING HAZARD of these small parts and they are NOT for children under 3 years of age.)
- Download the Stubby the Squid Pattern
NOTE: The pattern for “Stubby the Squid” is free to reproduce and to create the stuffed toy for non-commercial use. All other rights are reserved by Kerby C. Smith and Lura Schwarz Smith, 2016.
Directions to Sew a Bobtail Squid
Note: all seam allowances 1/2″ unless otherwise stated.
Step 1
Cut all fabric pieces. Note: the pattern for the head front, back and base are cut on the fold.
Step 2
Cut legs, 8 each of the top and bottom fabrics. (For NON-REVERSABLE fabrics like the purple blizzard fleece that we used, cut 4 legs each, purple and lavender from the two fabrics. Then flip the pattern over and repeat, to make 4 legs that curl in the opposite direction.

Step 3
Legs: place right sides together, purple and lavender, and pin.
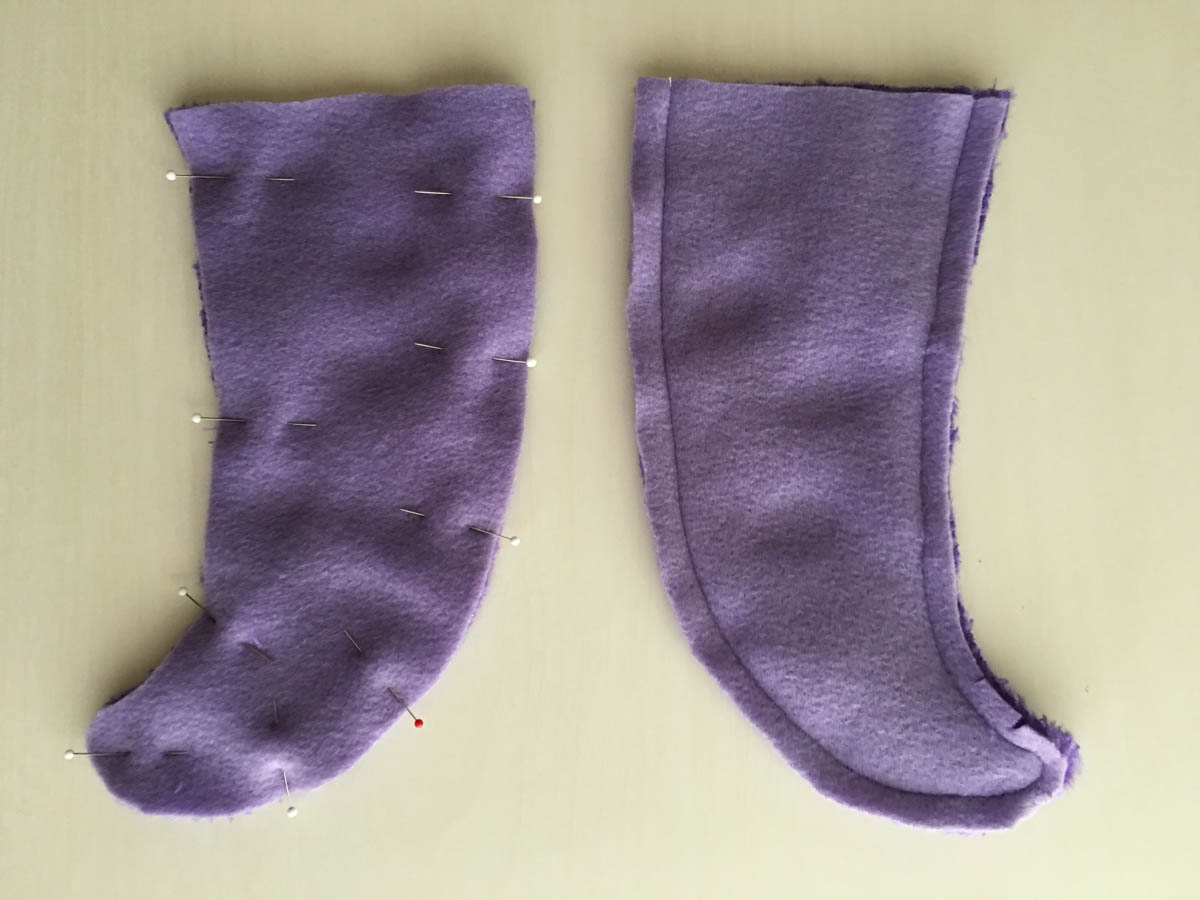
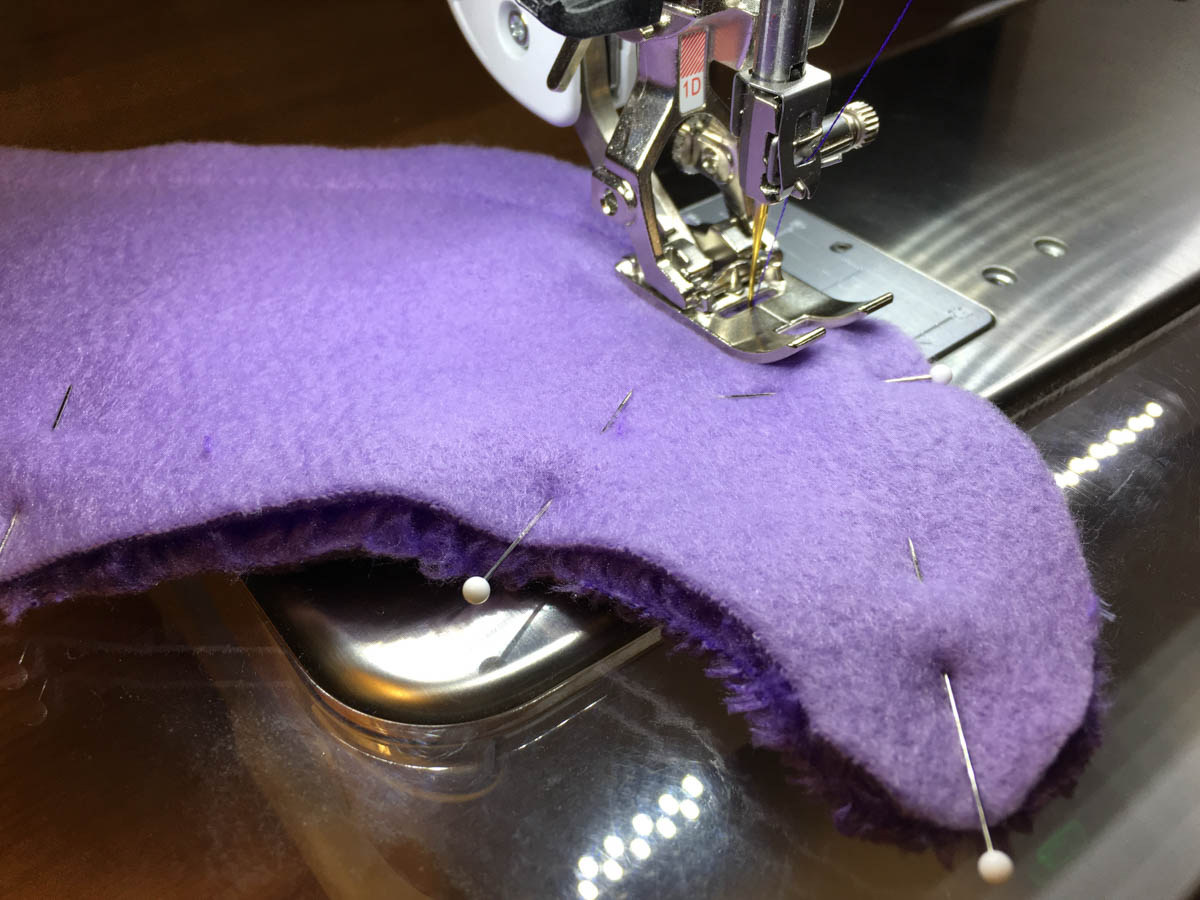
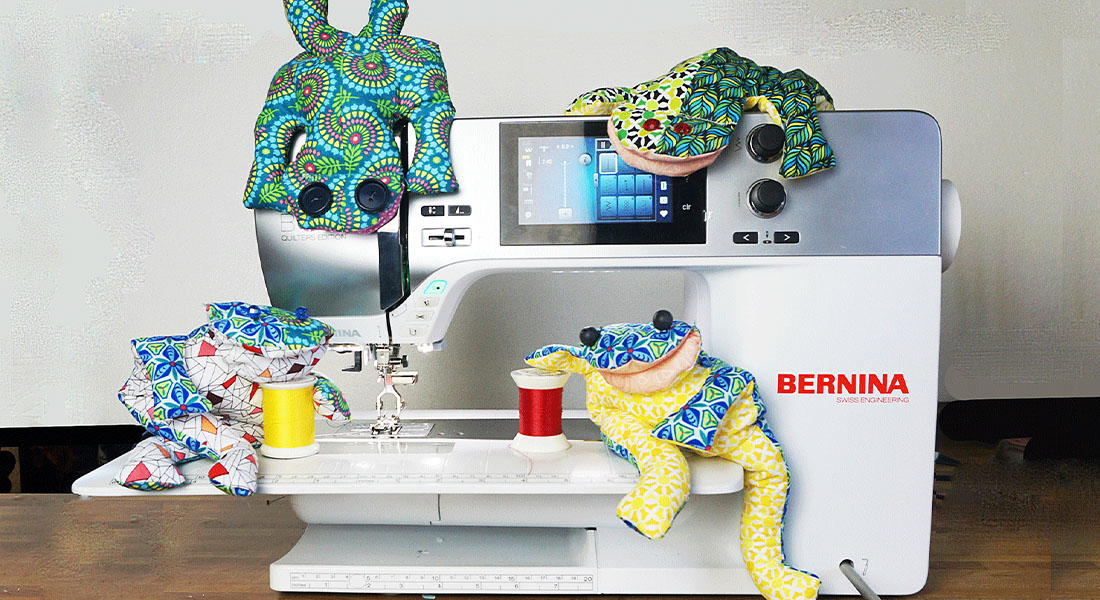
Step 4
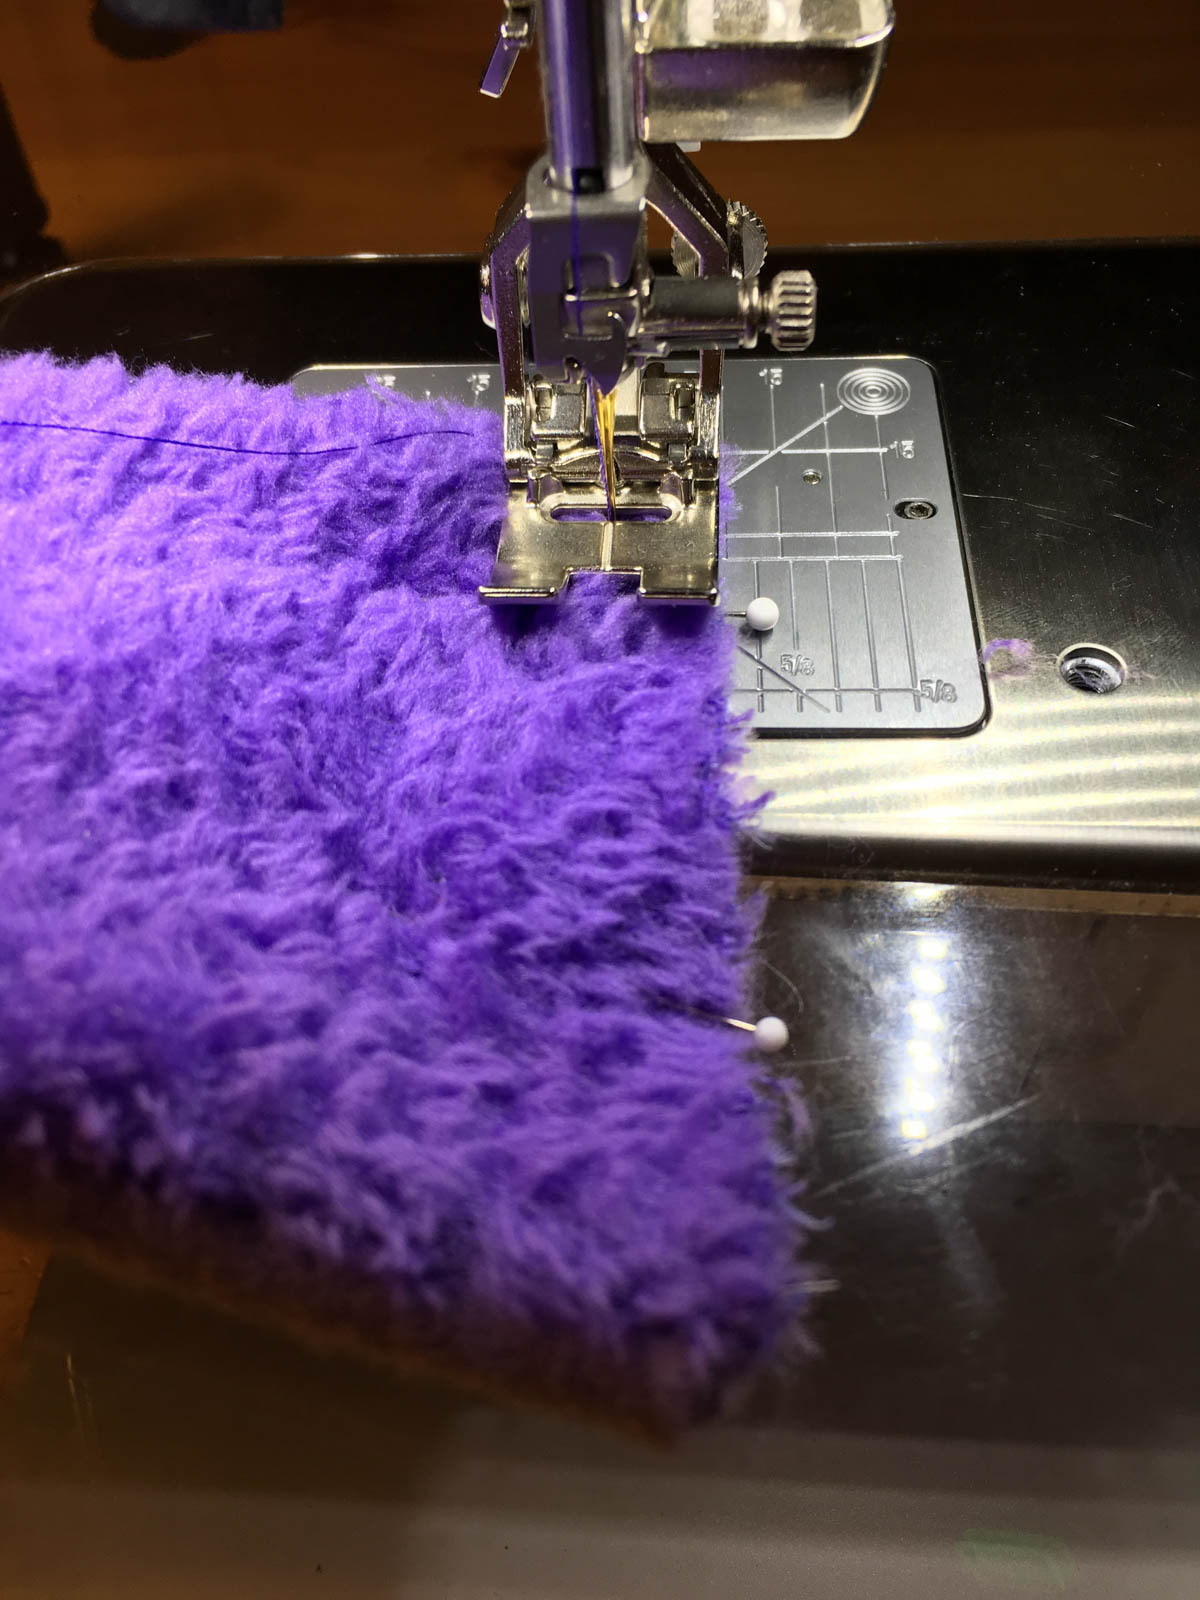
Stitch 8 legs. We used a Reverse pattern foot #1D with the Dual Feed engaged on our BERNINA 770 QE. Note: fleece tends to shift while stitching, and the Dual Feed helps keep pieces in place. If your machine does not have the dual-feed feature, you can use a Walking Foot, such as the BERNINA Walking foot #50.
Step 5
Clip the toe-tips, avoiding seam.

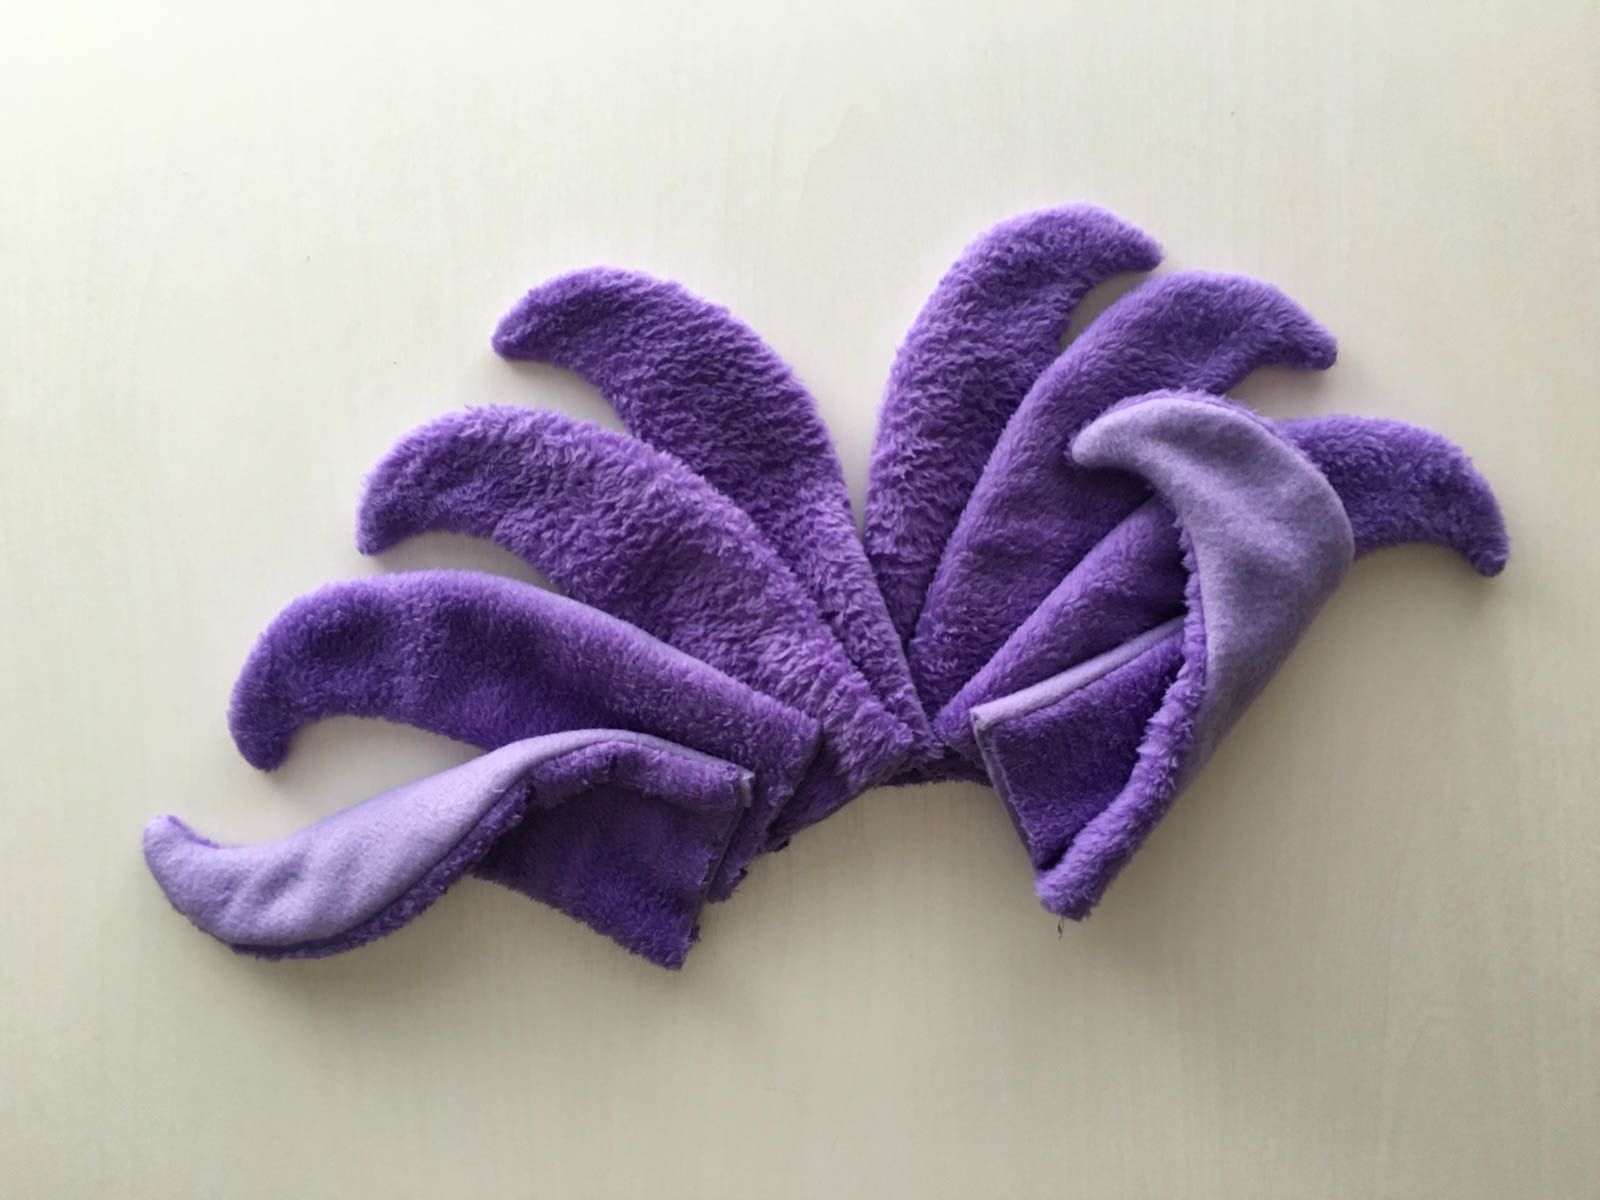
Step 6
Turn the legs inside out. You should have four legs that curve left and four legs that curve right.
Step 7
Stuff the legs: for children less than 3 years old, use polyester stuffing. If you are using the poly pellets, use 1/2 cup pellets, or as desired fill amount. (If the legs are too tightly filled they will not drape in a beanbag manner.)
Step 8
Stitch the top of legs closed, using 1/4″ seam and leaving the raw edges out.
Step 9
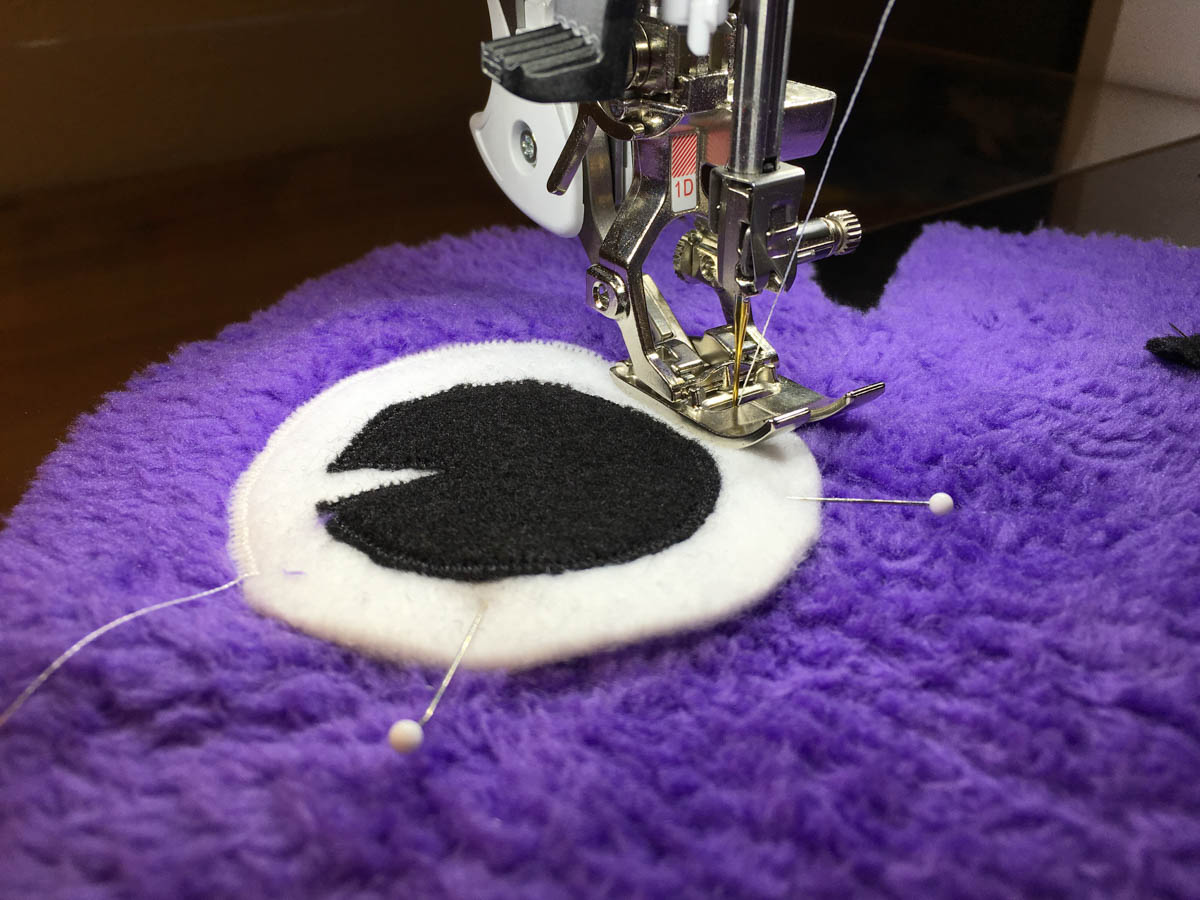
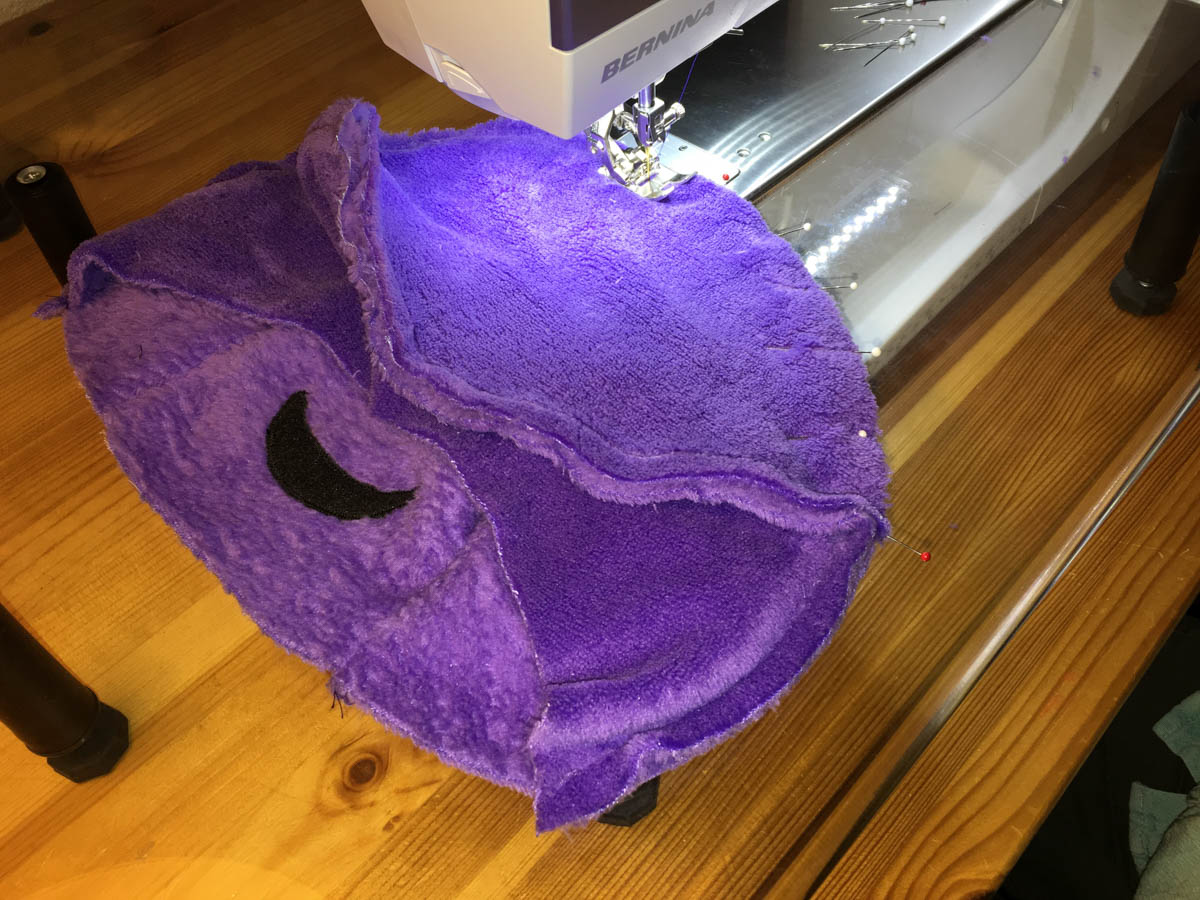
Place, pin, and zig-zag stitch black pupils to center of white eyes.

Step 10
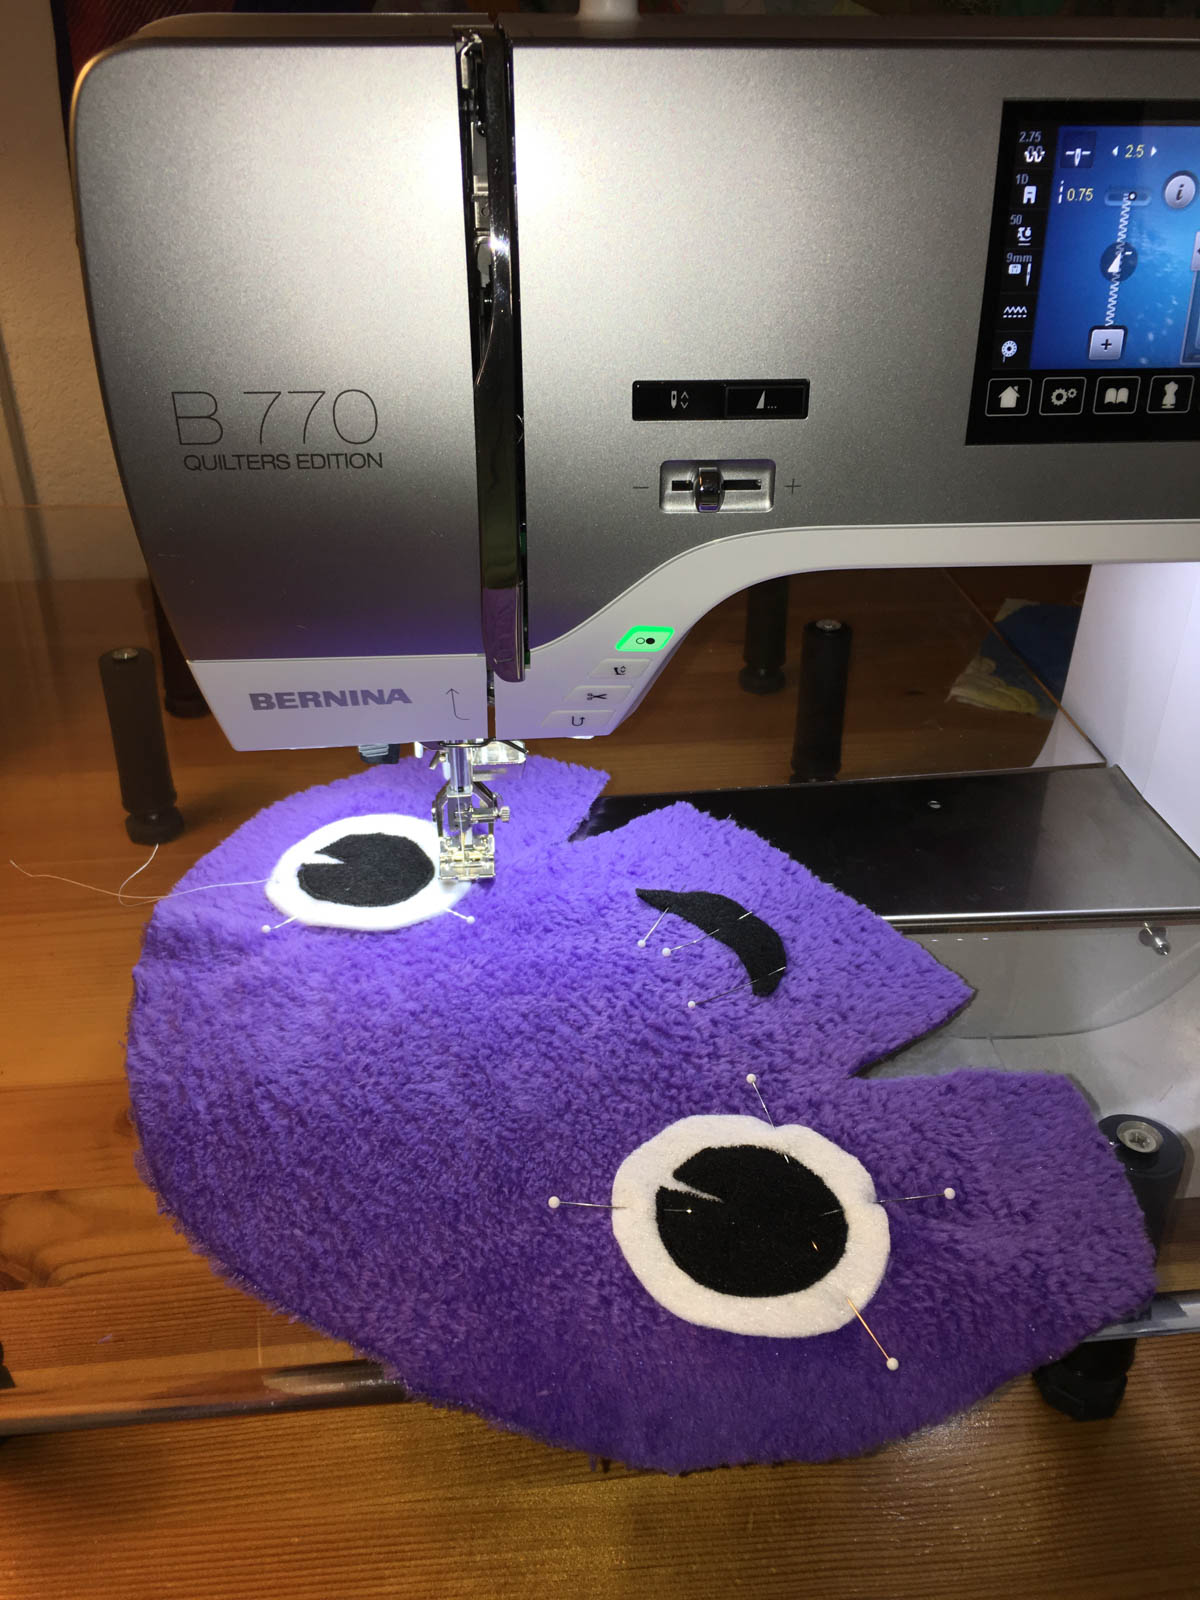
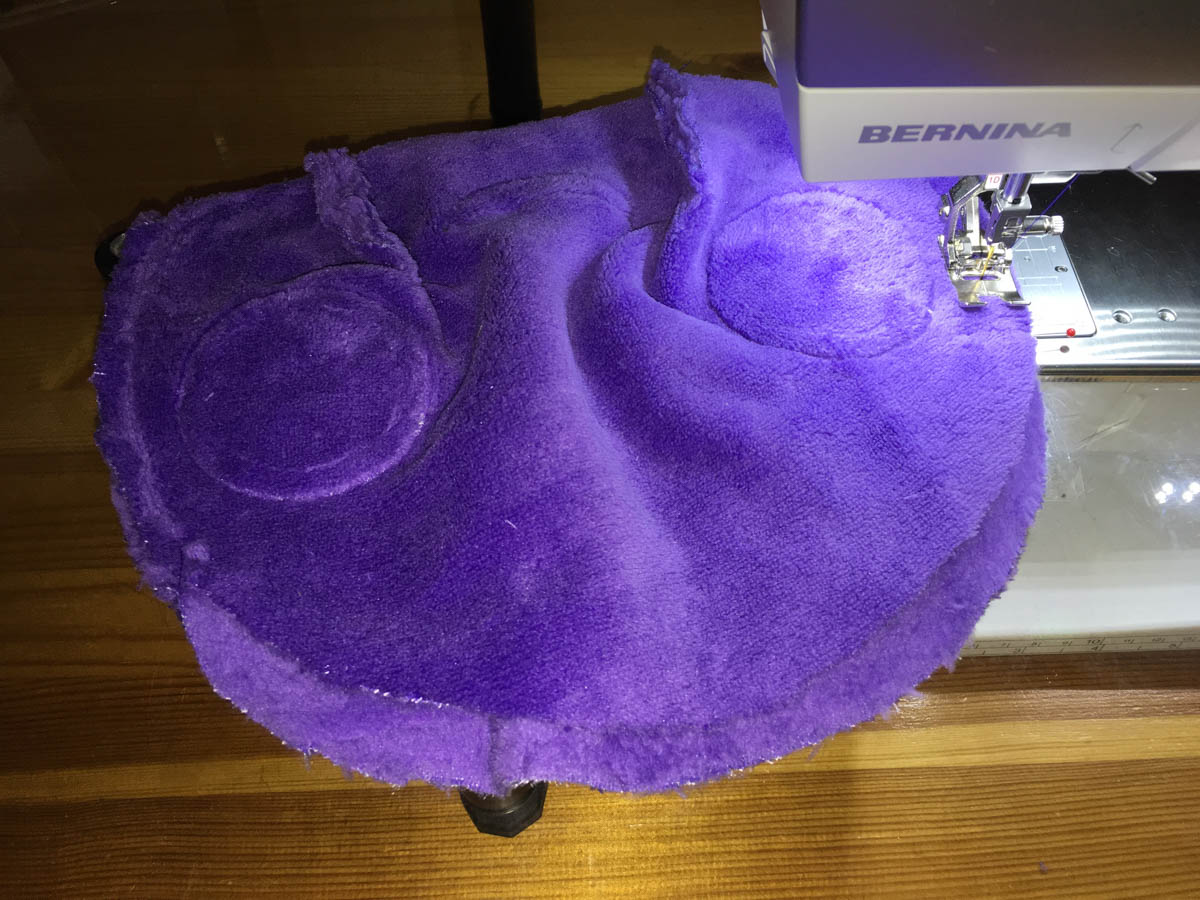
Following the pattern, pin eyes to head front, aligning pupil shine cut at the same angle in both eyes. Zig-zag stitch onto head front.
Step 11
Pin and stitch dart cuts on head front, right sides together.

Step 12
Pin head front to head sides, right sides together, from base to triangle dot on sides. Stitch.
Step 13
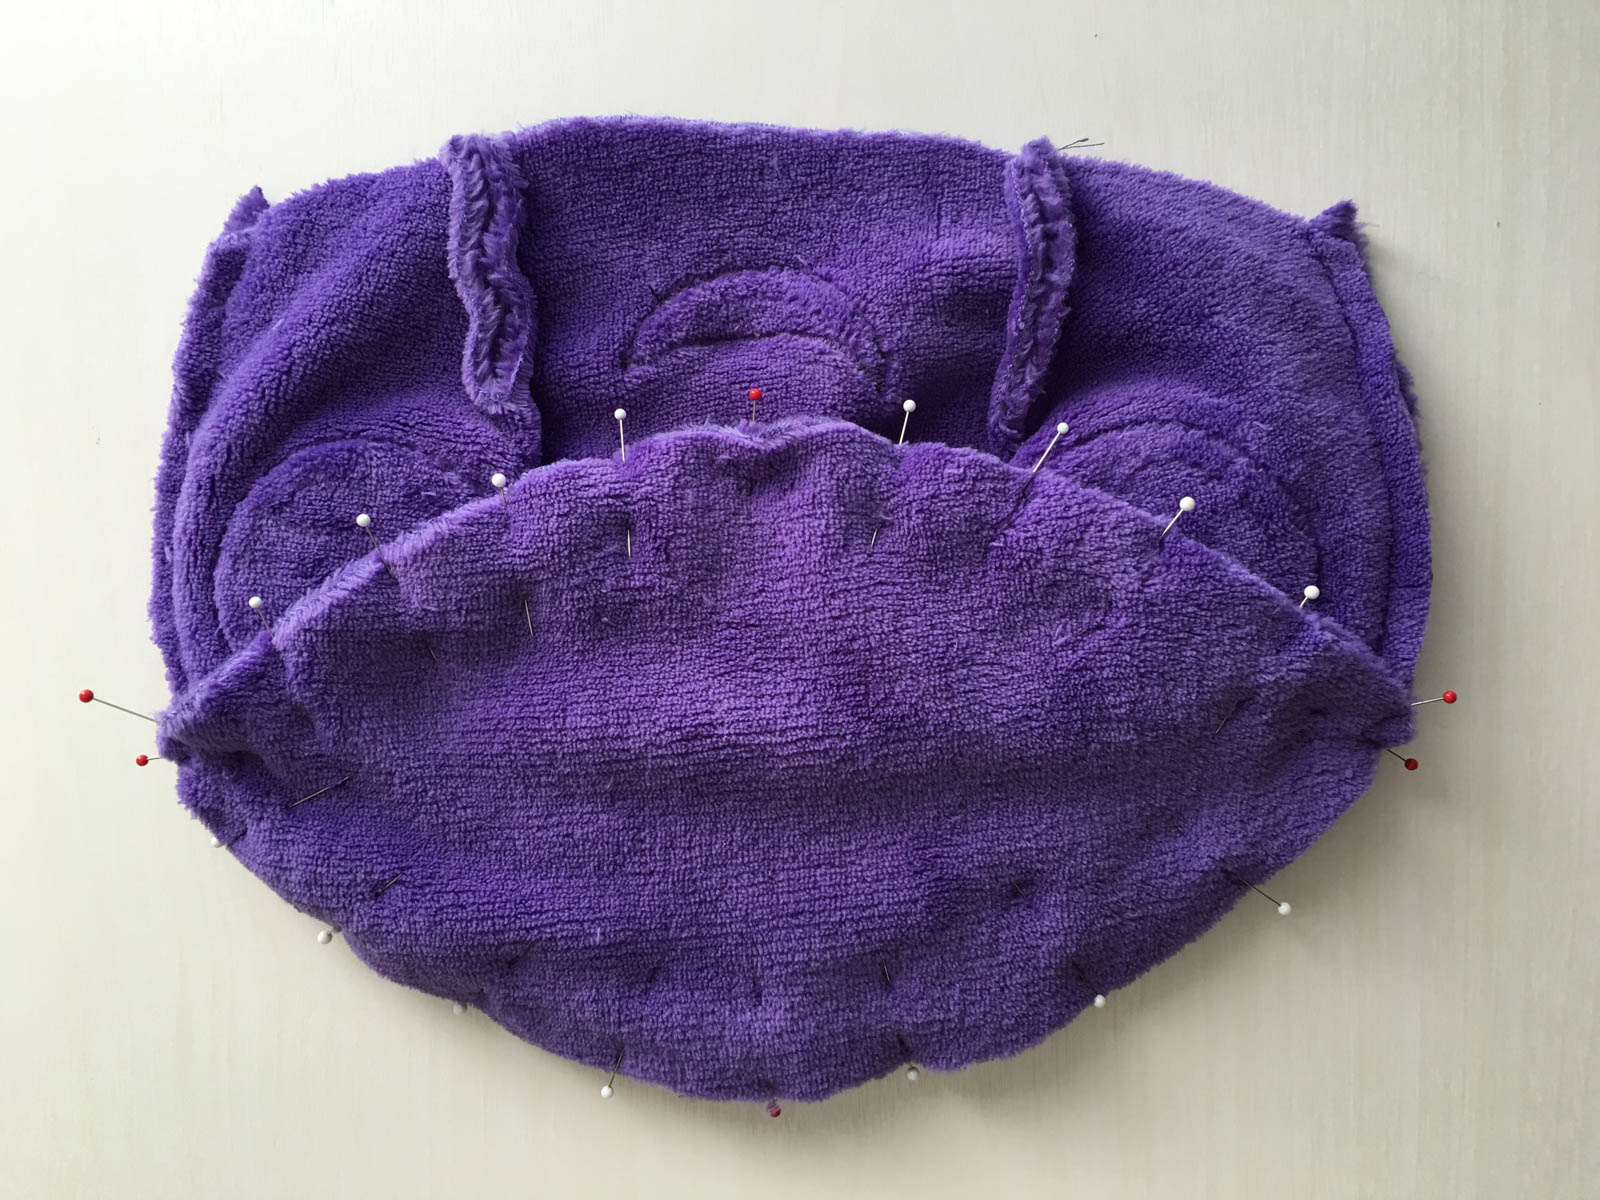
Pin head top inset piece, right sides together, to head front and back. Match center triangle dots on head top, front, and back. Stitch head top, starting and ending precisely at side dots as shown on pattern, to avoid catching side seam allowances.
Step 14
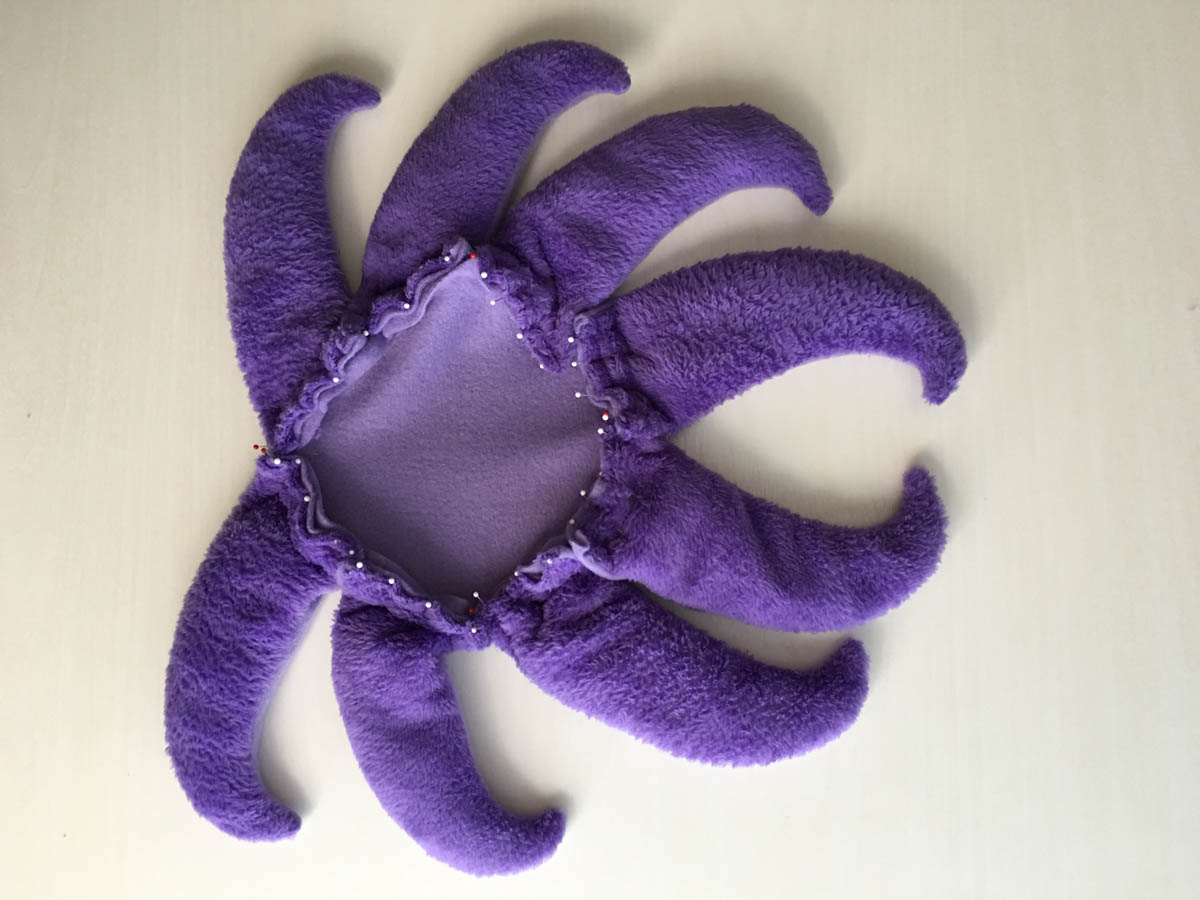
Using the triangle dots on the pattern for guidance, pin legs onto lavender head base circle, 2 legs in each quadrant. Make certain the right and left curl legs are properly placed, as shown, curling back away from center front.
Step 15
Stitch.
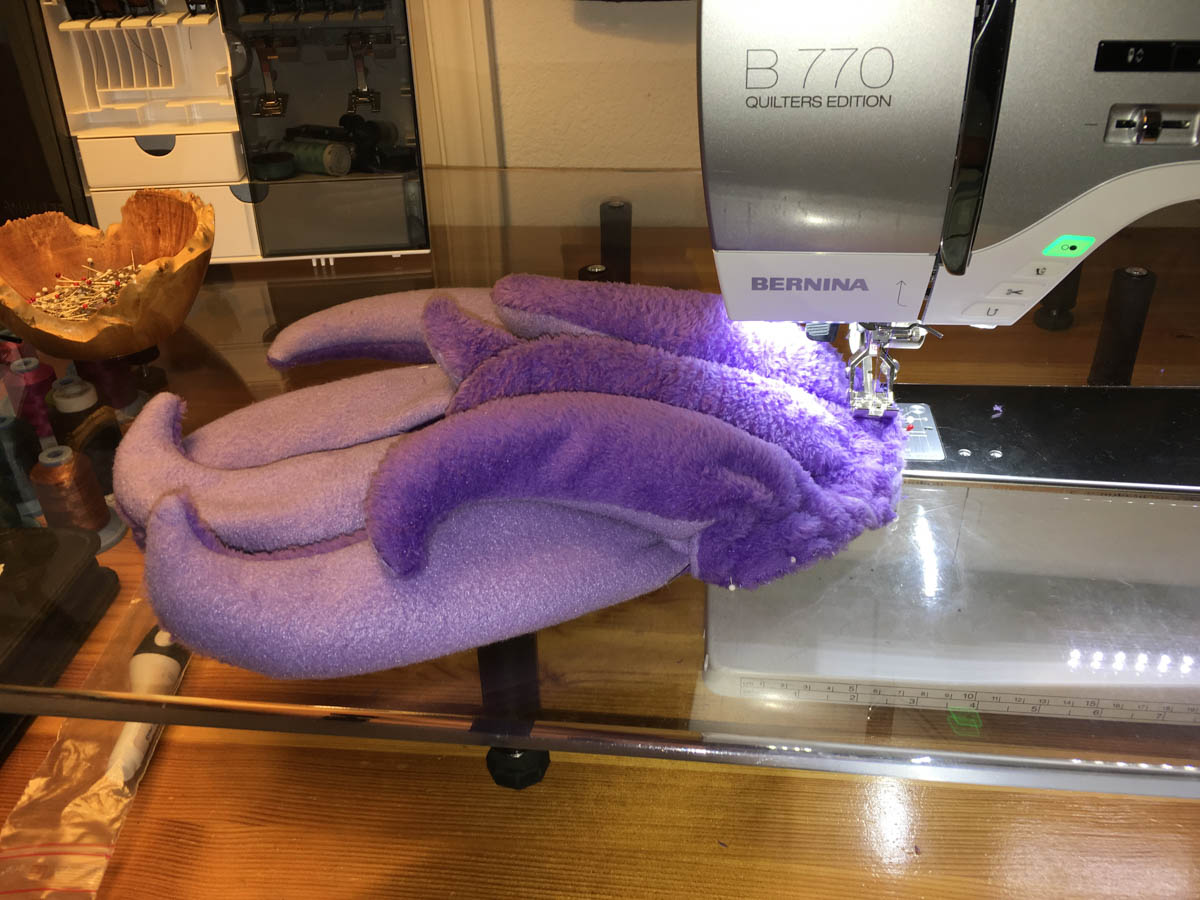
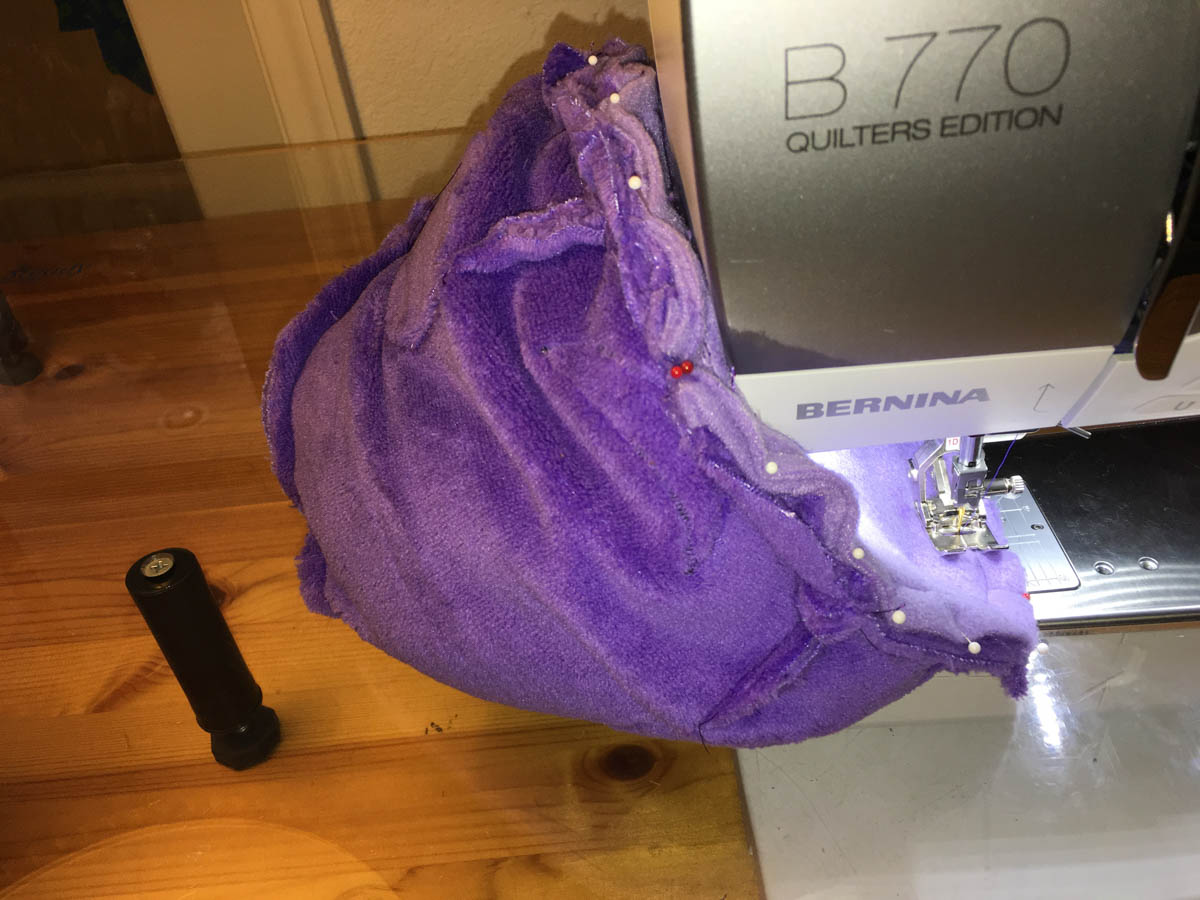
Step 16
Right sides together, pin head top to head base, matching triangle dots for placement, placing legs inside head as you pin. Pin from the base side up and stitch with base side up, keeping seam line just inside previously stitched seam. Leave 5″opening at back of head.
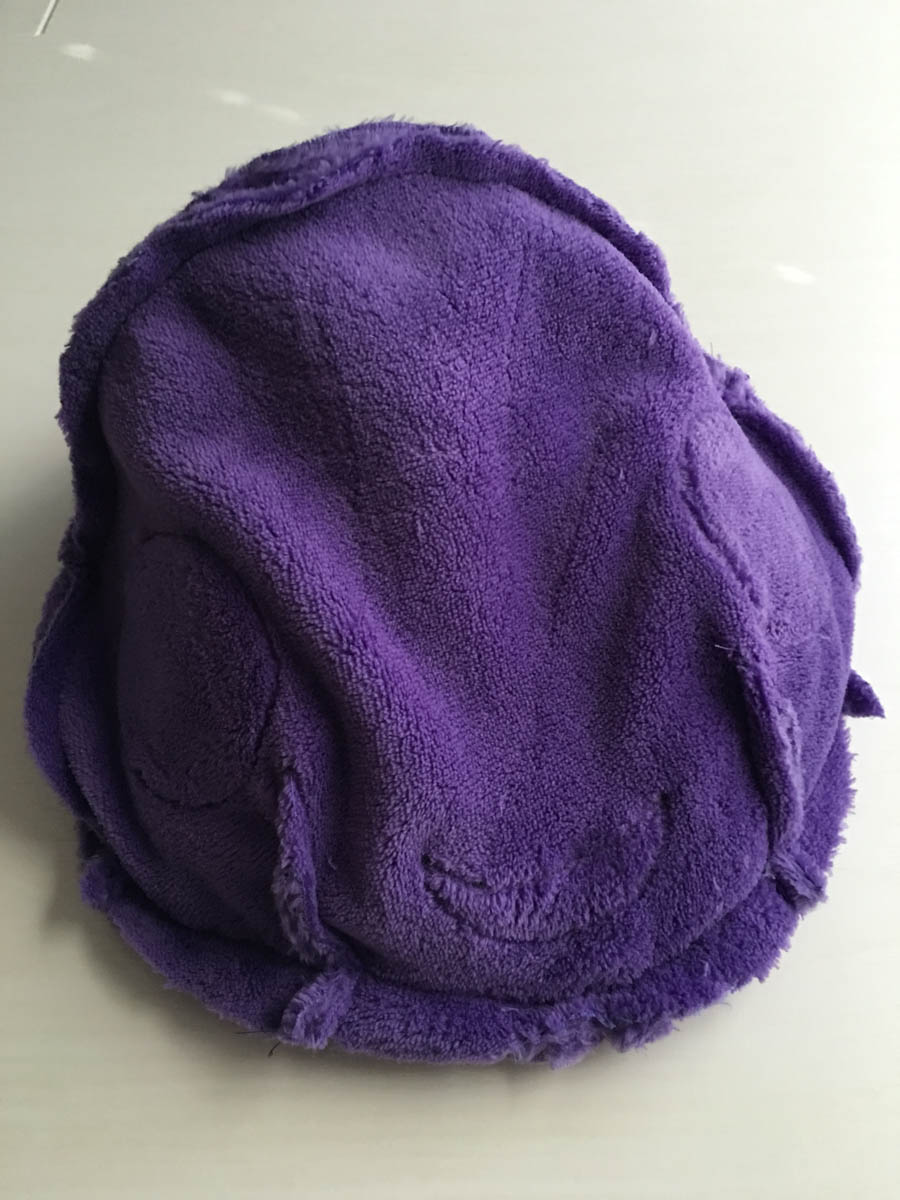
Step 17
Gently pull one toe at a time out of head to turn right side out.
Step 18
Stuff with polyester stuffing.

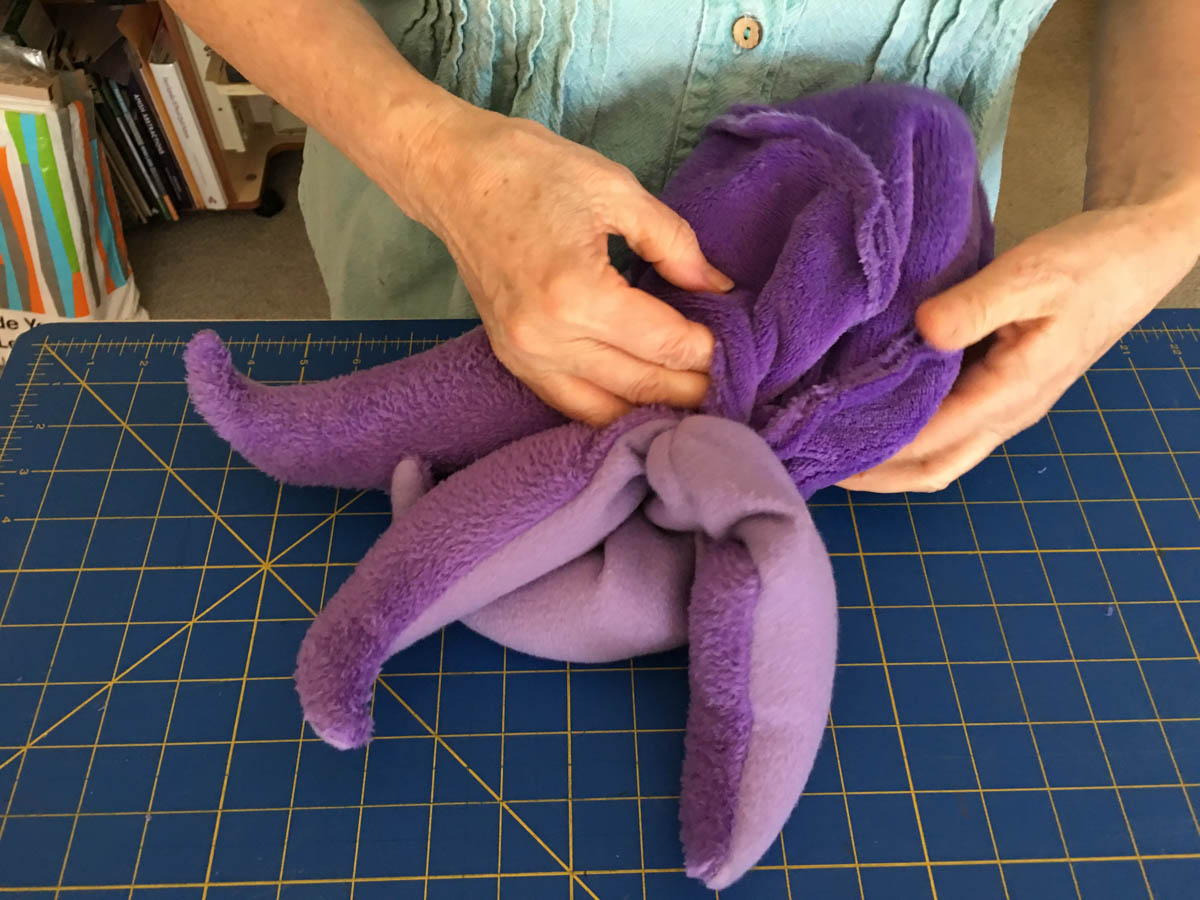
Step 19
Turning raw edges in, hand stitch opening closed securely, and you have “Stubby,” your finished squid stuffed toy.


One comment on “How to Sew a Stuffed Stubby Squid”