Sensory Blanket Sew Along, Part One
Hi! It’s Jen Belnap from The Smitten Chicken. Today kicks off part one of our Sensory Blanket Sew Along. Everything you need to get started is in this post, as well as how to make the first block with the BERNINA Free-motion Couching Foot #43!

What is a Sensory Blanket?
First things first, what is a sensory blanket? A sensory blanket is a small blanket with different shapes, colors, textures and items to keep hands busy. A sensory blanket can benefit any number of children and adults. The use of sensory blankets can benefit adults with Dementia or Alzheimer’s disease. This blanket is for any adult or child with sensory disorders and can alleviate stress and anxiety. This blanket is also great to entertain littles at locations like the doctor’s office or church instead of handing them a device.
BERNINA has created so many amazing feet that will help to create this fun and unique sensory blanket. Do you want to make a sensory blanket with me?
Sensory Blanket Sew Along Schedule
- Part One: Couching Block
- Part Two: Leather Block
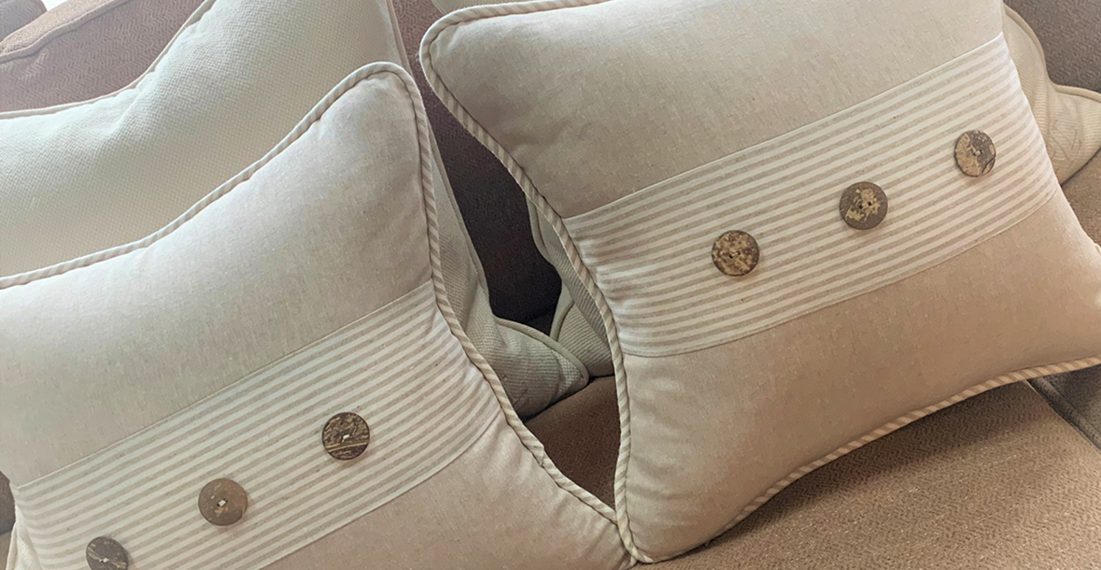
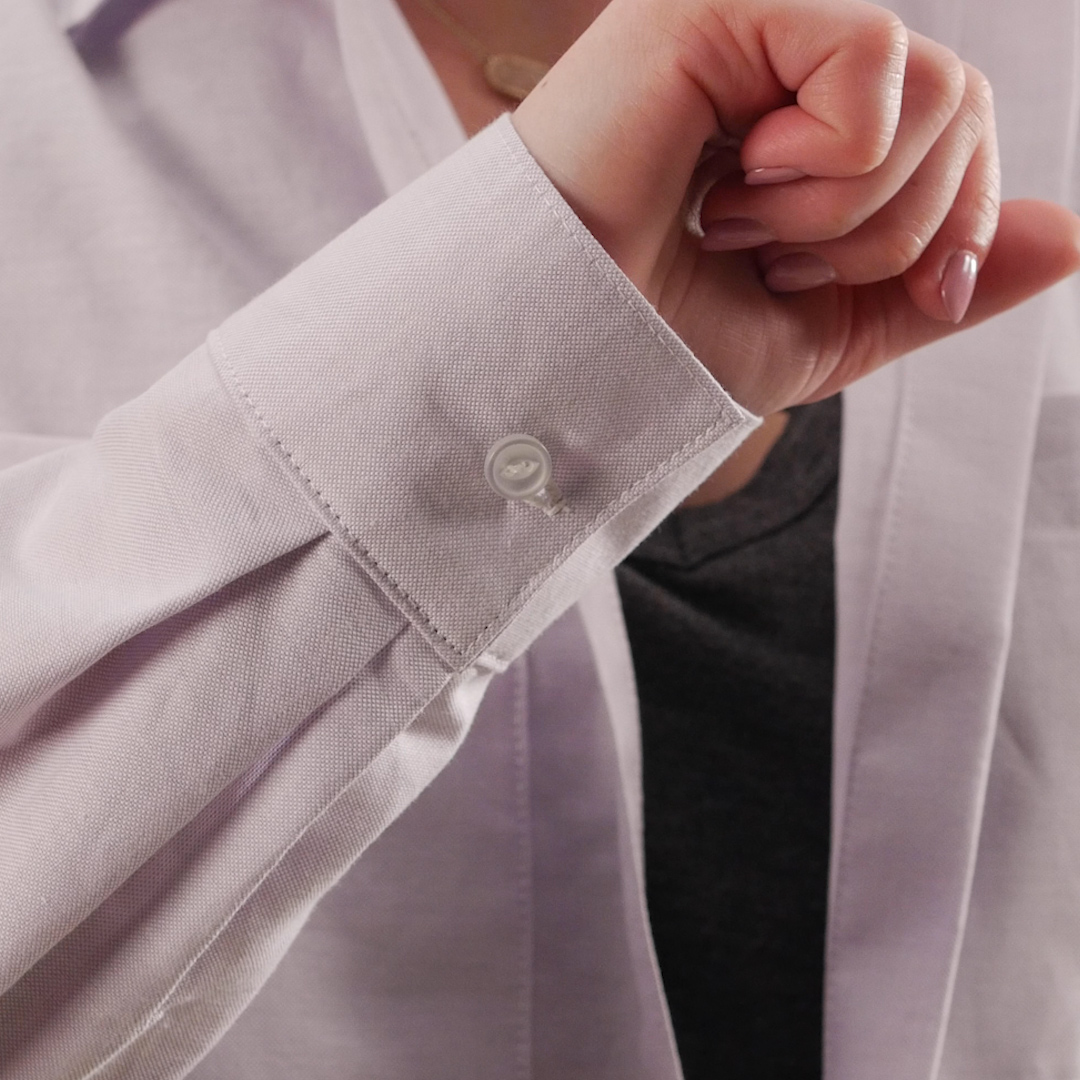
- Part Three: Button Block
- Part Four: Zipper Block
- Part Five: Assemble Blanket
Sensory Blanket Couching Block Supplies
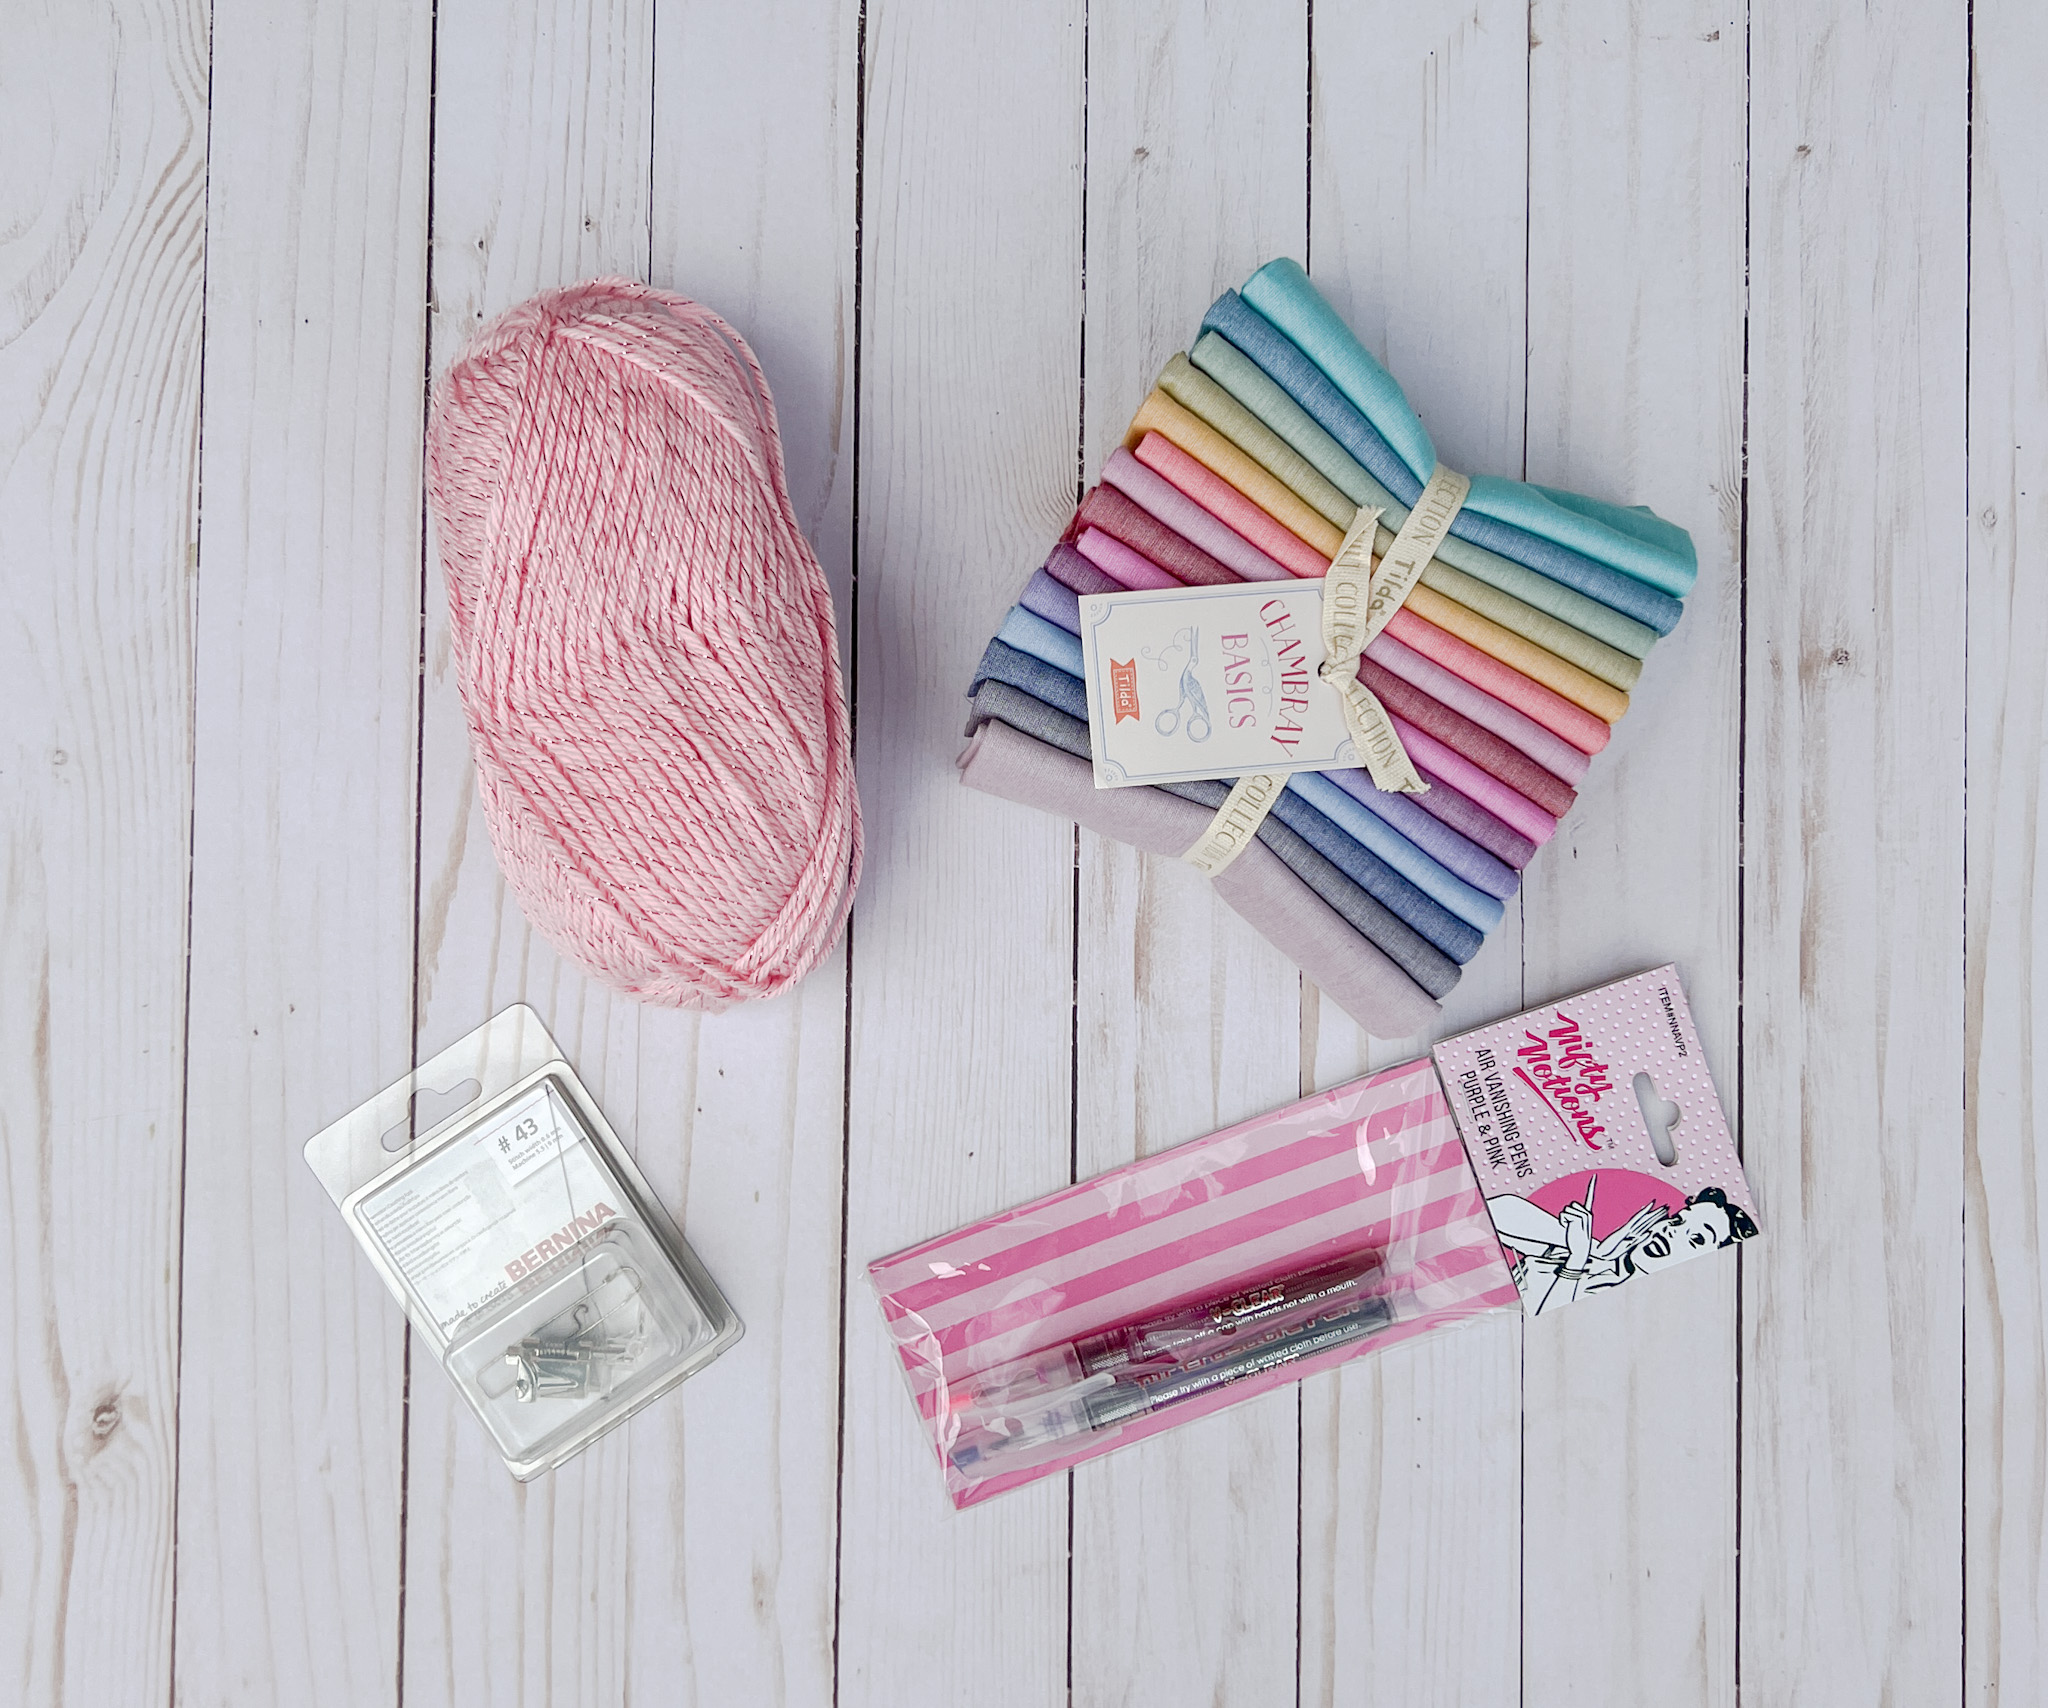
First, gather your supplies for the Couching Block. You will need:
- Fabric (I’m using a fat quarter bundle of this amazing Chambray Basics by Tilda Fabrics)
- Air Vanishing Pens
- Yarn
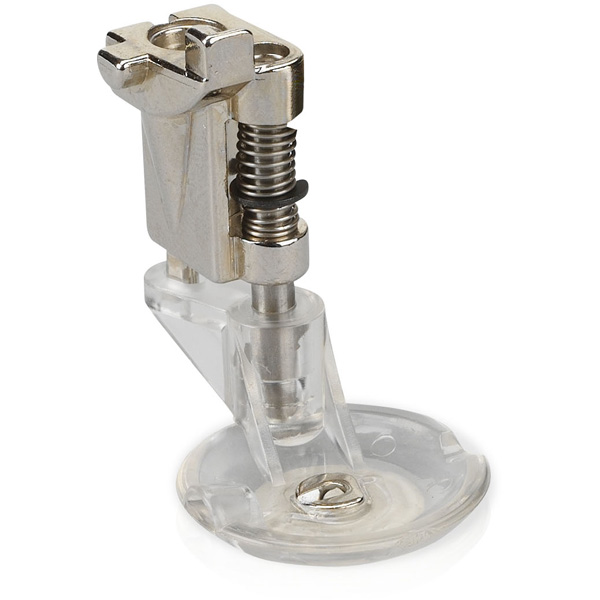
- BERNINA Free-motion Couching Foot #43
Cutting Fabric
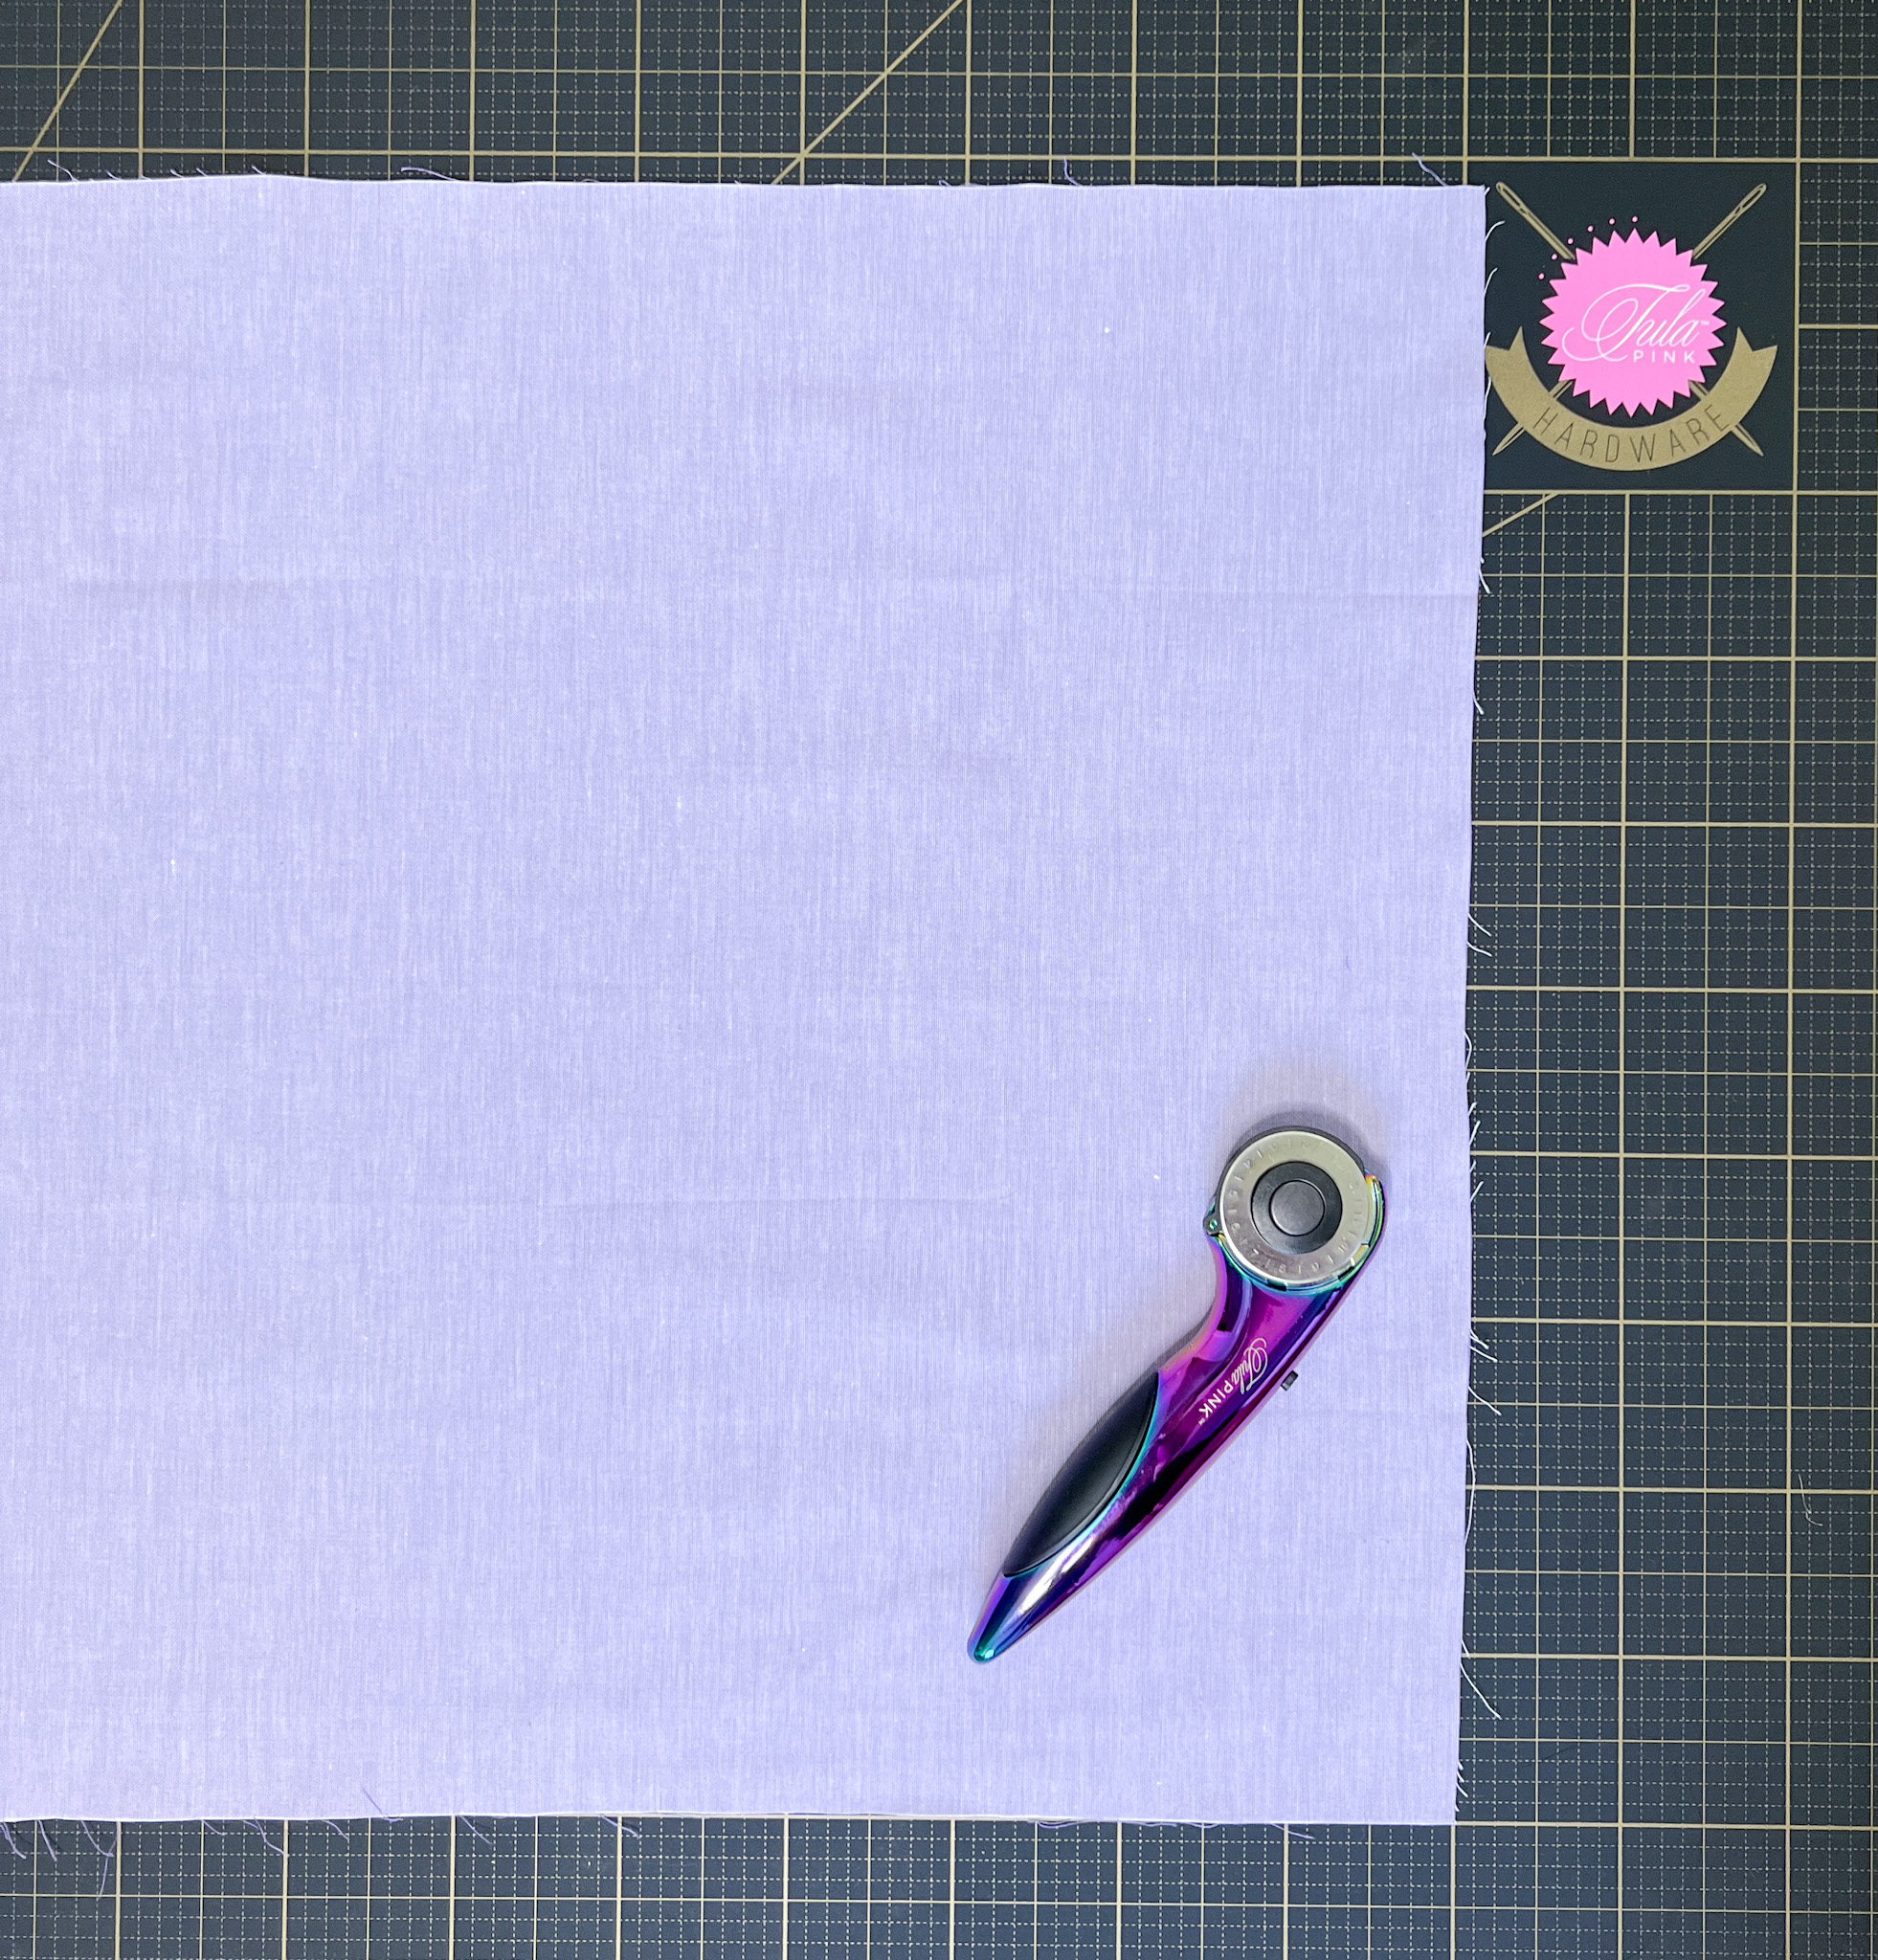
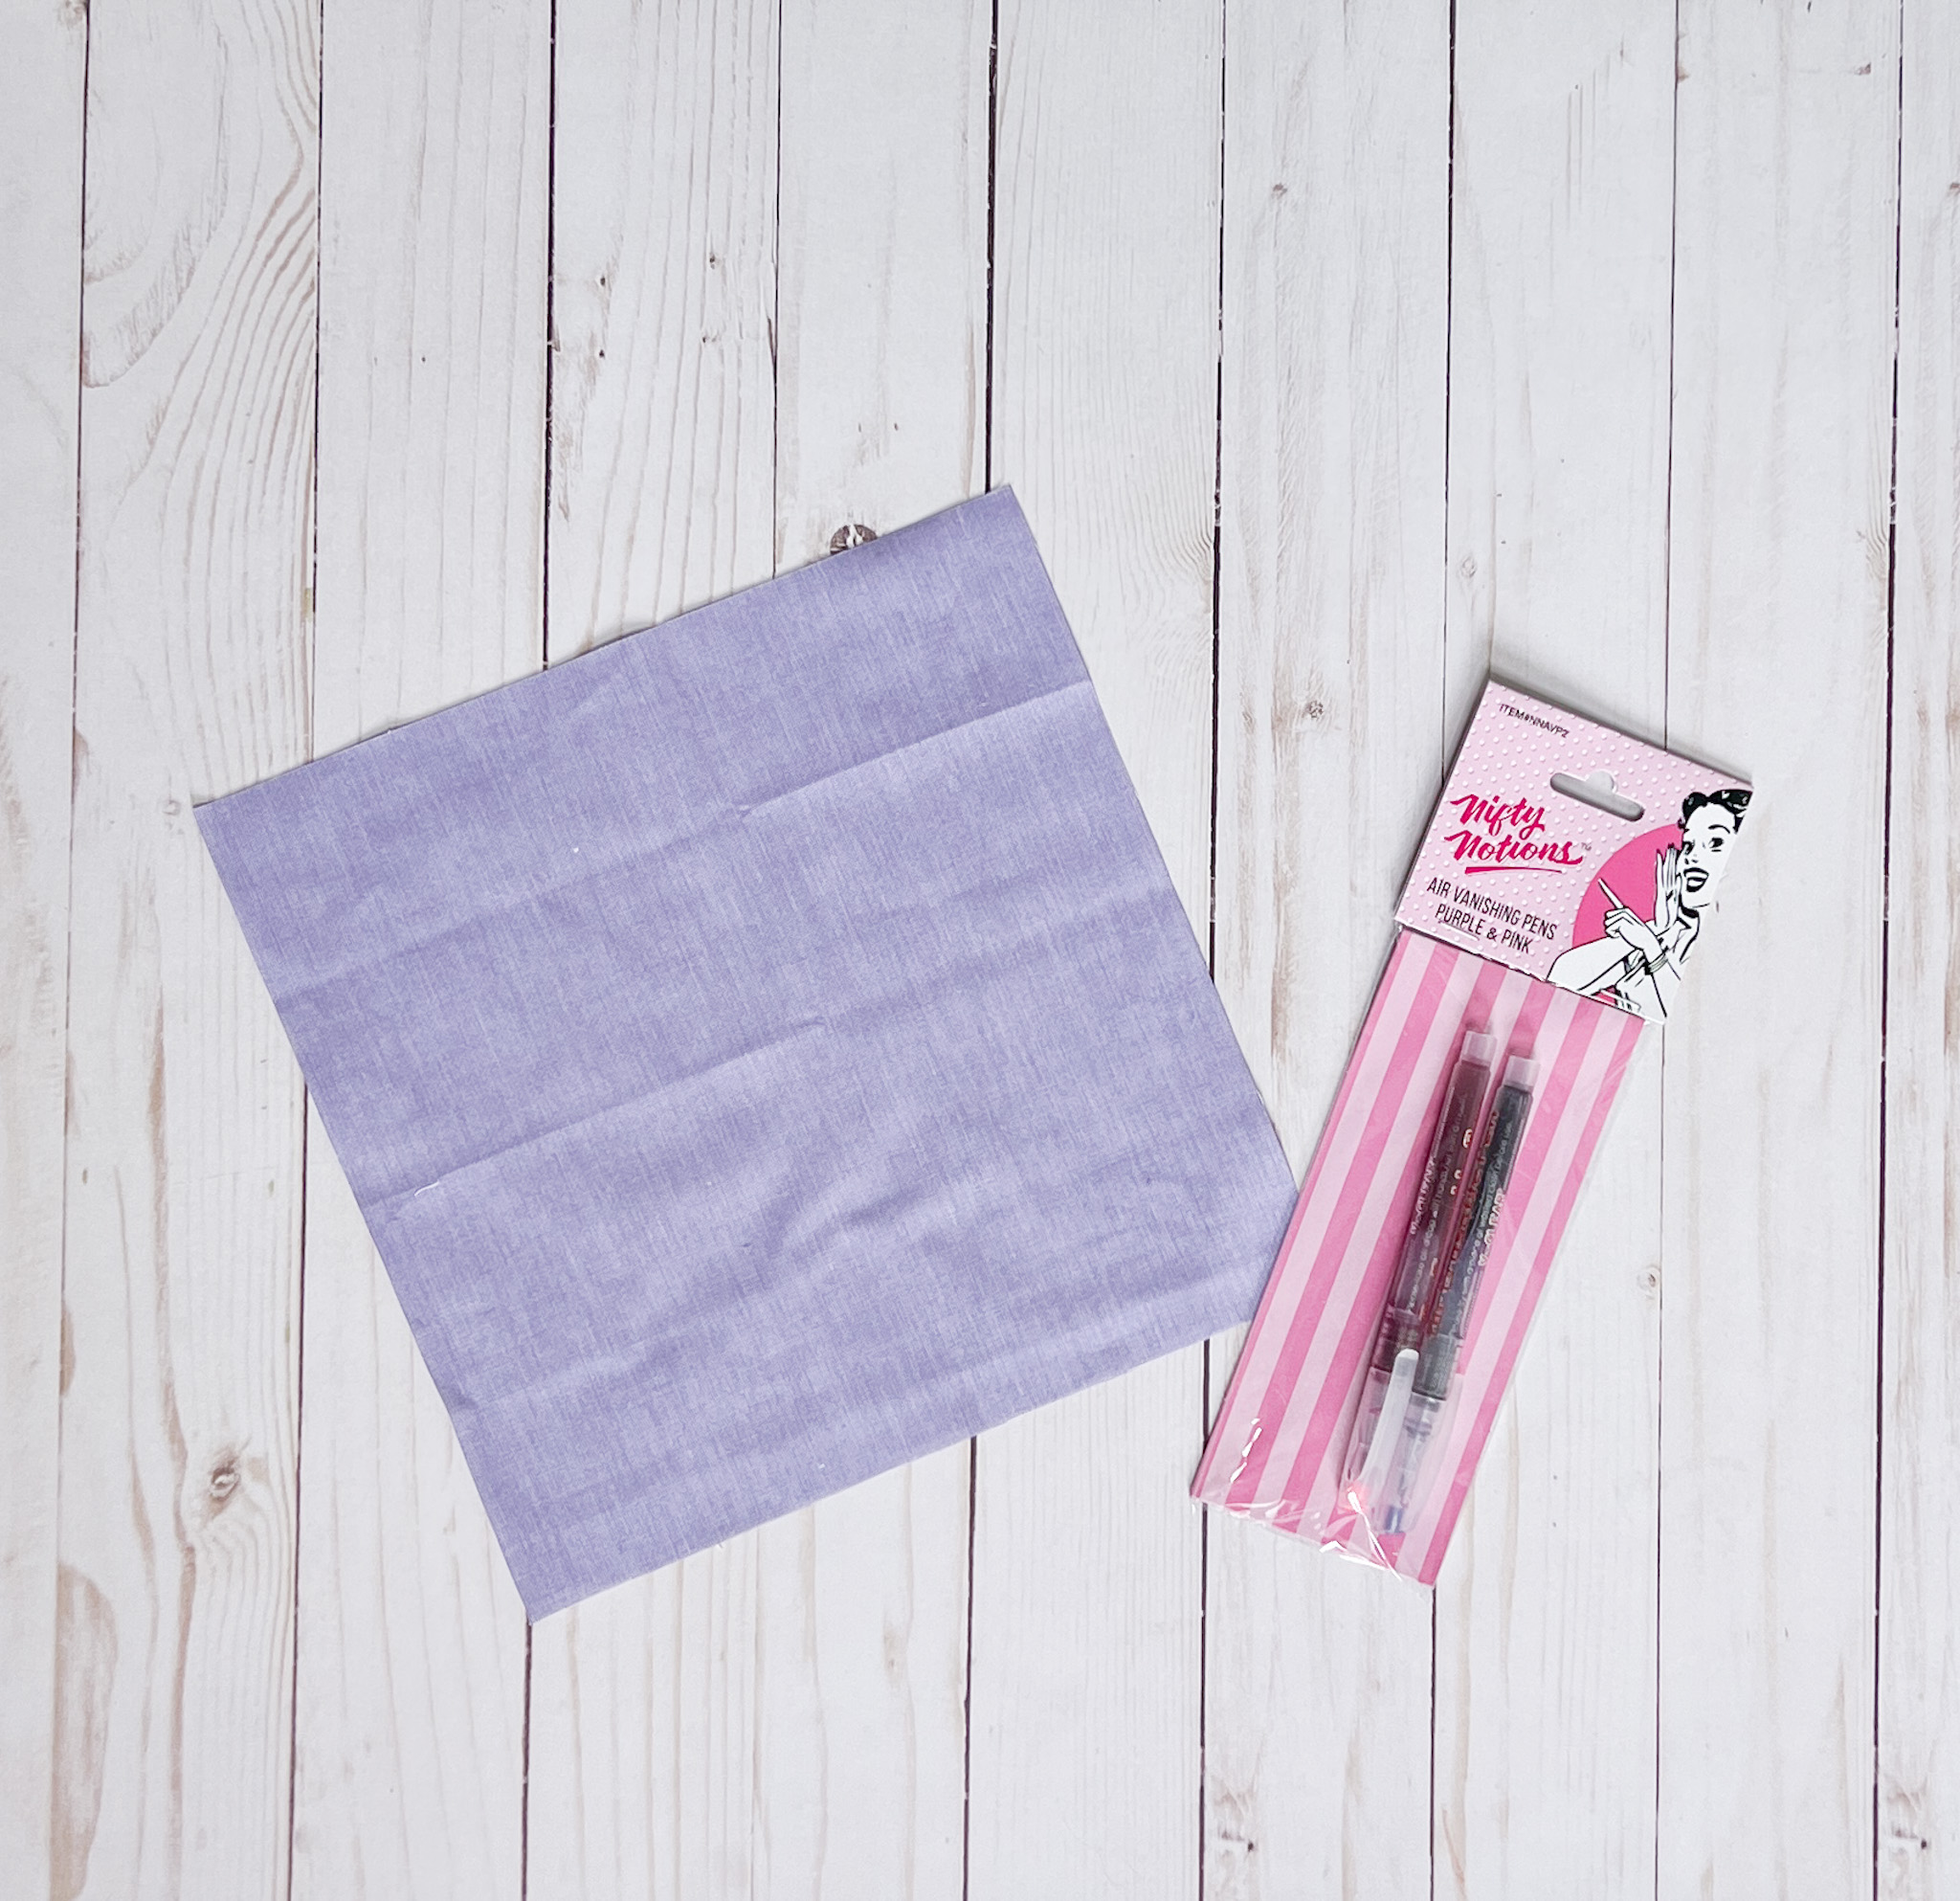
First, cut your block 9 1/2″ by 9 1/2″. This new Tula Pink cutting mat and rotary cutter are my new favorite!
Draw, Draw, Draw
Next, using your air erasing pens draw a simple design all over your block. I chose a loopy design that I often use when quilting my quilts. If you mess up, no worries, the ink will disappear and you can start again!
Using the Couching Foot
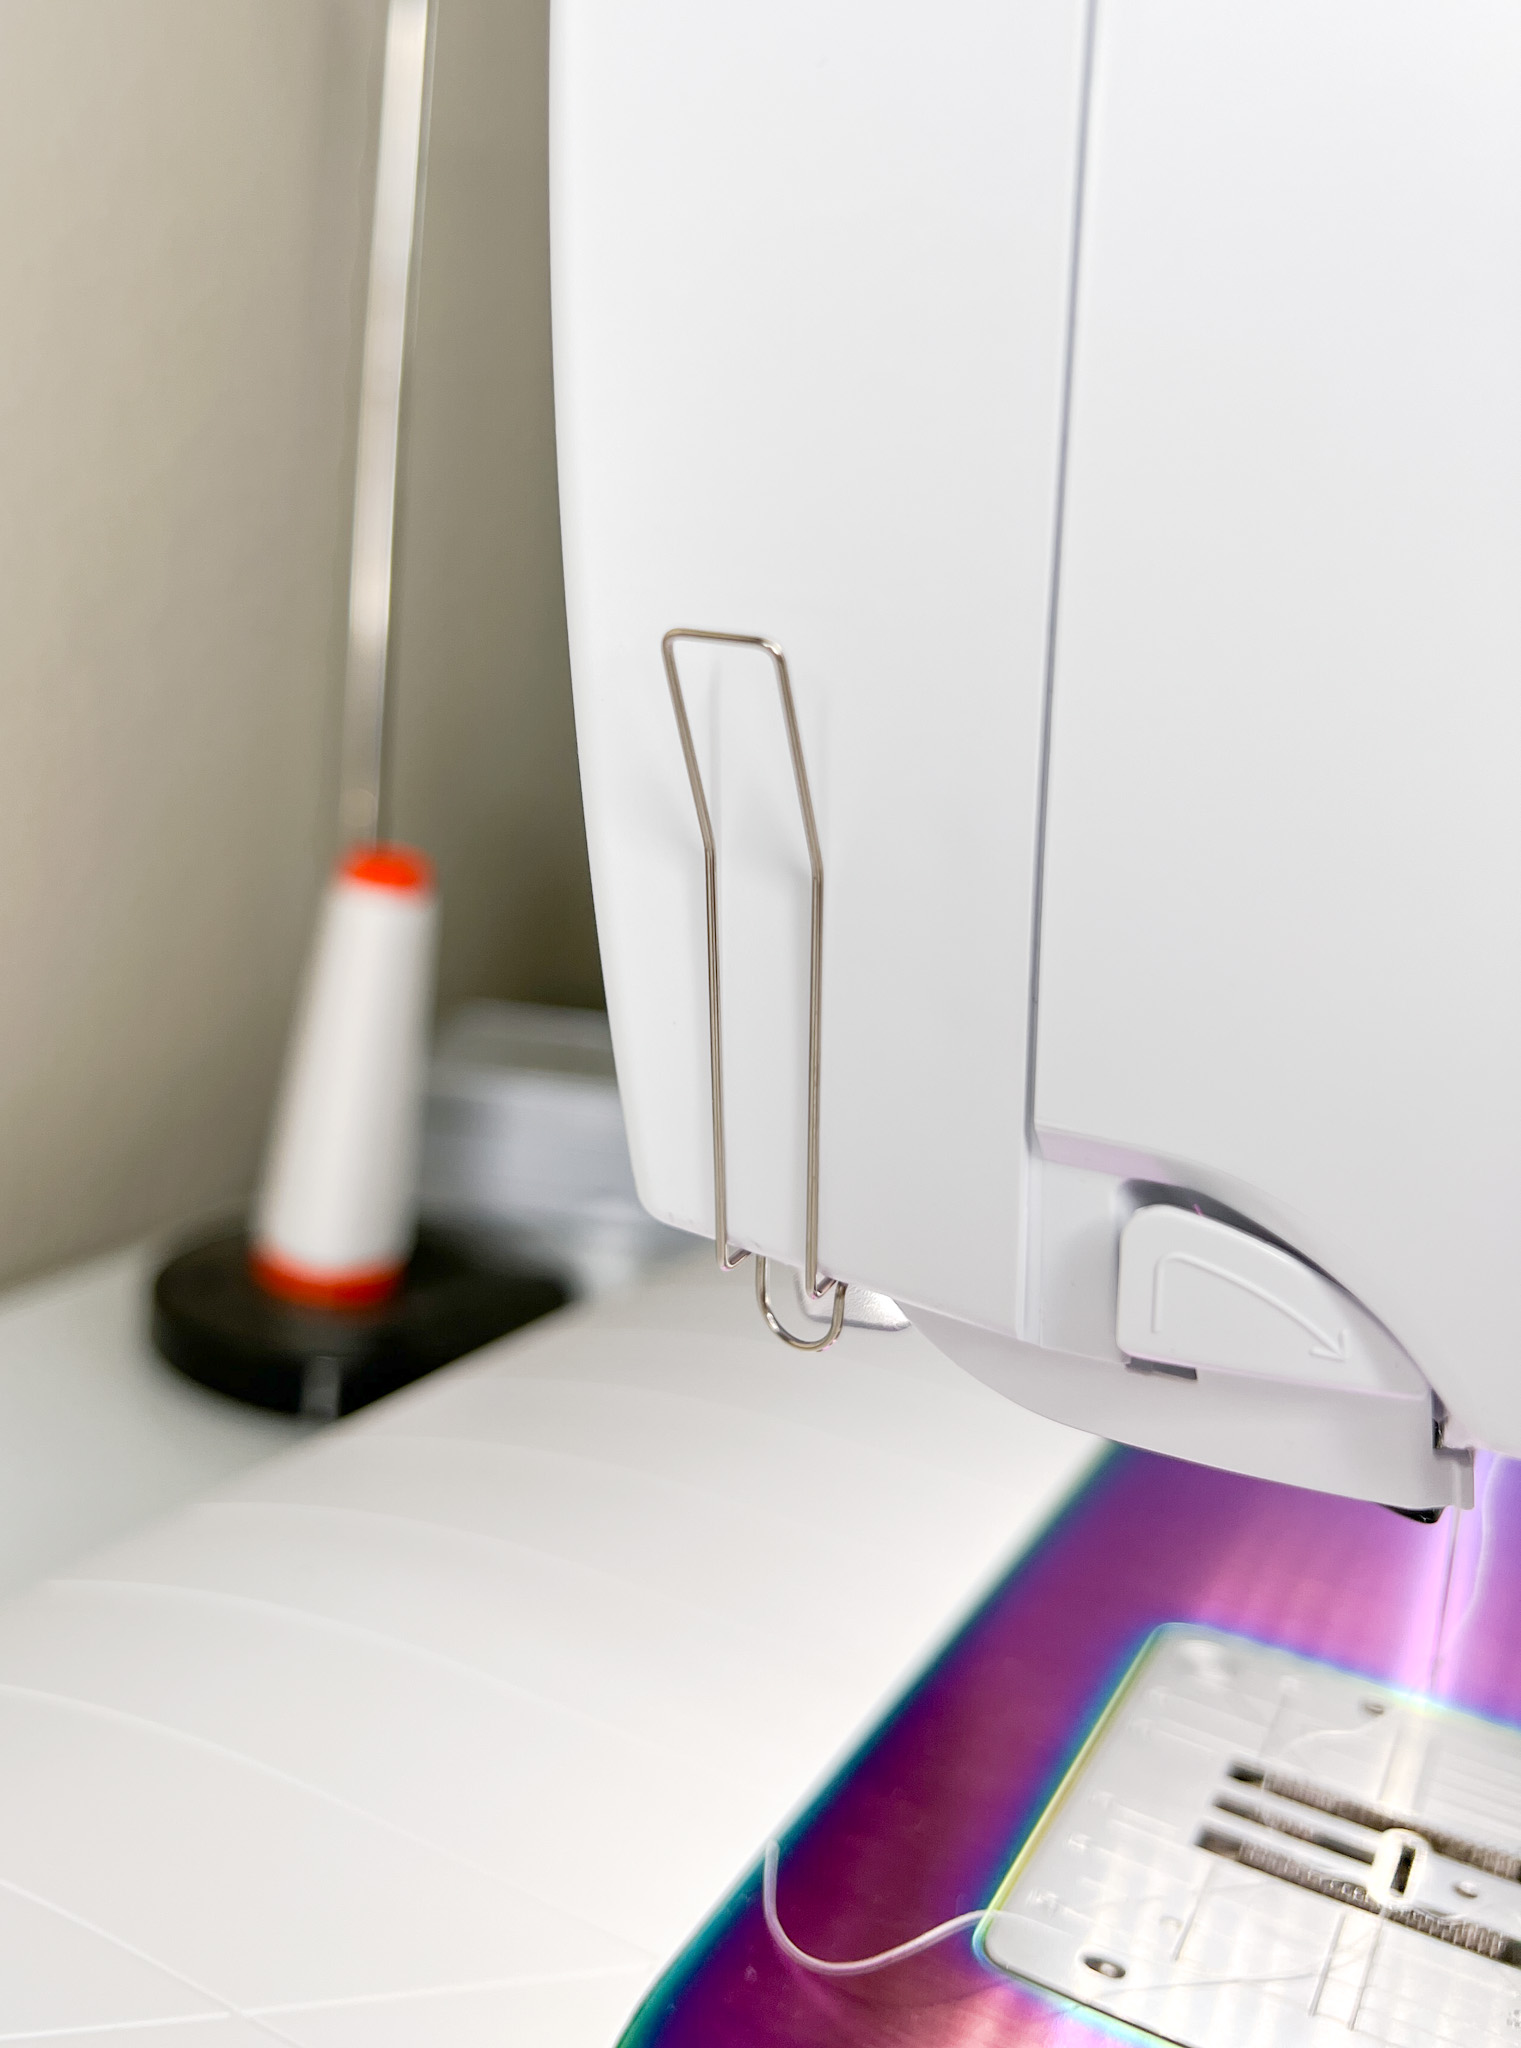
Start by attaching the cord guide to the side of your machine. This will help to feed your yarn or other cording while sewing.
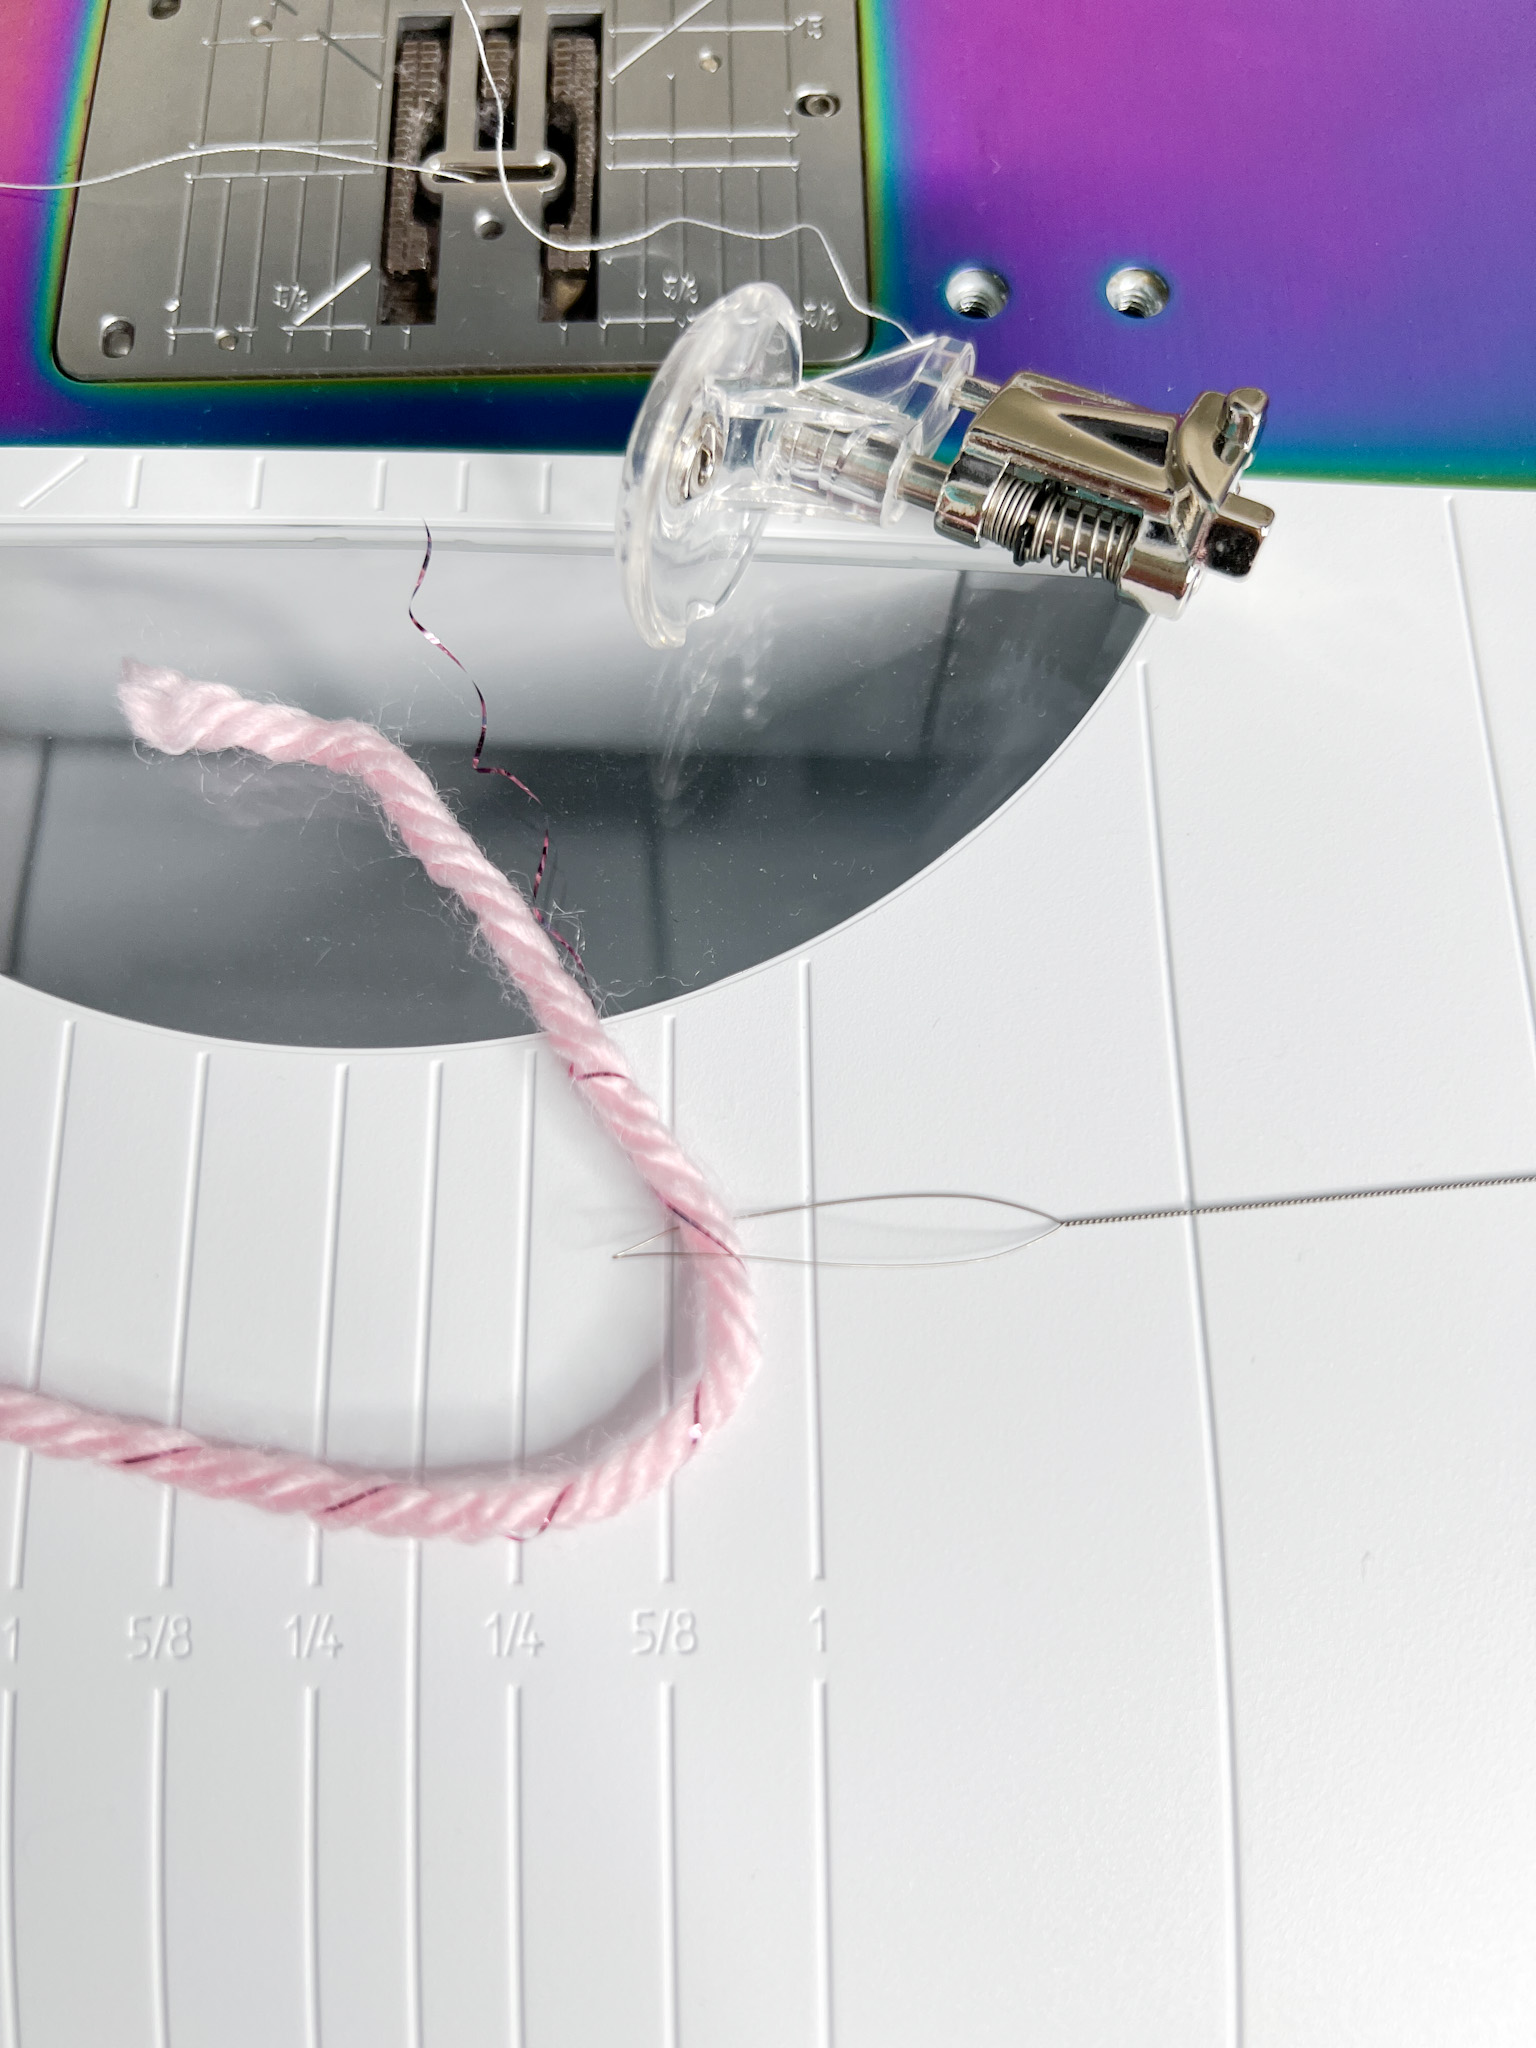
Then thread the yarn through the needle that comes with the couching foot.
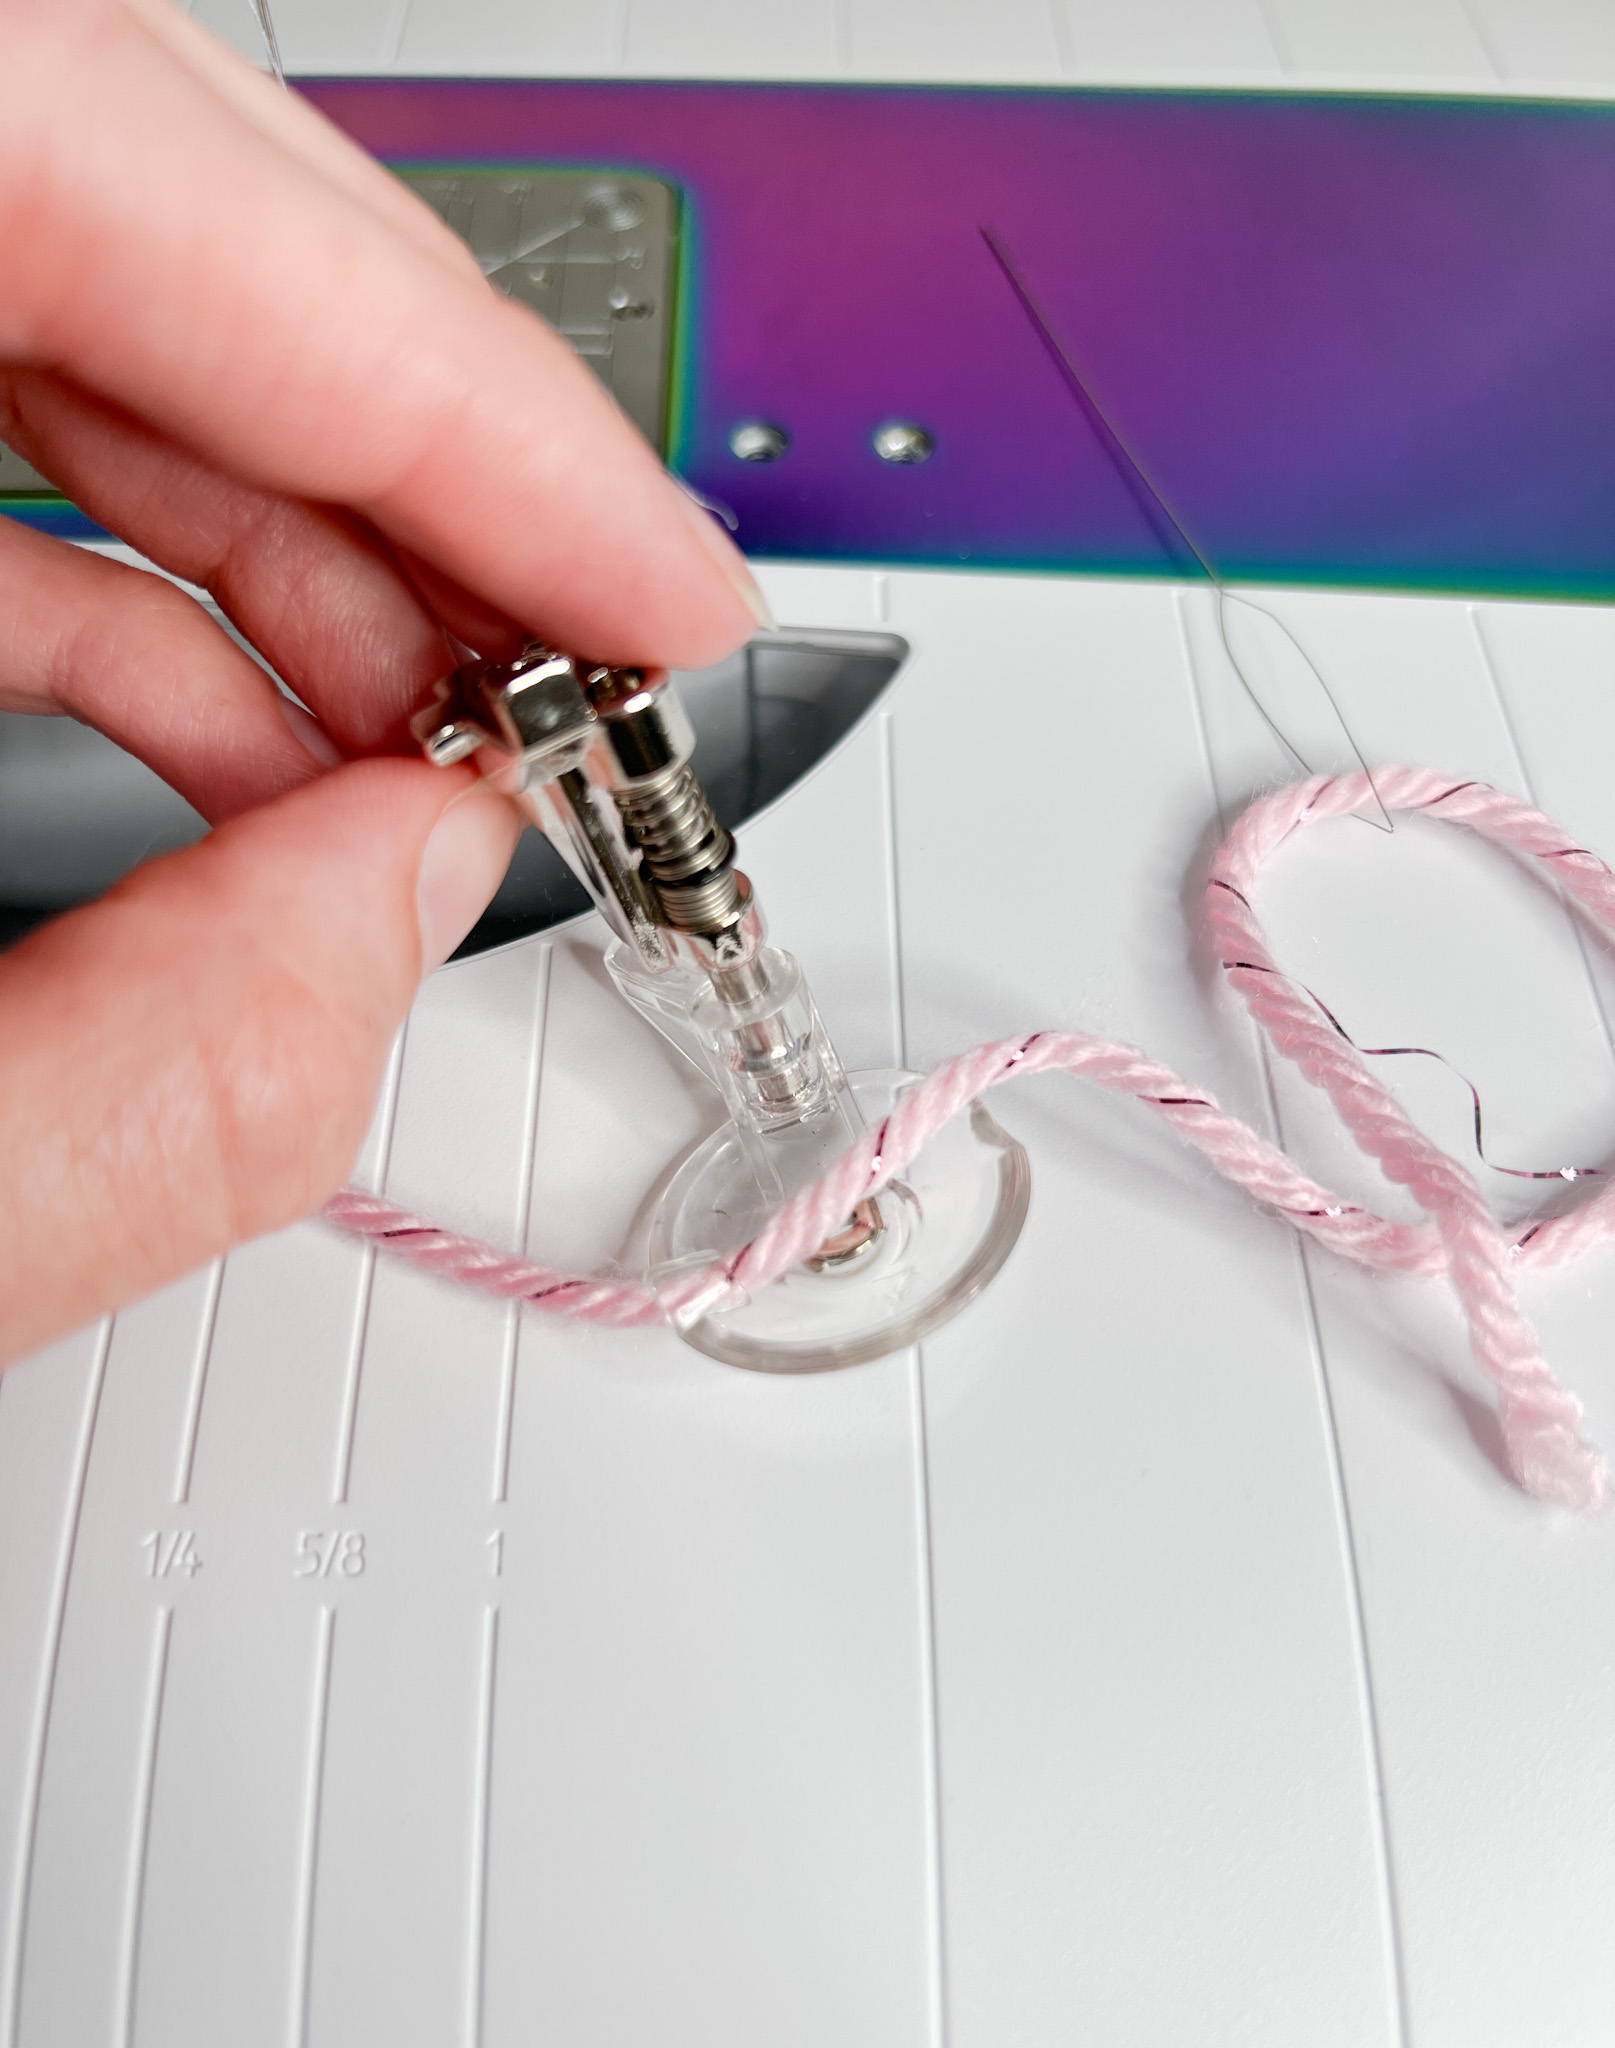
Thread the needle through the outside hole first.
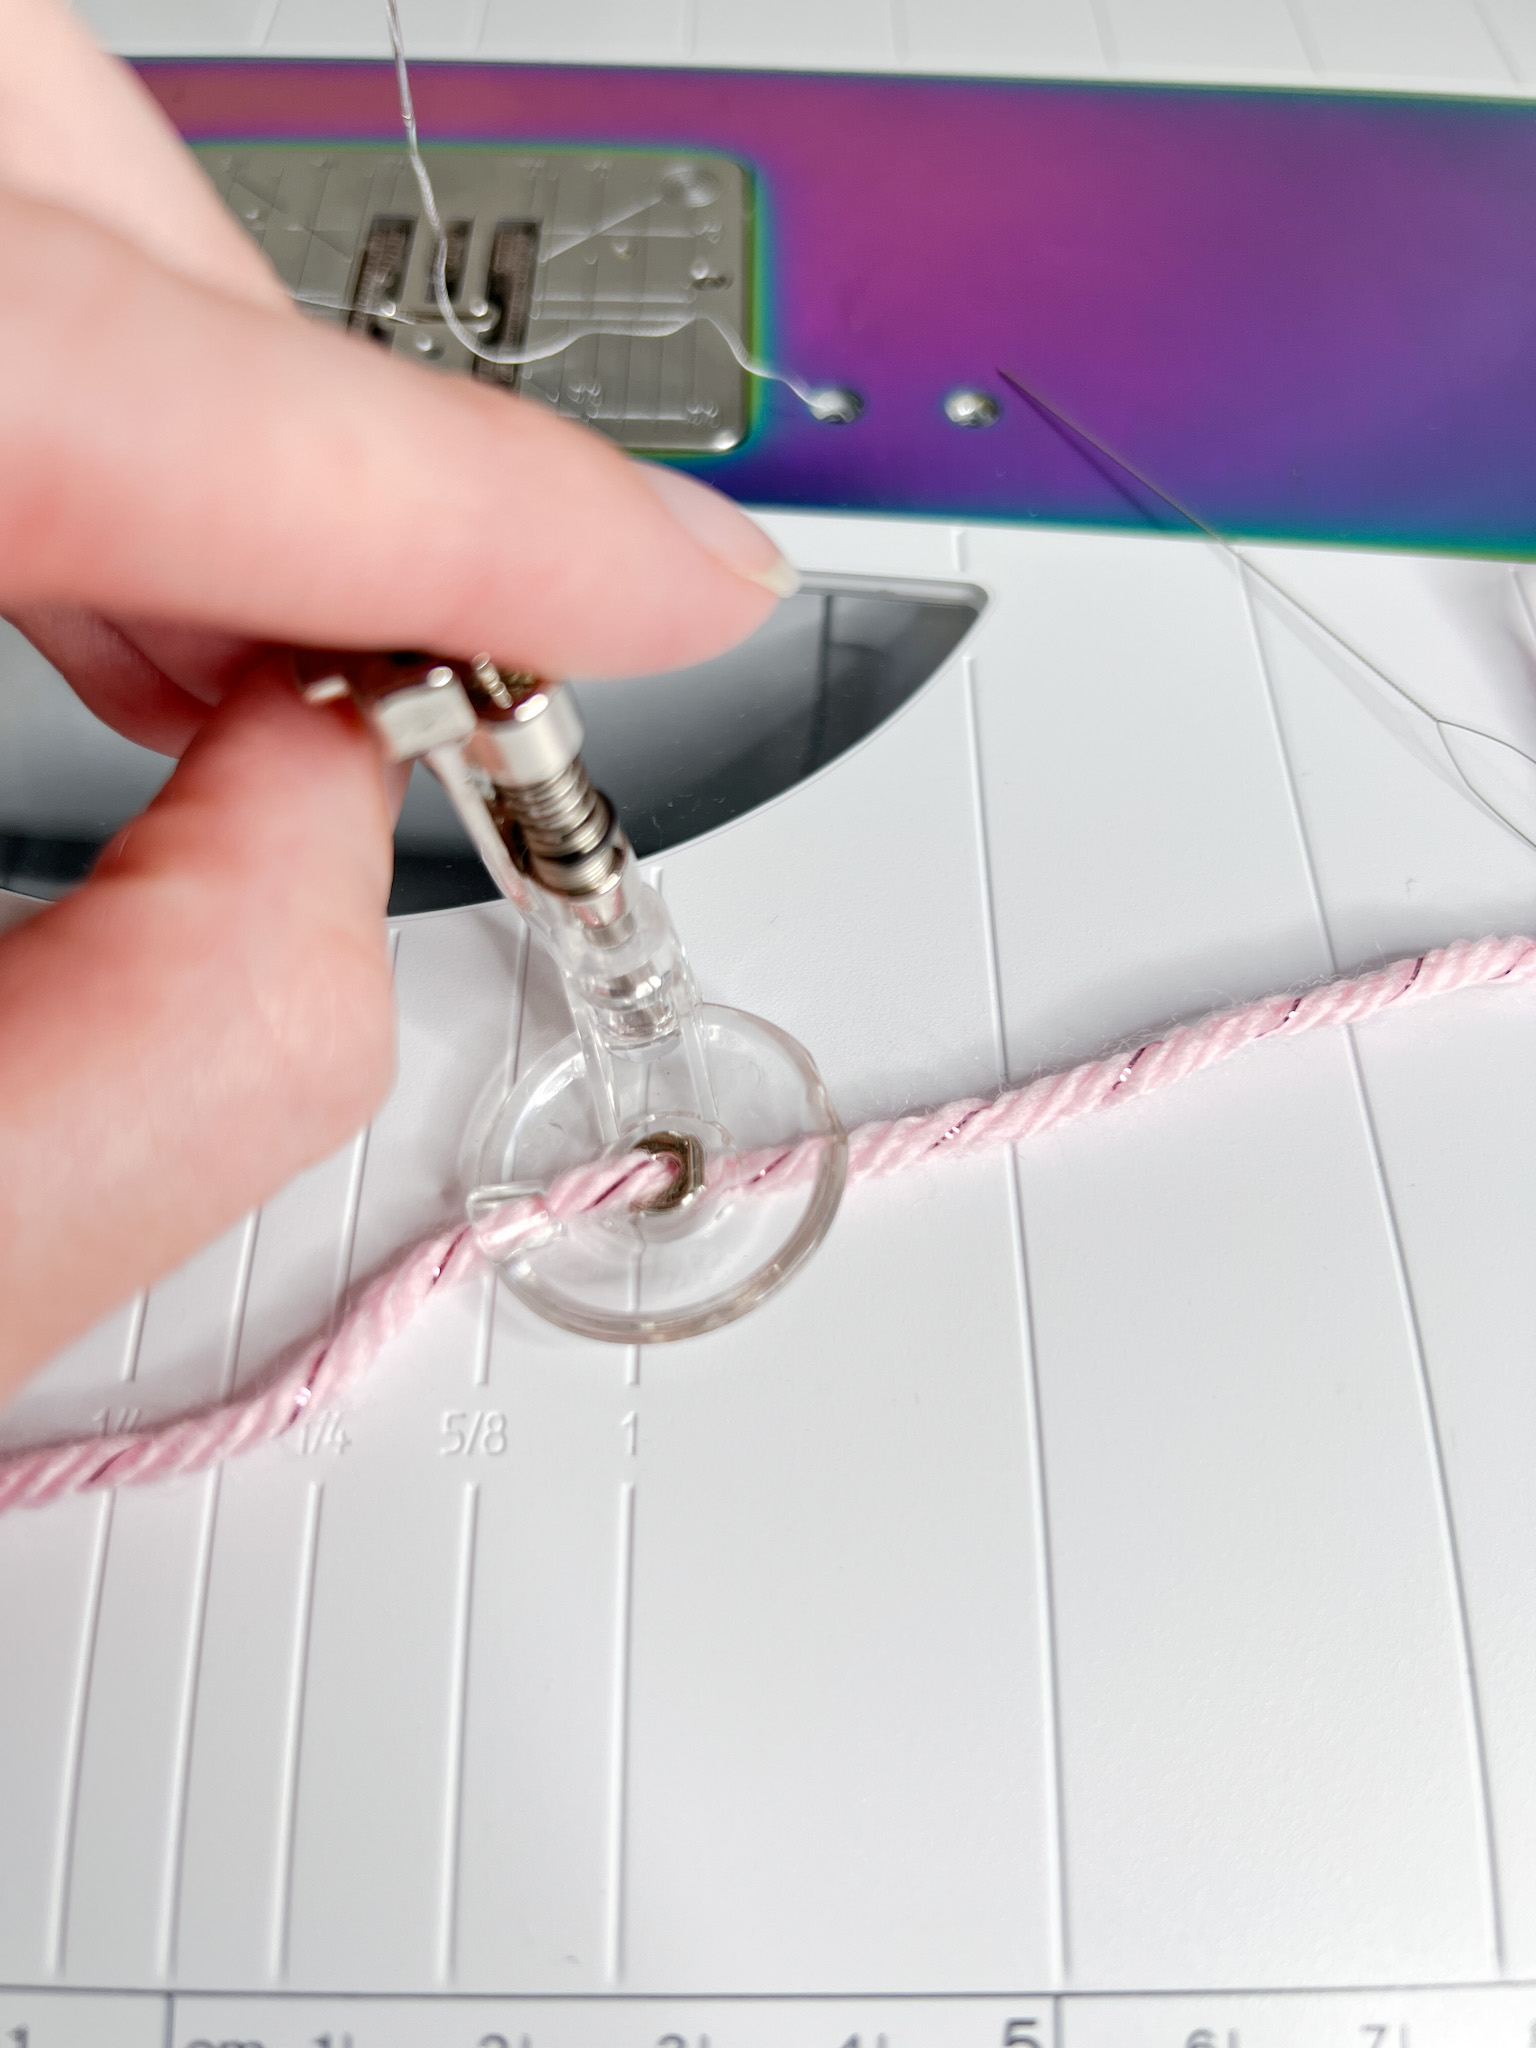
Next, thread the needle through the hole in the bottom of the couching foot.
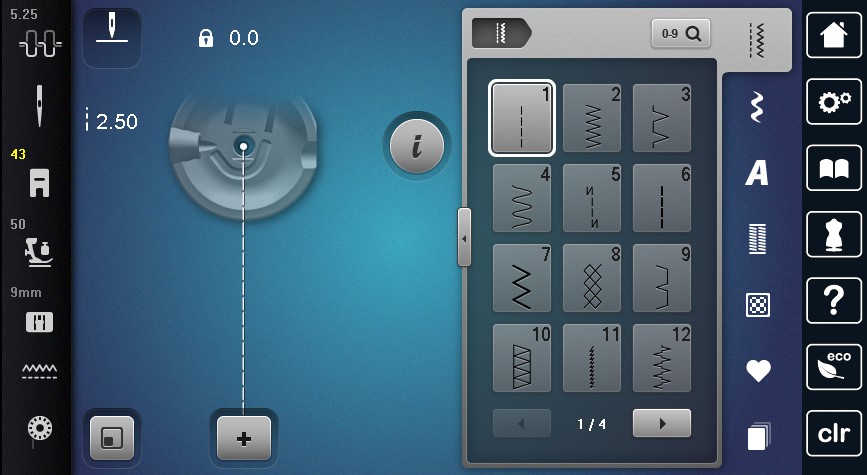
I used a straight stitch at 2.5 for my couching.
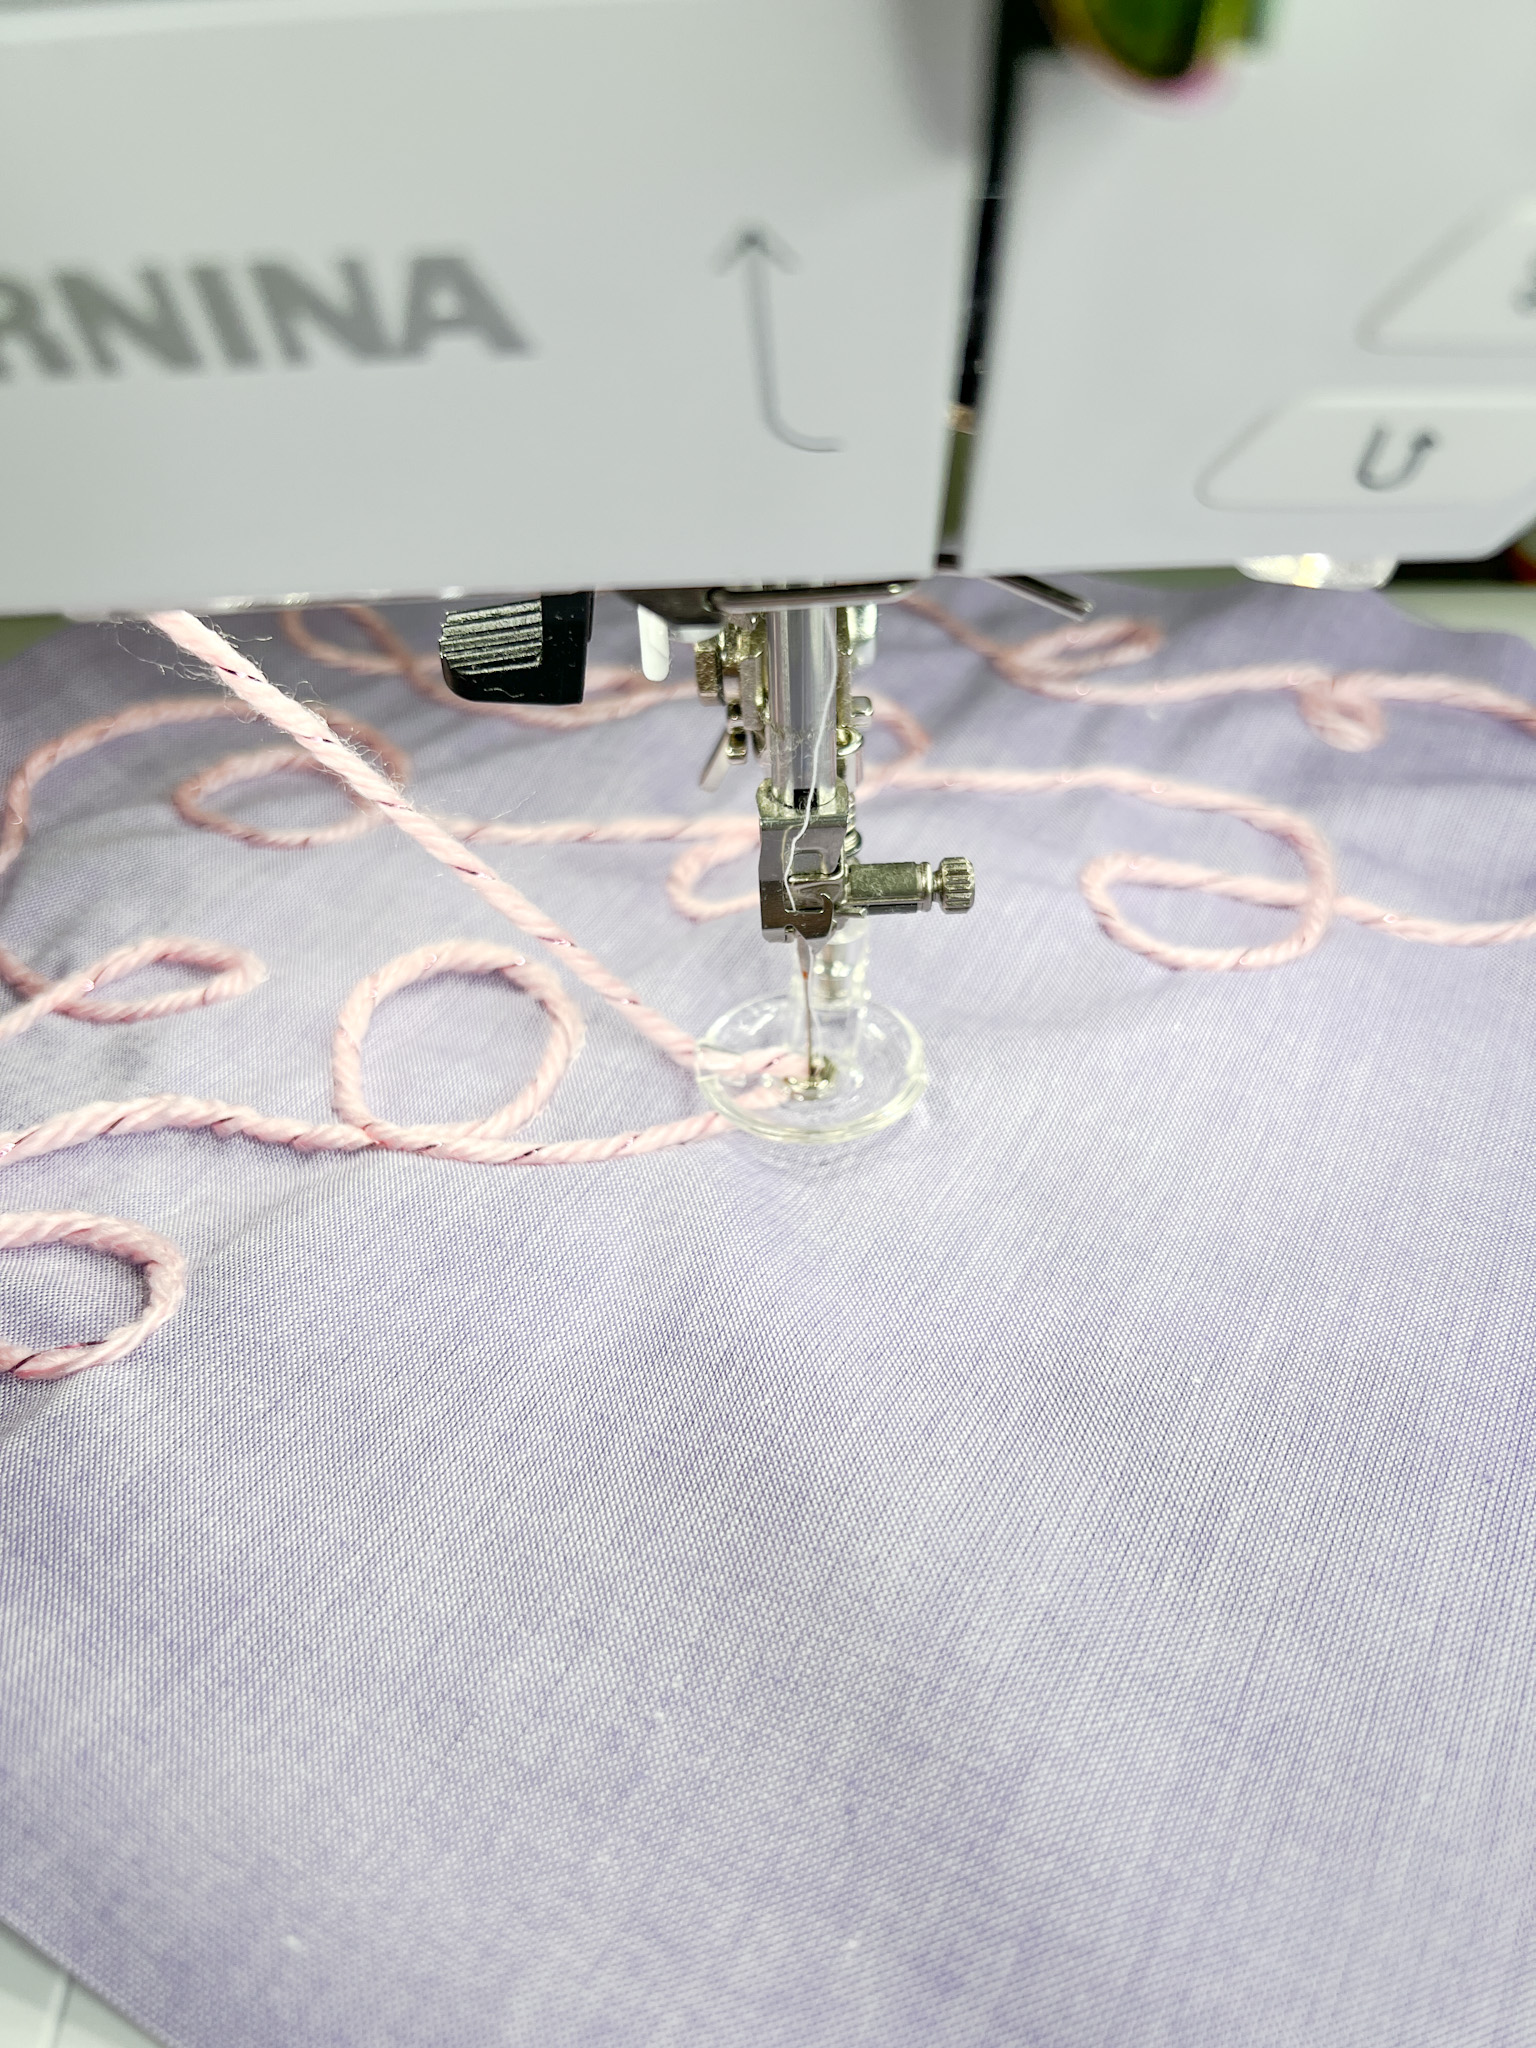
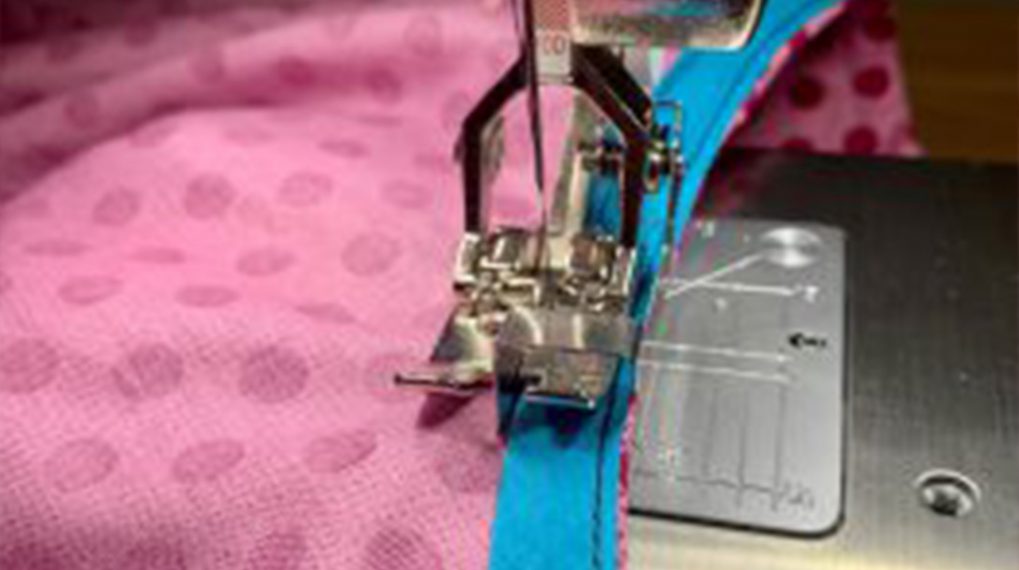
Sewing Using the BERNINA Free-motion Couching Foot #43
Then start sewing on the lines you previously drew. Or you can free-hand it. Tip: Make sure you lower the feed dogs!
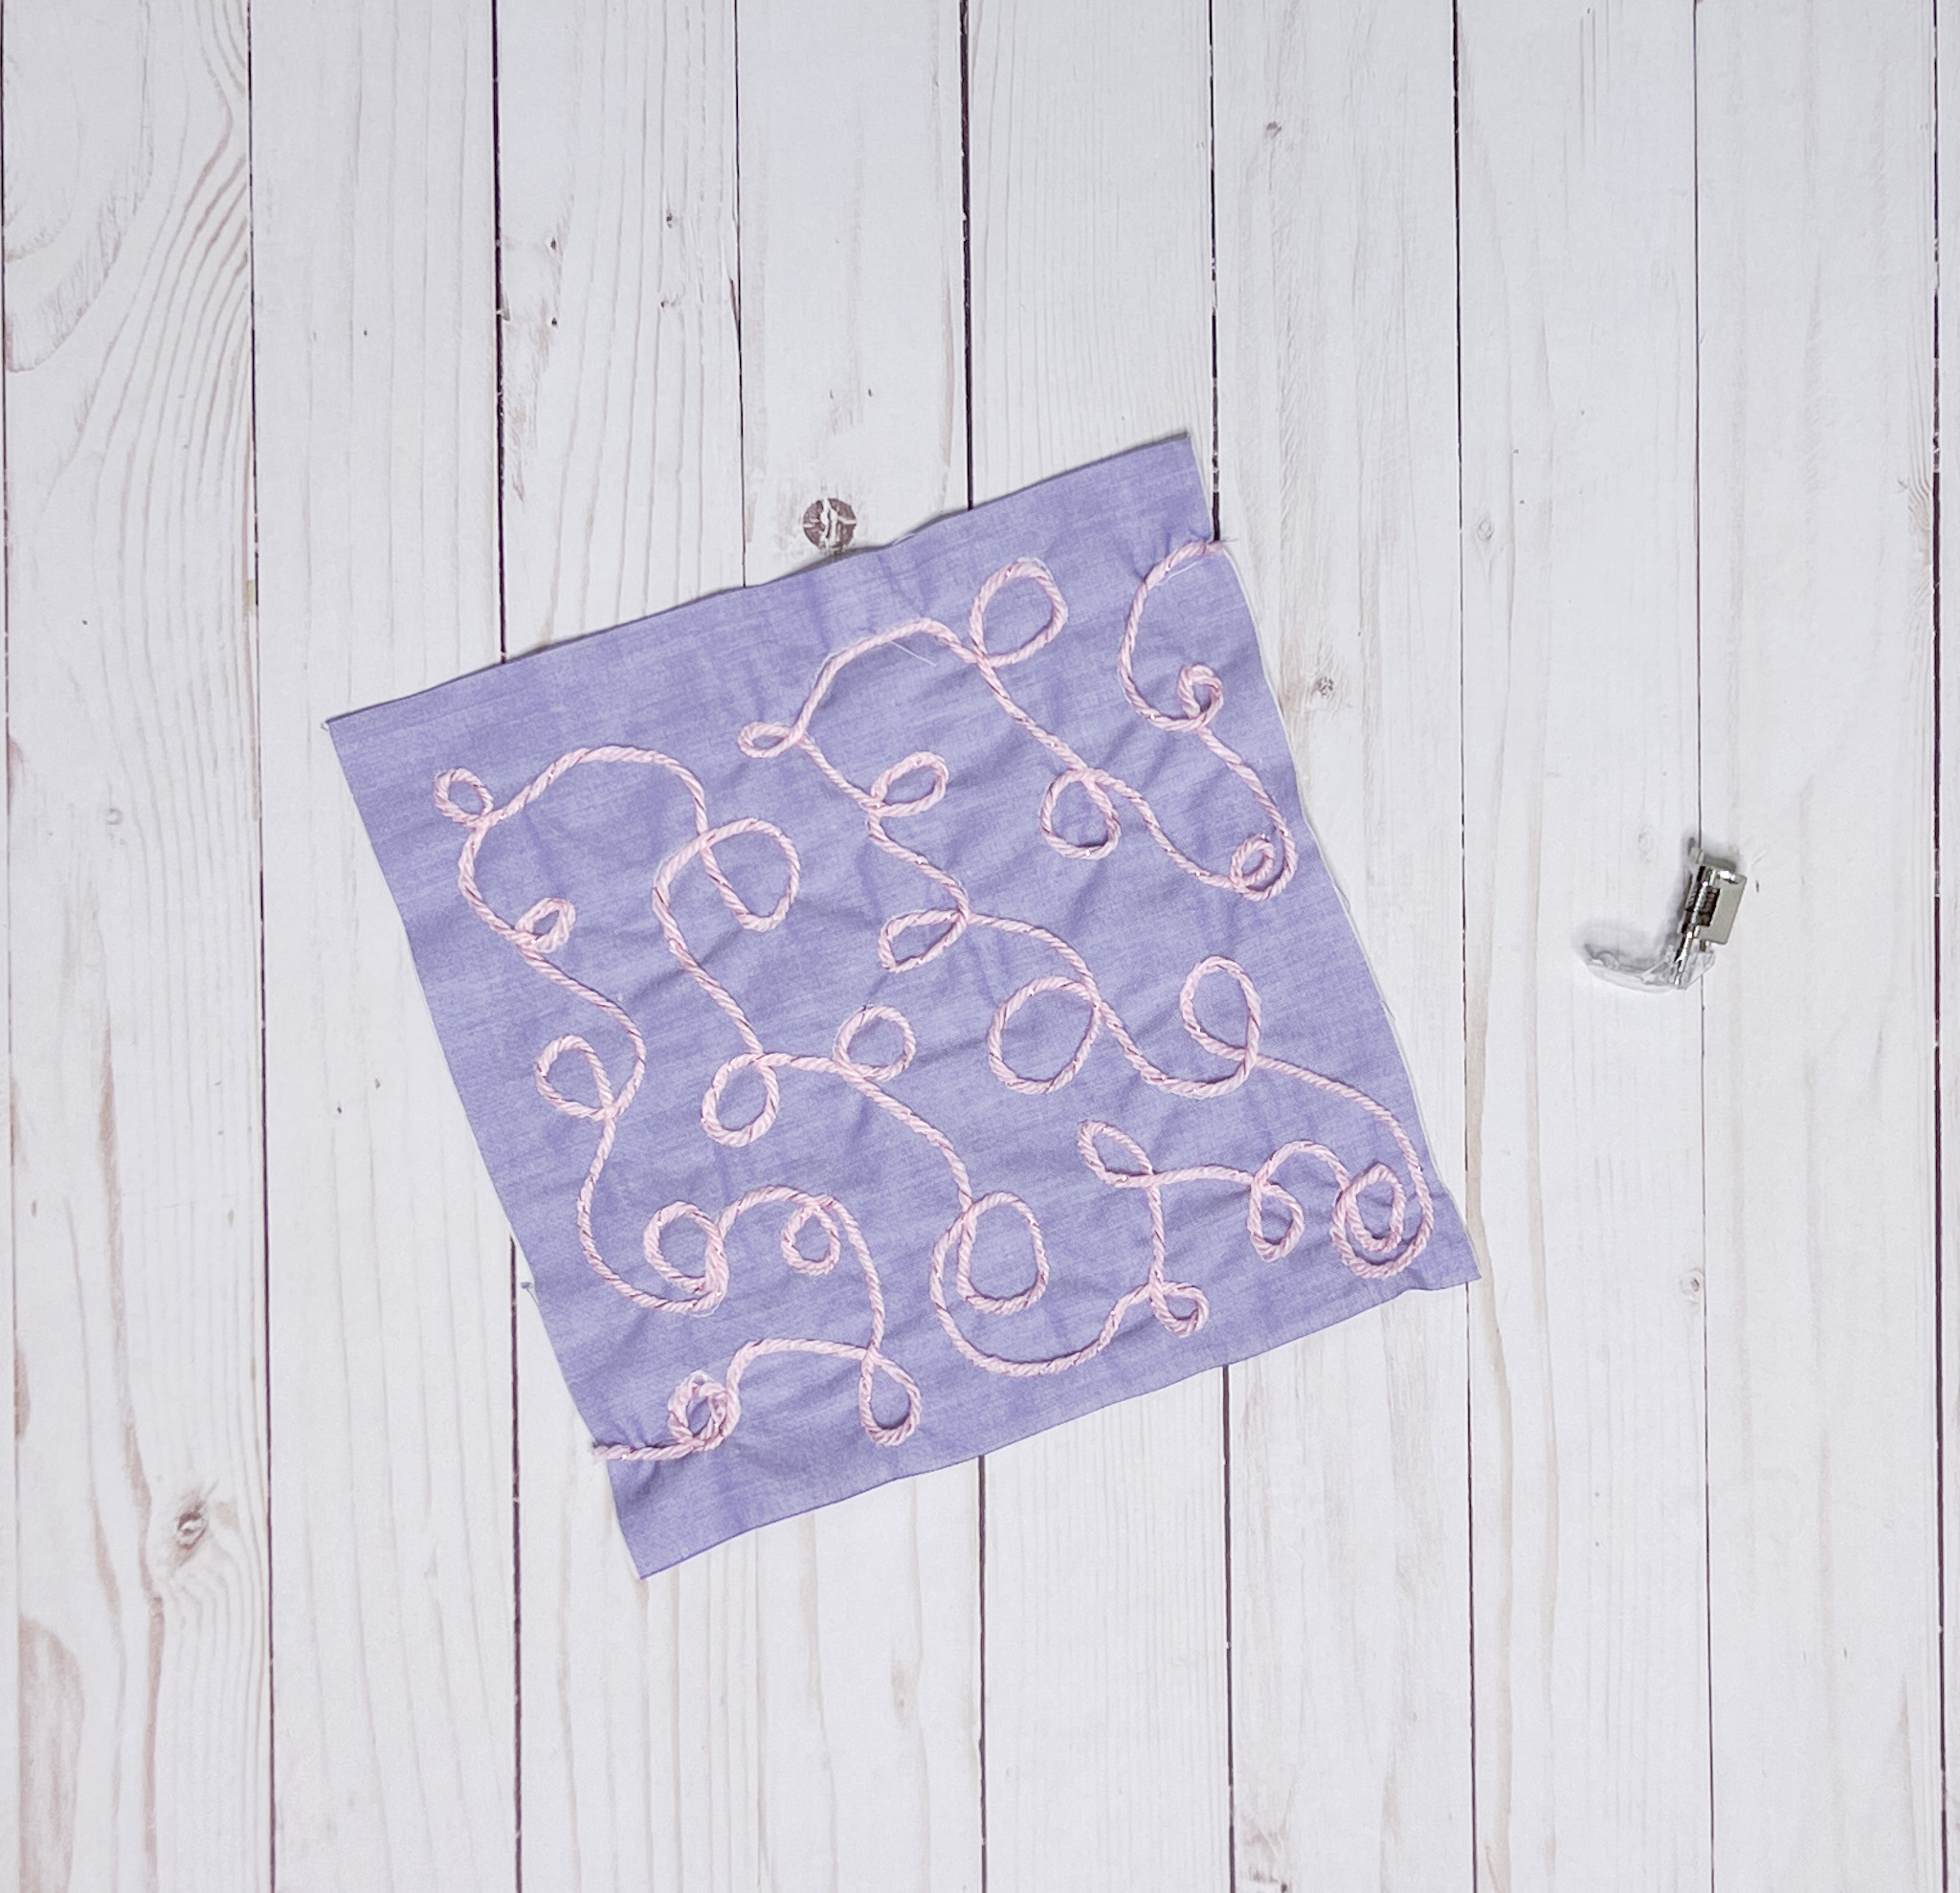
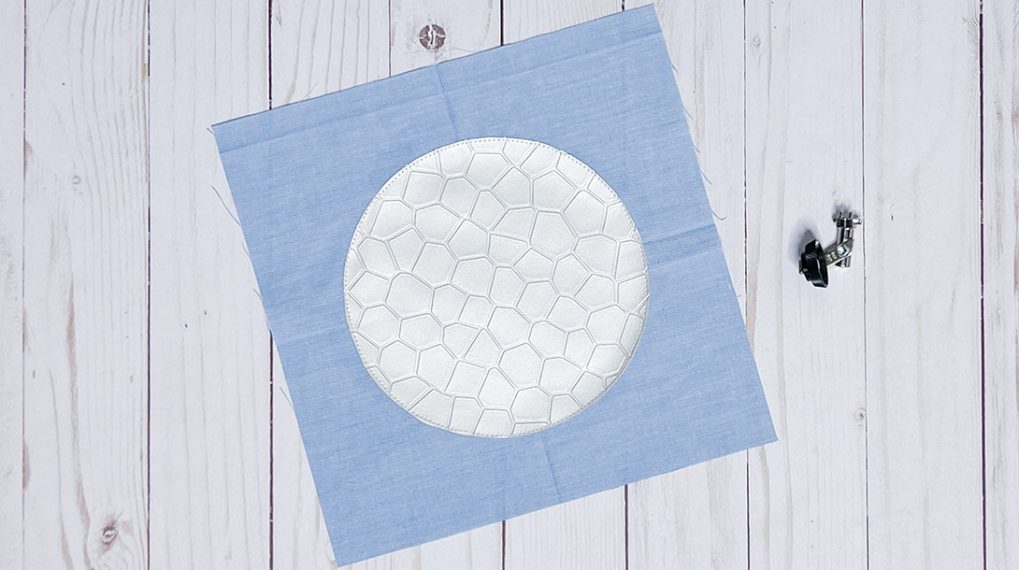
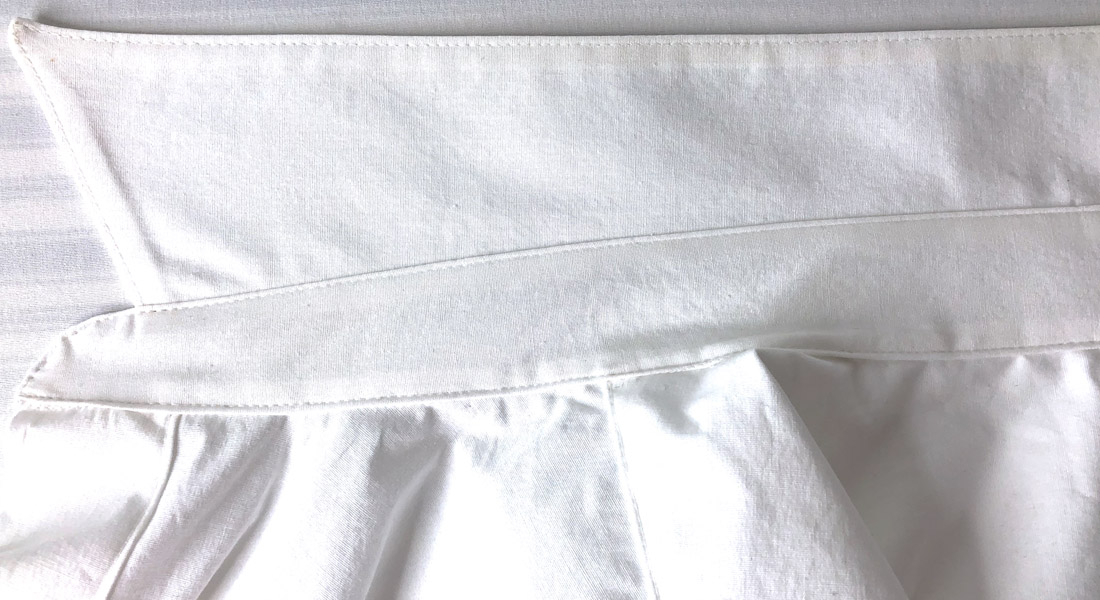
I love how this turned out! All this textured goodness is what we are going for in this sensory blanket.
Stay tuned for part two where we will add more texture with leather!
If you would like to see more of what I am up to, you can follow me on my blog, Instagram, Facebook and subscribe to my YouTube Channel.
Chirp out!
Jen
Used Products

What you might also like


One comment on “Sensory Blanket Sew Along, Part One”
Leave a Reply
You must be logged in to post a comment.

Hello,
Is the yarn or cord placed on the spool holder and threaded through all the tension?