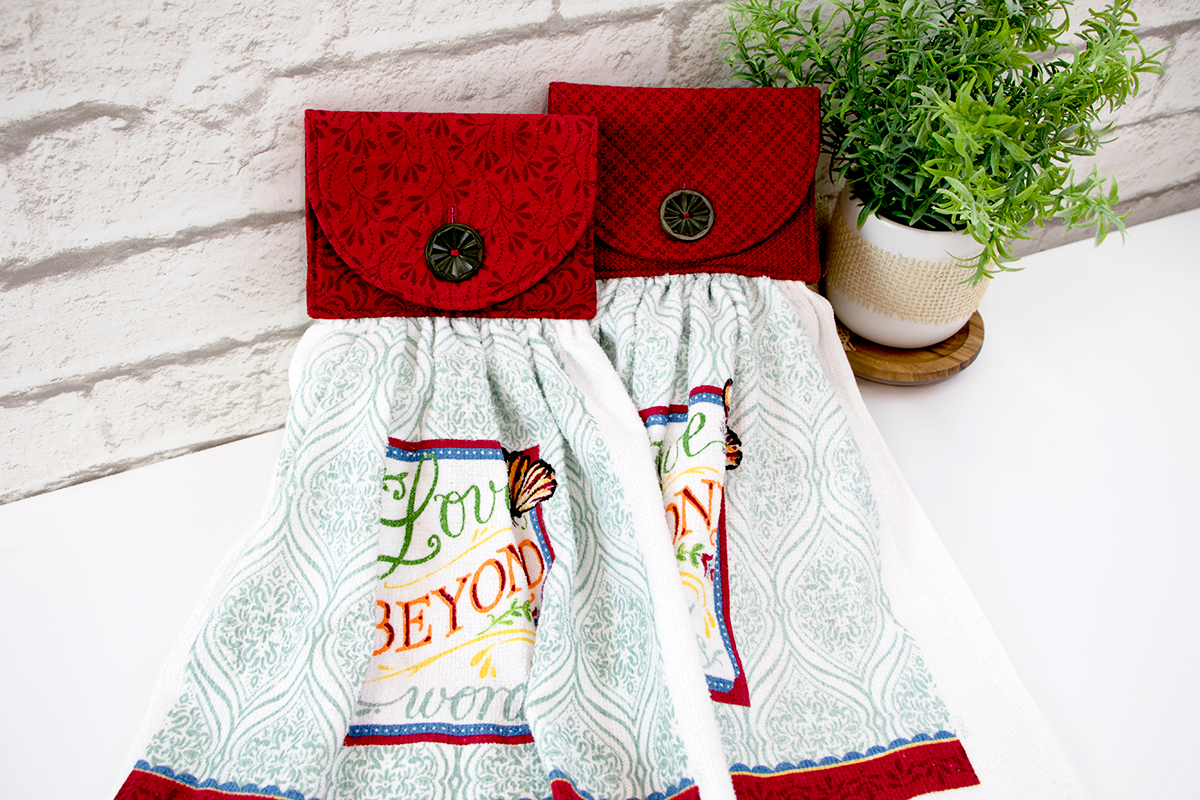
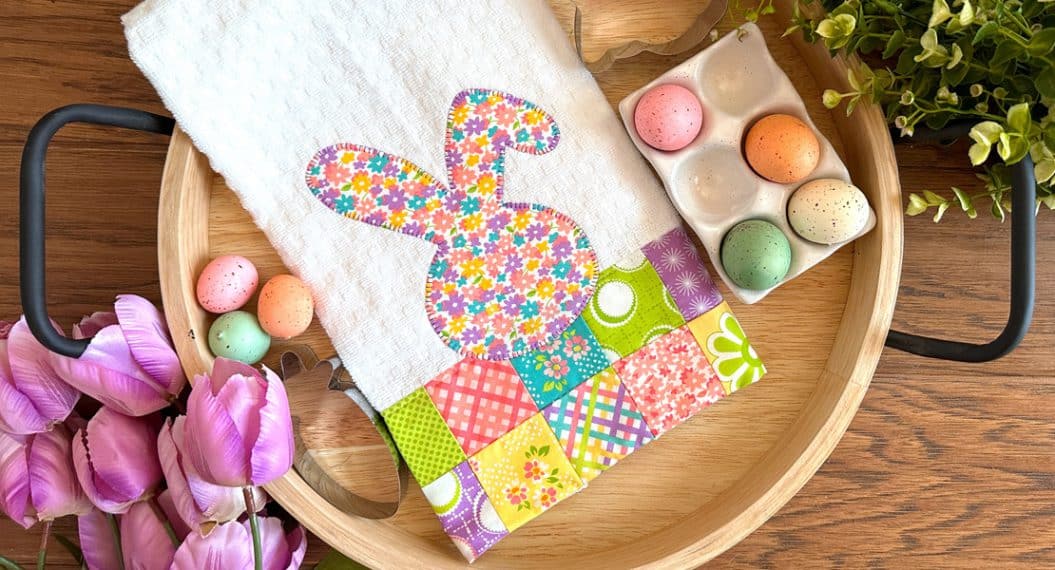
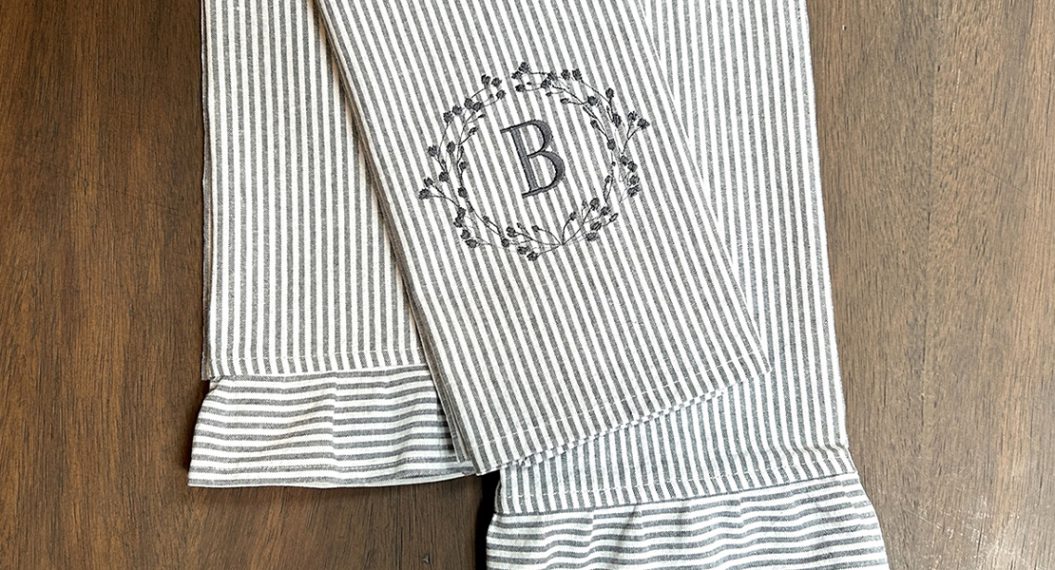
Kitchen Towel with Quilted Holder
Needing some new decor within the home? Do you know someone moving into their first apartment that does not have all the kitchen necessities yet? Are you looking for a simple project to practice straight-line quilting and edgestitching? The answer to all of these questions are these kitchen towels with quilted holders.
SUPPLIES:
- One kitchen towel
- Four 10” squares of fabric
- Four 10” squares of batting
- Coordinating thread
- Two large decorative buttons
- 505 Spray Adhesive
- Chalk marker
- Cutting mat
- Rotary cutter
- Ruler
- 6” circle ruler or template for rotary cutting
- BERNINA 790 PLUS
- Patchwork Foot #97D
- Walking Foot #50
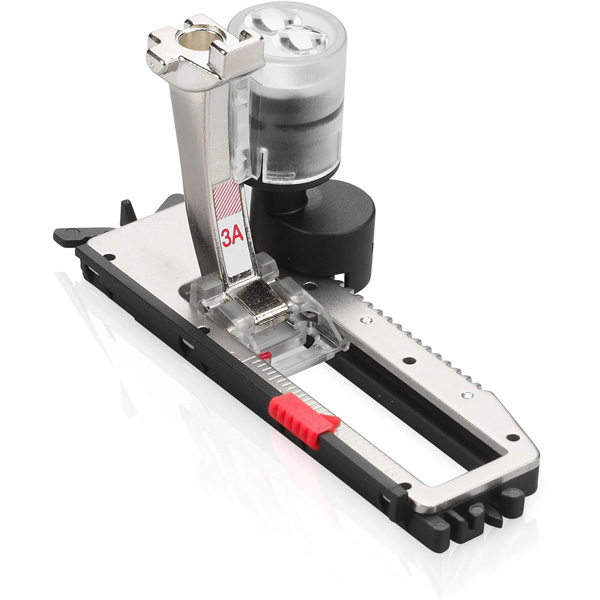
- Buttonhole Foot with Slide #3A
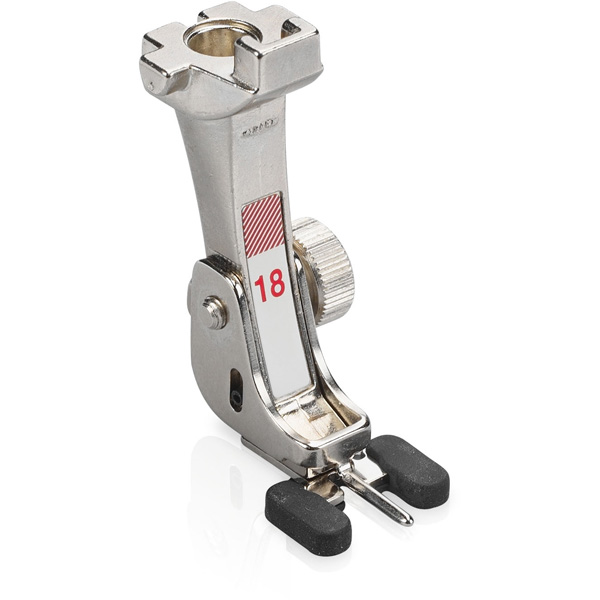
- Button Sew-On Foot #18
Download your lesson handout here.
INSTRUCTIONS:
Preparing the Towel
Fold the towel in half horizontally to find the center. Cut with a rotary cutter and ruler.
At the machine, set the stitch length to 5.0 mm. Sew a gathering stitch across the cut side with a 1/4” seam allowance.
TIP: If your machine has Presser Foot Recognition, be sure to select the correct foot.
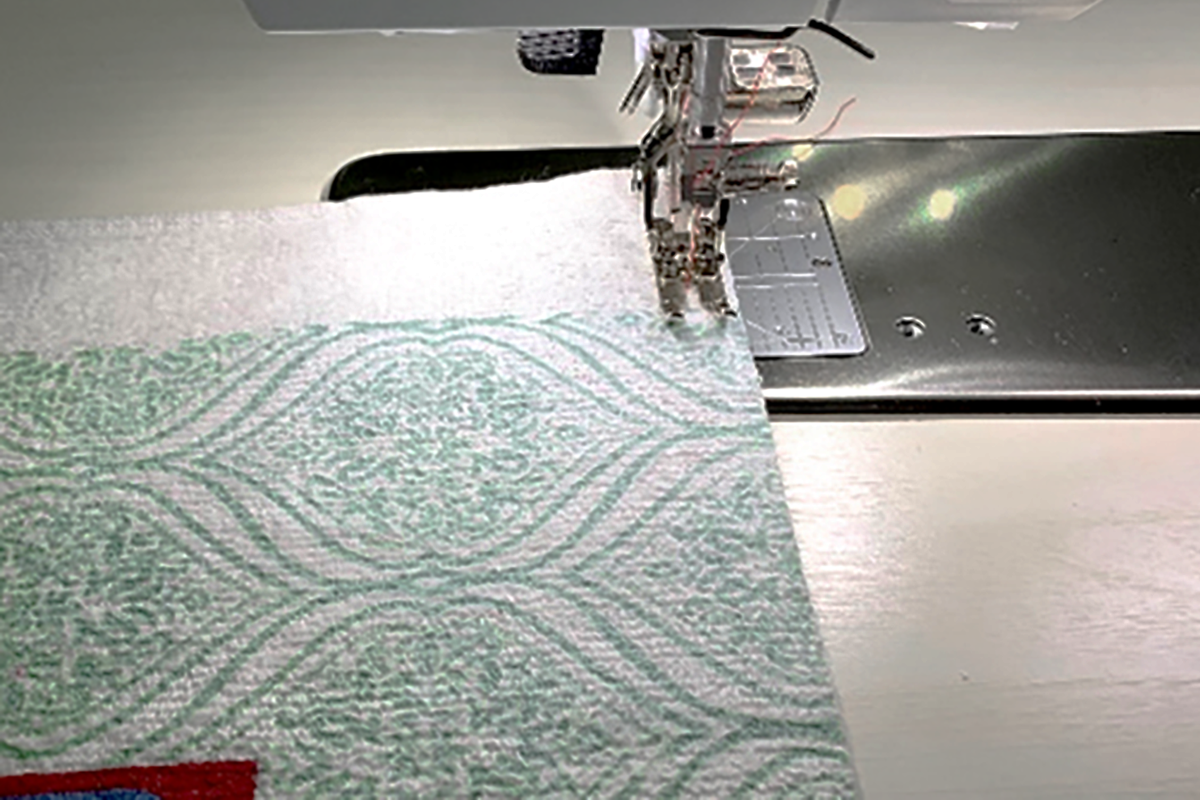
When stitching is complete, tie a knot at one end of the seam to secure. Pull the bobbin thread on other side to gather. Pulling the bobbin thread will make the gathering easier. Set towel aside for later.
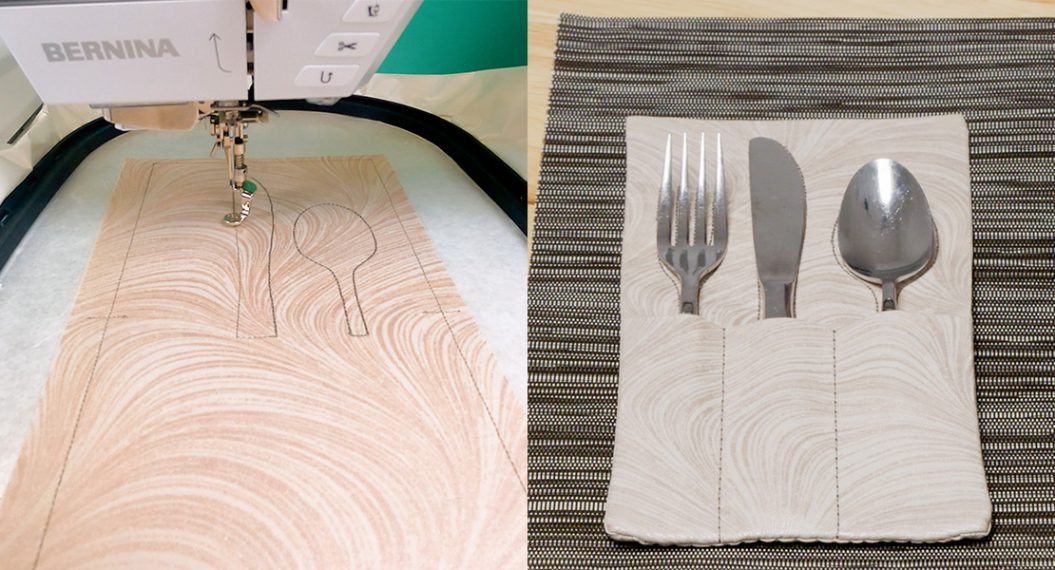
Quilting the Holder
Take two fabric squares and two batting squares placing one of each together.
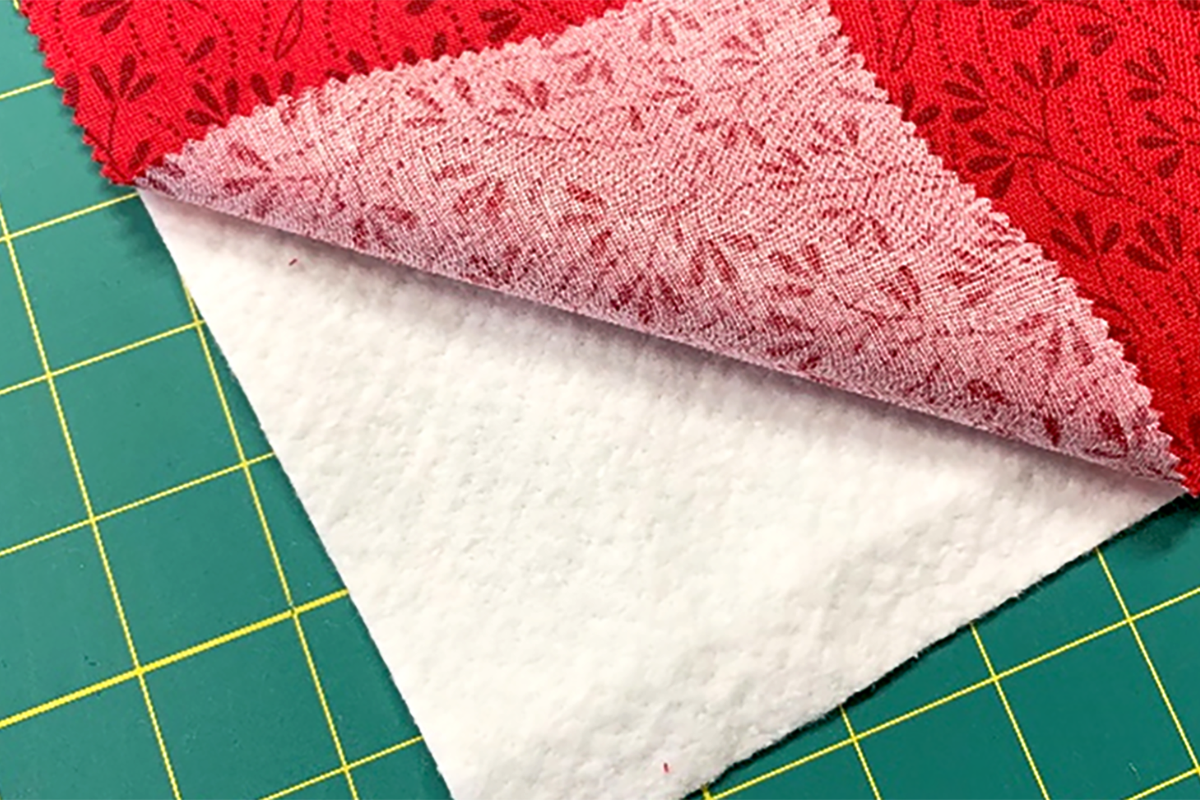
Baste the layers together with 505 Spray Adhesive or pins if desired. Then, using a chalk marker, draw a diagonal line across the fabric square from corner to corner.
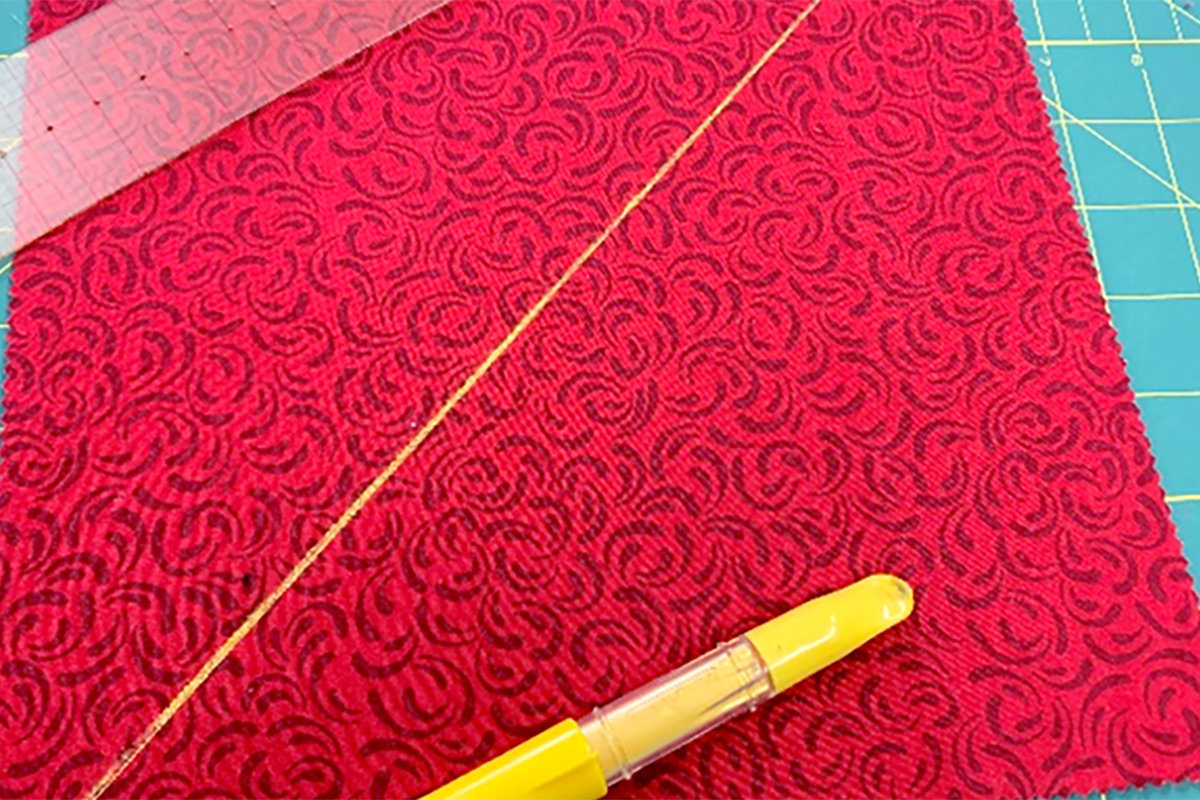
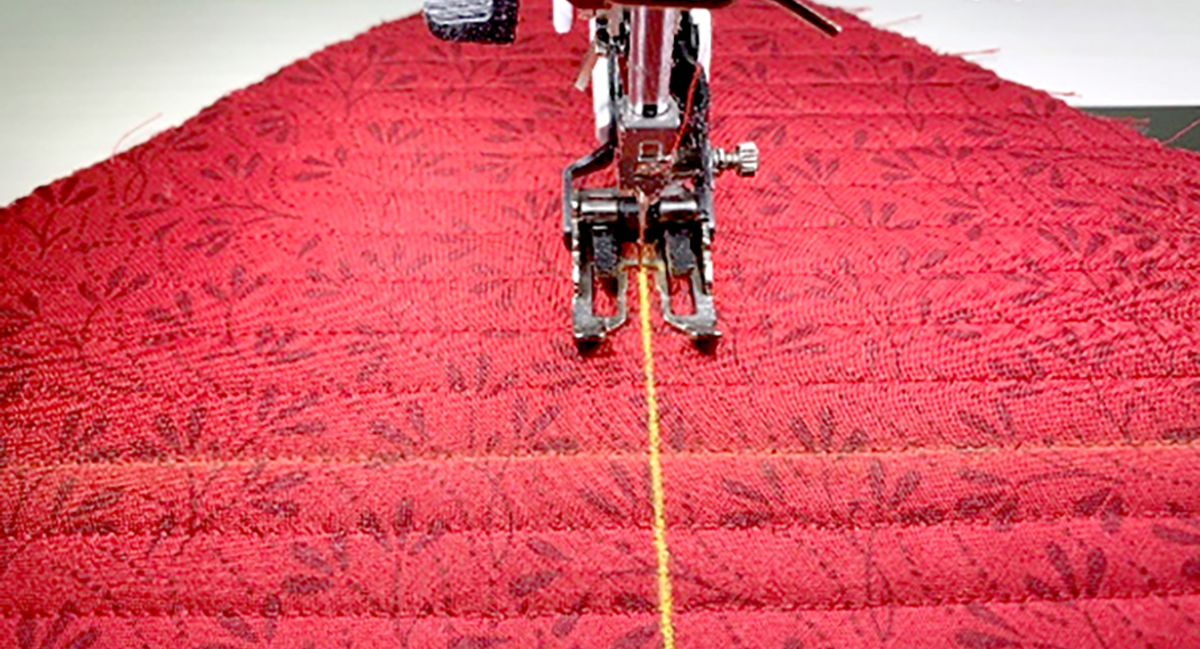
Be sure to revert the stitch length back to 2.5 mm. After changing the settings, stitch directly on the chalk line.
Using the side of the foot as a guide, stitch another line with the edge of foot on the line just stitched. Repeat across the fabric.
Mark another diagonal line from corner to corner perpendicular to the previous lines. Quilt just as you did before using the foot edge as a guide. Your quilting lines will be about ½” apart if using the Walking Foot #50.
Quilt the other piece of fabric you have ready with batting.
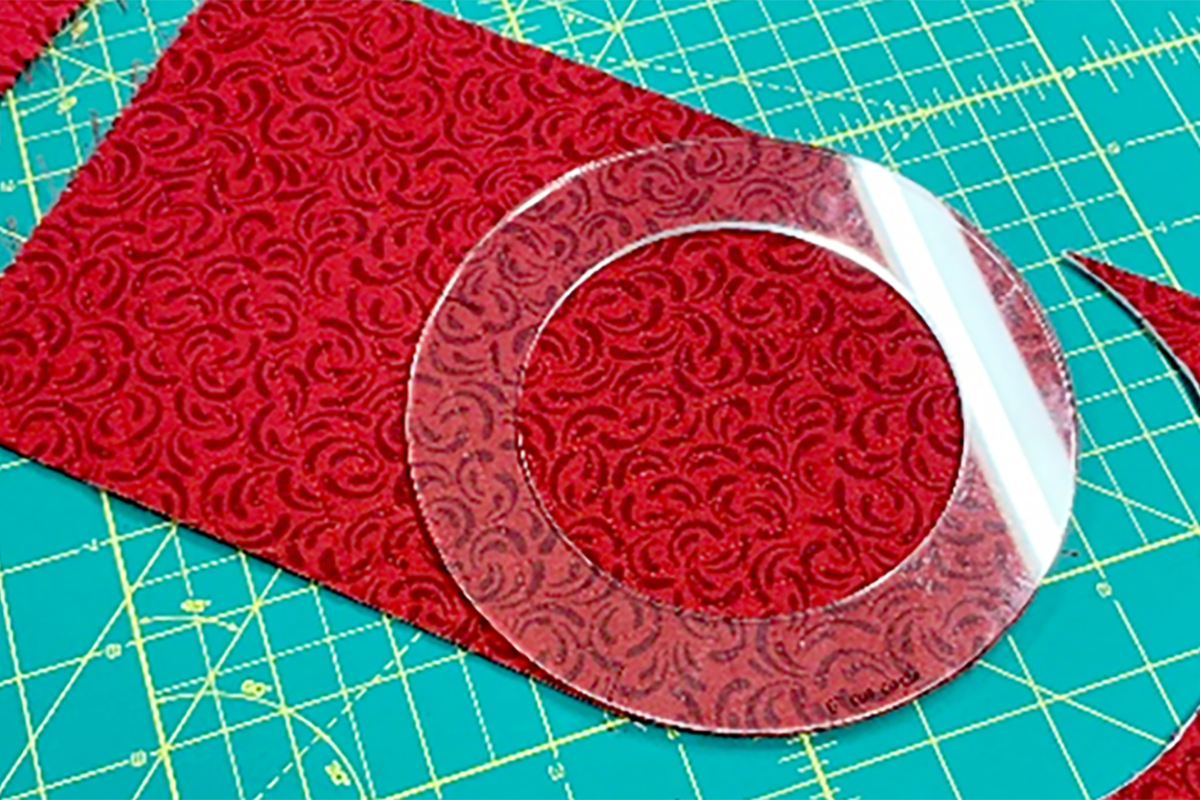
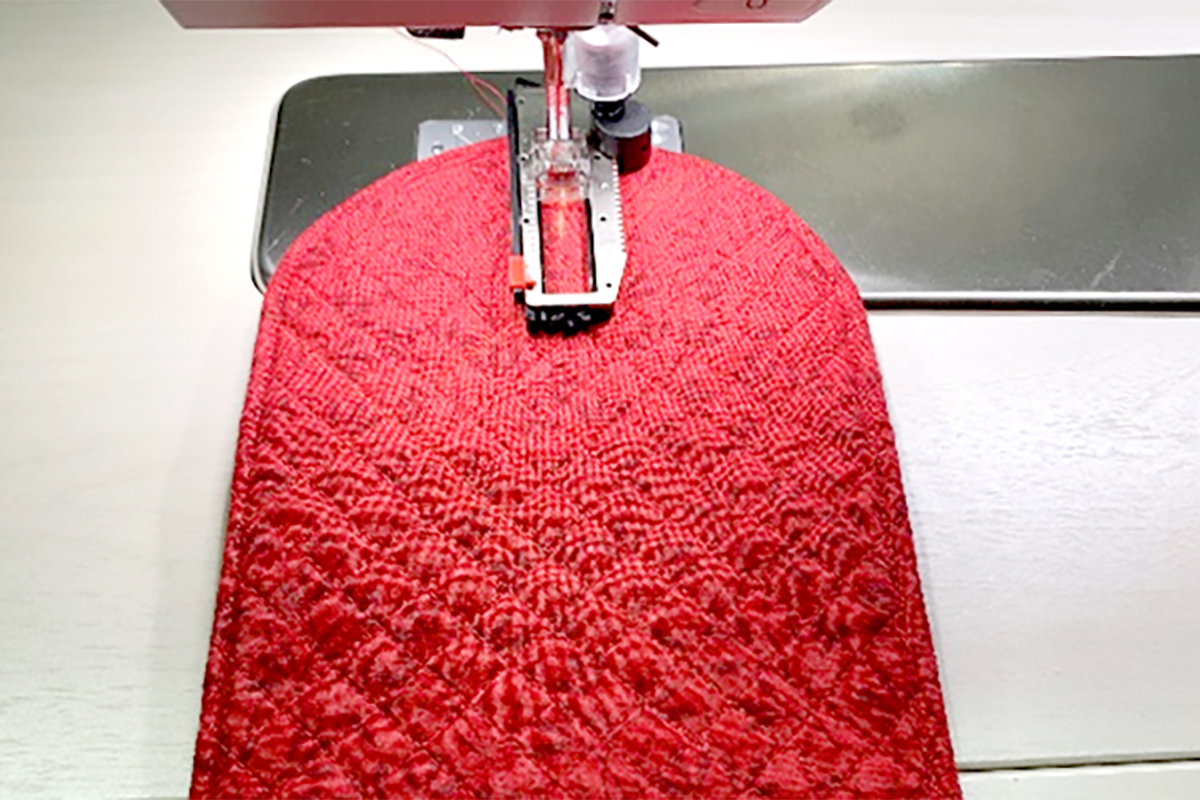
Trim both pieces of quilted fabric to 6” x 8.5”. Using a 6” circle, round one end of the trimmed pieces.
Assembling the Towel Holder
Place quilted pieces right sides together and stitch around the outside edge with a ¼” seam allowance, leaving the 6” straight edge unstitched.
Clip the curved edge and turn right side out. Fold and press a ½” under to the inside (wrong side) along the 6” straight edge.
Place the gathered towel inside the bottom of the quilted holder. Adjust the gathering until it fits nicely into the holder. Pin to hold in place.
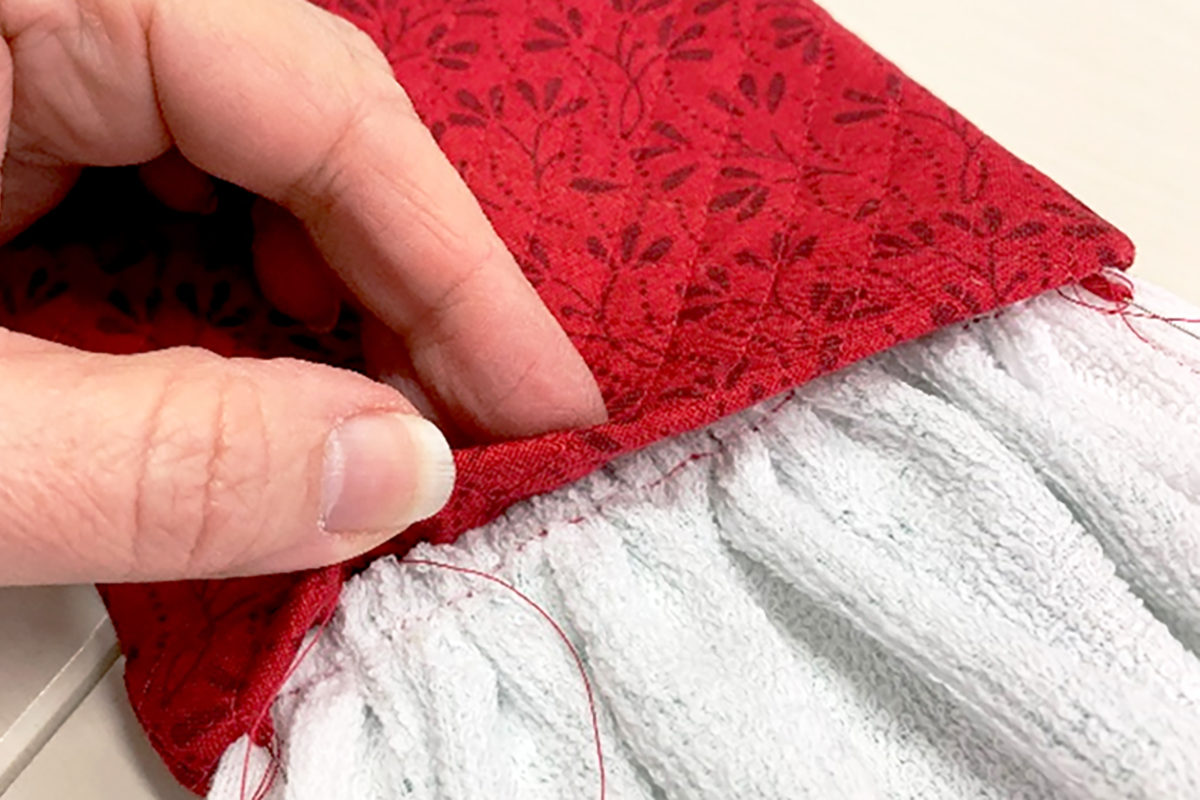
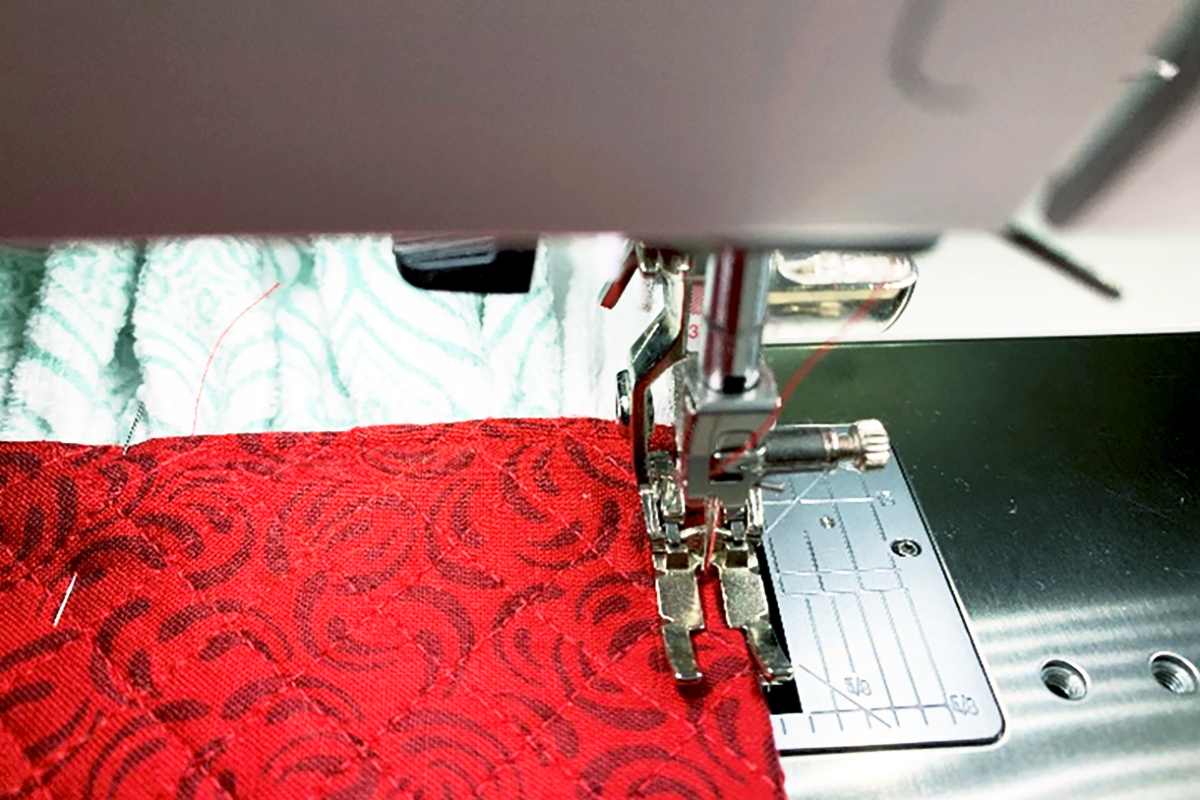
Edgestitch about 1/8” from the edge using Patchwork Foot #97/97D all the way around the quilted holder.
TIP: When you look at the toe of the #97/97D foot, you see the smaller toe. This edge is 1/8” to the right of the needle. Use this as your guide for narrow seam allowances.
Adding the Button and Buttonhole
Fold over the rounded part to meet the straight edge and mark where you would like to place your buttonhole.
Use Automatic Buttonhole Foot with Slide #3A to create a button hole to match your button.
Open the buttonhole menu and select the desired buttonhole. Open the Information menu by touching the ‘i’ icon, then select the Buttonhole Length icon.
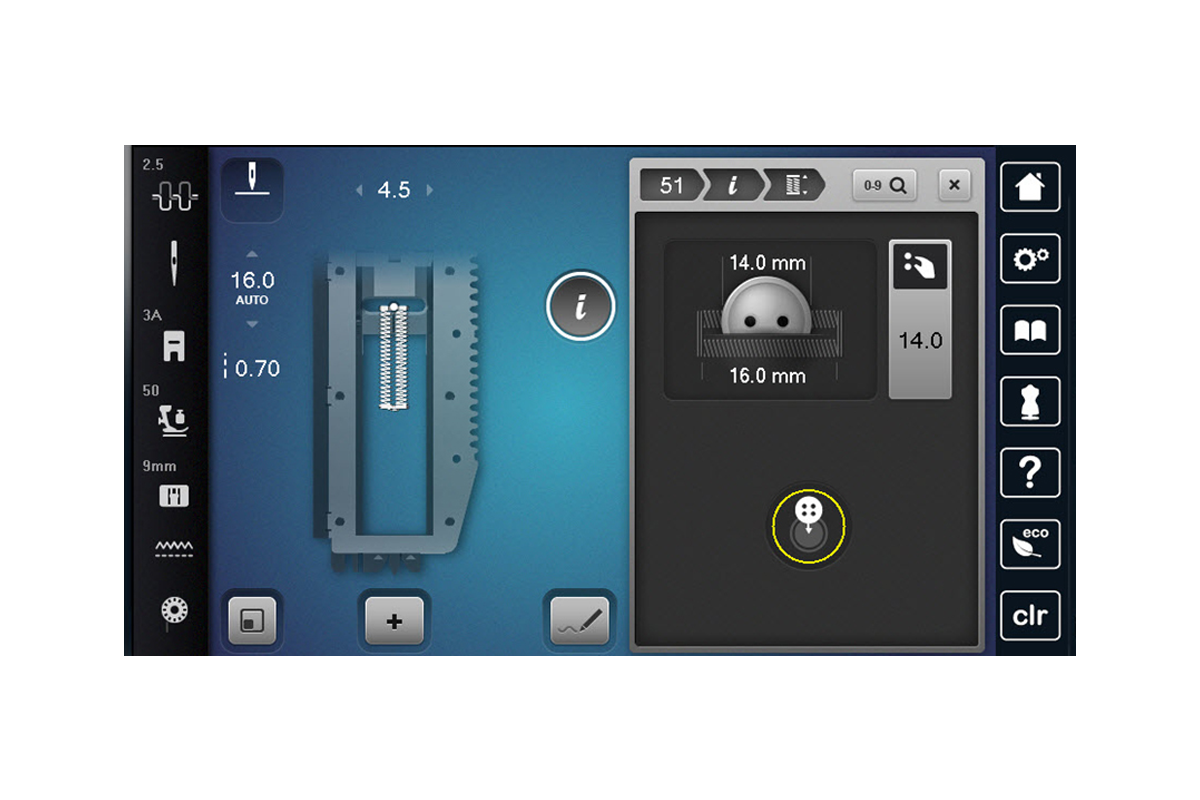
Place button on screen and turn Multi-function knobs until you see the yellow circle around button.
Press and hold the Start/Stop button to stitch out the buttonhole.
Once the stitching has finished, cut the buttonhole open. Mark where you would like the button sewn on.
Using Button Sew-On Foot #18 and the button sew-on program (stitch #60), sew the button to your project. Most buttons have the same distance between the holes but go slow, or use the handwheel, until you know for sure the needle is not going to hit the button.
Fold over and button closed to finish the project.
BERNINA Made to Create Studio Online Lessons
Equilateral Triangle Table Runner
Free-motion Quilting with Rulers
How to Quilt Feathers with Free-motion and Rulers


What you might also like


2 comments on “Kitchen Towel with Quilted Holder”
-
-
Hi,
Thank you. The reason for 4 squares of fabric and batting is because I am making a set of 2 hanging towels. In this set of two I only needed one towel cut in half. I am very sorry for the confusion.
Thanks,
Denise
-
Leave a Reply
You must be logged in to post a comment.

I love this but why do I need 4 squares of fabric and 4 squares of batting, it looked like only 2 were used per kitchen towel, what am I missing?