Magic Circle Block and Echo Quilting
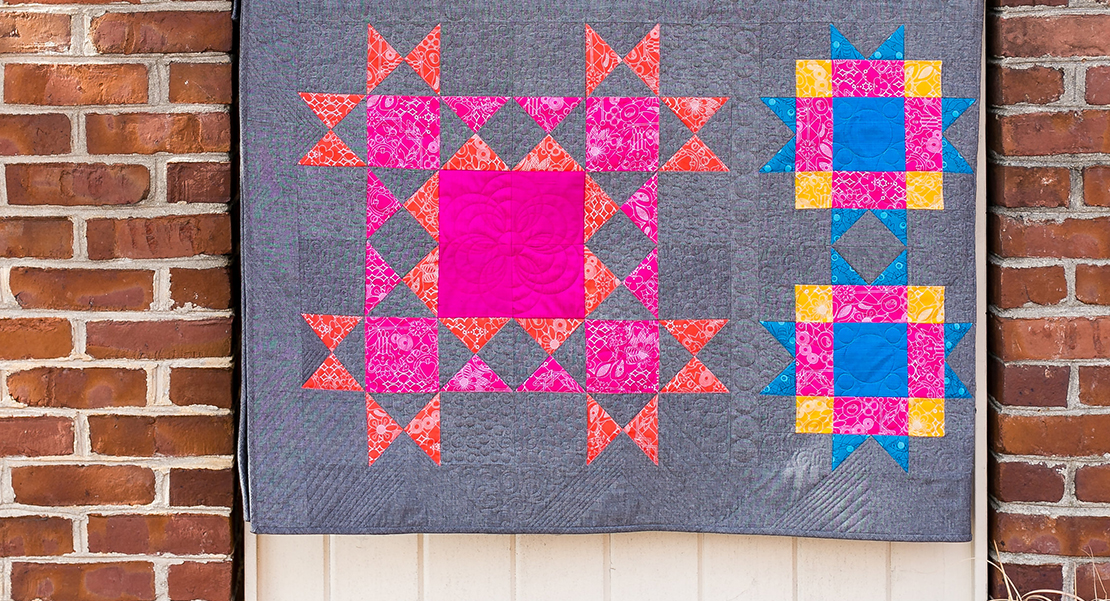
Welcome back to BERNINA’s Block of the Month Series. We will be making the “Magic Circle” Block as the 4th block in the series. Actually, we will be making three of this block. I love this block, and I think it would make a great single block quilt!
Here are the previous four quilt blocks in the BERNINA Block of the Month Series
Block 1: Antique Mosaic Block
Block 2: Shoofly Block
Block 3: Square in a Square Block
Optional: Fabric Requirements
Fabric to Create the Magic Circle Block
If you are buying fabric for each block on a monthly basis, you will need three fabrics for this block; a teal blue, a green, and the gray background fabric.
Please see more details about fabric requirements here. You will follow the Alternate Cutting Instructions below if you are cutting from a kit.
Please also download the BERNINA Block Party Fabric Chart.
If you are using the Sun Print 2017 Andover fabric line by Alison Glass, the specific colors are listed in bold:
Fabric Requirements
Fabric A: Teal Blue A-8484-T 1/4 Yard
Fabric B: Green A-8483-V 3/8 Yard
Fabric C: Gray A-C-Black 1/4 Yard
Supplies
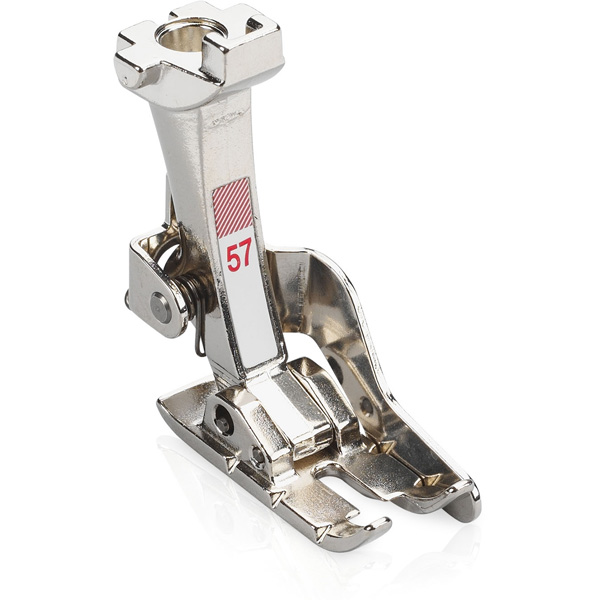
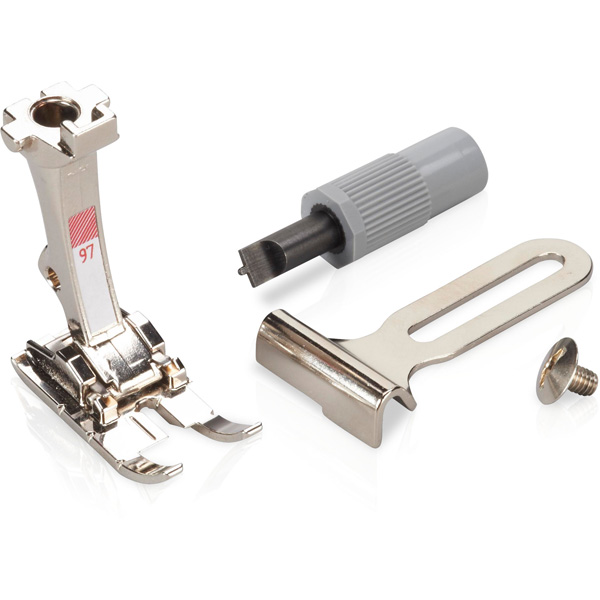
Patchwork Foot #37/37D or #57/57D or #97/97D
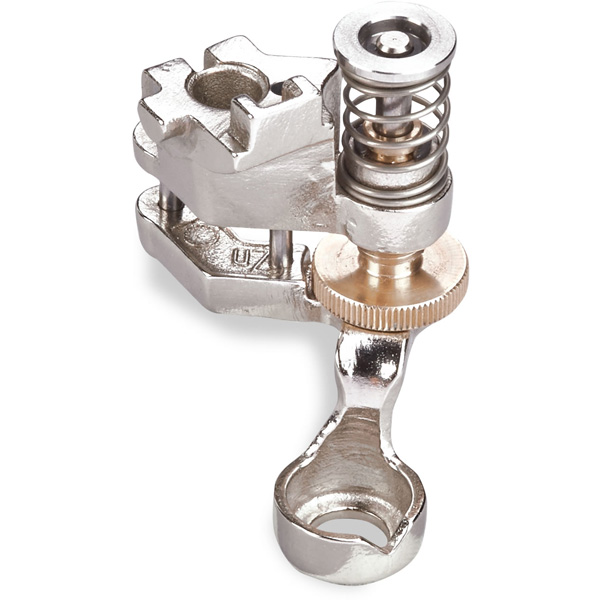
Adjustable Ruler Foot #72 (if using a BERNINA Domestic Sewing Machine)
Ruler Foot #96 (if using the Q20 Sit-down Model)
BERNINA Q-matic Longarm Quilting Automation System (optional)
BERNINA Ruler Work Kit (if using Q 24 the Q 20 Longarm Machine on a frame) includes Ruler base, Ruler foot #96 and Straight Ruler
Quilter’s Groove ProEcho Rulers 6” and 9”
Cutting Instructions
The following cutting requirements are for three identical blocks.
Fabric A: 12 Rectangles 6 ½” X 3 ½”
Fabric B: 48 Squares 2 ¾”
Fabric C: 3 Squares 6 ½”
12 Squares 3 ½”
Alternate Cutting Instructions if Cutting from Kit
Fabric A: Cut two 3 1/2” strips, then cut 12 rectangles 6 ½” X 3 ½”.
Fabric B: Cut four 2 3/4” strips, then cut strips into 48 squares 2 ¾”. Set aside remainder of last strip.
Fabric C: Cut one 3 1/2” strip, then cut 12 squares 3 ½”.
Cut three 6 1/2” squares from remainder of the 6 7/8” strip used in block 3
Piecing the blocks:
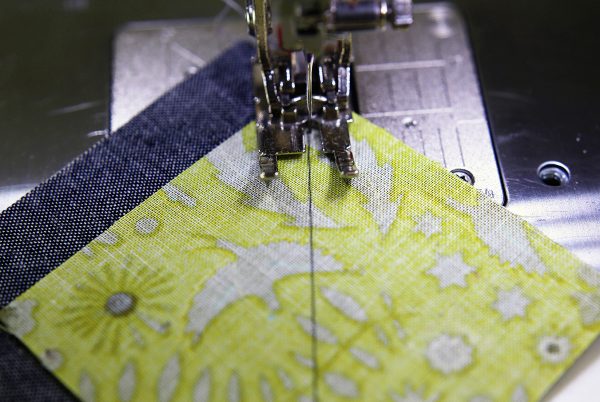
Begin by drawing a line diagonally across all the green squares.
With right sides together, place a green square on one corner of each of the 3 ½” gray squares. Stitch on the drawn line.
Trim excess to ¼”. Press the seam toward the gray fabric. Make a total of 12 units.
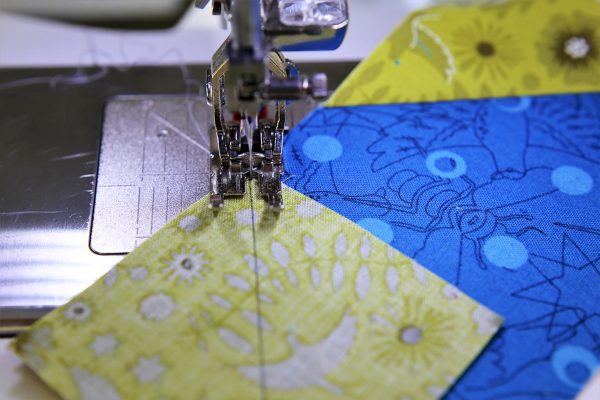
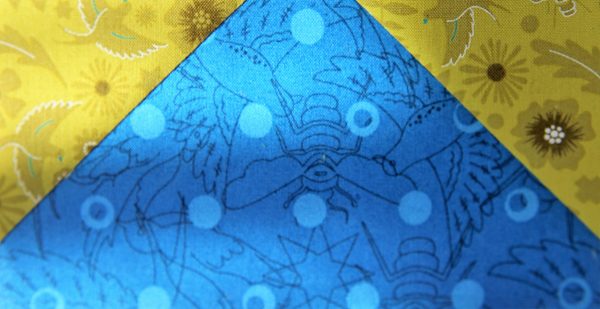
Place a green square on the two upper corners of each Teal Rectangle. Stitch on the drawn line.
Trim excess to ¼”. Press seams toward the teal fabric. Make a total of 12 units
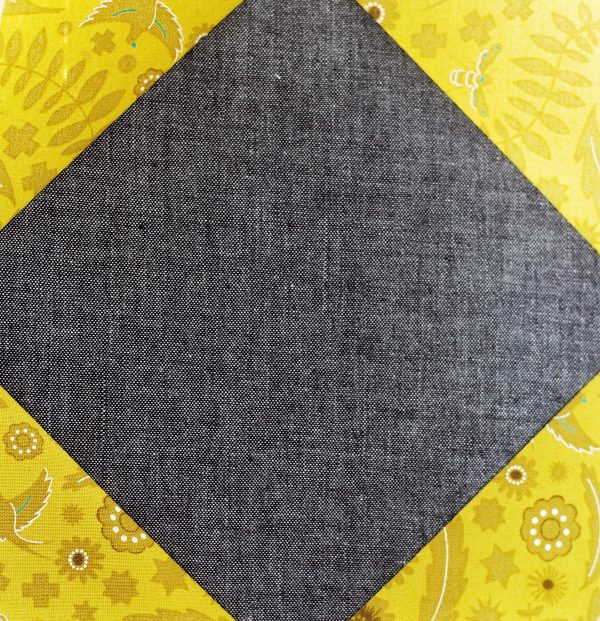
Repeat the same process, stitching a green square to each corner of the large gray background square and trimming the excess to ¼”. Press the seams toward the gray fabric. Make 3 units.
Seam together a teal/green rectangle unit with two small gray/green square units on each side. Make a total of 6 of these rectangle units.
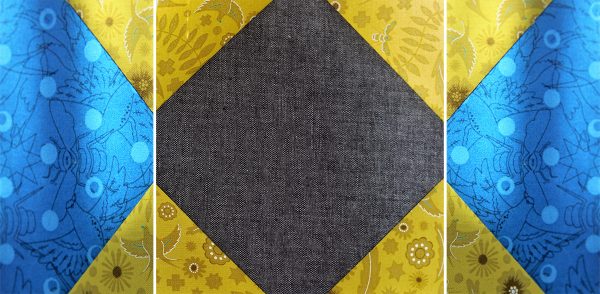
Seam together the large gray/green center square units with two teal/green rectangle units on each side.
Make a total of 3 of these seamed units.
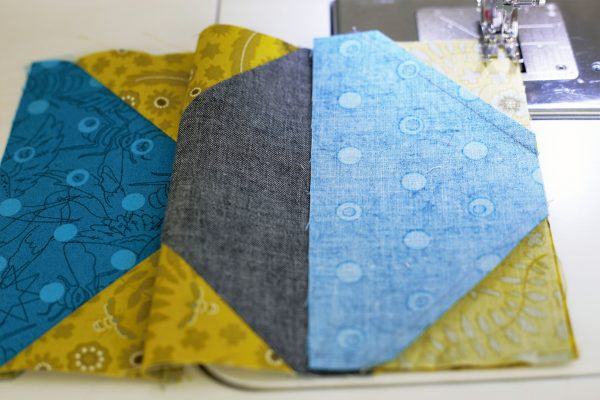
Now seam two of the previously stitch rectangle units to one center unit to create the block. Each block is 12 ½” X 12 ½”. Repeat to make a total of three blocks units.
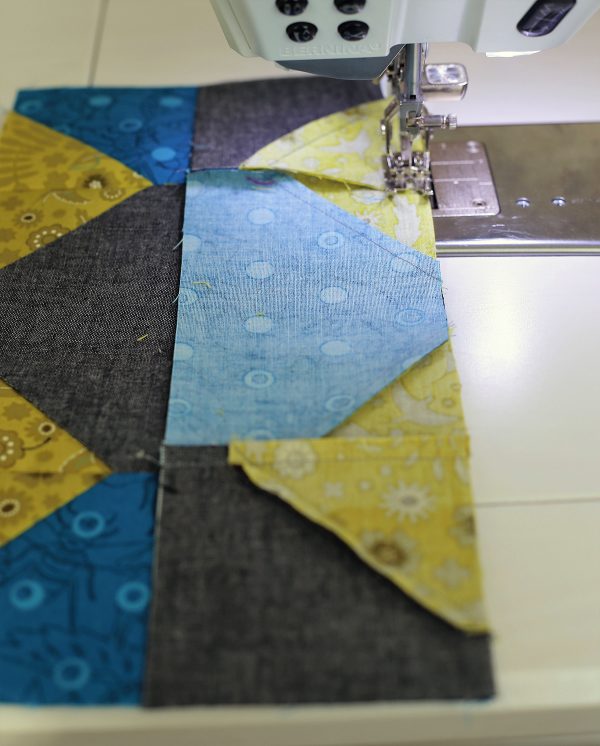
Stitch the three block units together. The block should measure 12 ½’ x 36 ½’.
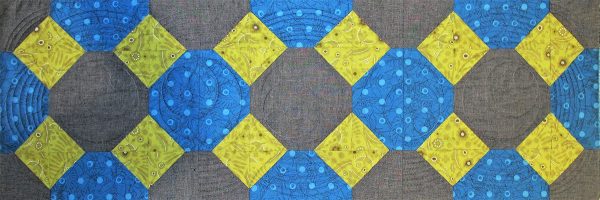
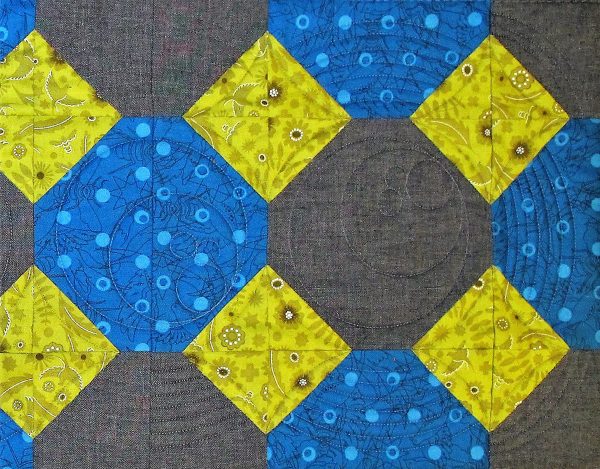
When you seam the three blocks together, notice that the teal rectangles now form alternating squares with the gray center squares. This makes the perfect places for some fabulous quilting!
Set aside this large block for now if you are going to make the entire quilt. The entire quilt top will be pieced together before the final quilting of the layers is done.
Each month, I will give you instructions for a different quilting technique. Experiment with the techniques, and later when it is time for you to quilt the entire quilt, you will have a better idea of what quilting technique or techniques you want to try!
Join Denise Jones this month for another wonderful project using this block and some of the techniques in the quilting lesson. Her next project will post on July 17, here on WeAllSew.
Ruler Work and Motif Quilting: A Quilting Lesson
This month we will continue with more ruler work, as well as explore motif quilting.
If you are going to use motifs to quilt your blocks (and in this case the secondary blocks as well) you will need to make some decisions. Do you want to quilt the motifs with quilted free motion, will you will be using stencils, or perhaps you want to quilt using BERNINA’s Q-matic Longarm Quilting Automation System with a Q 24 or Q 20 Longarm Machine on a frame.
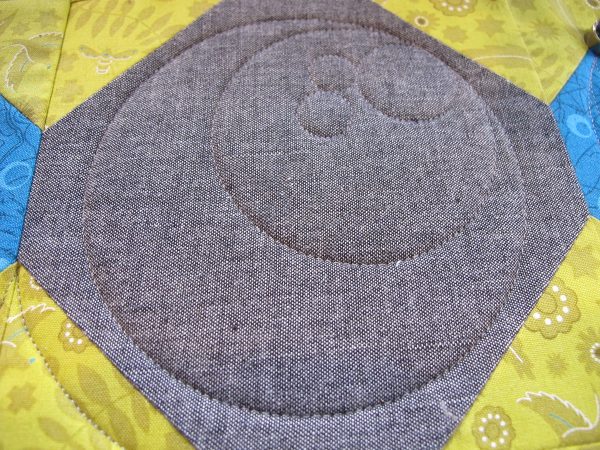
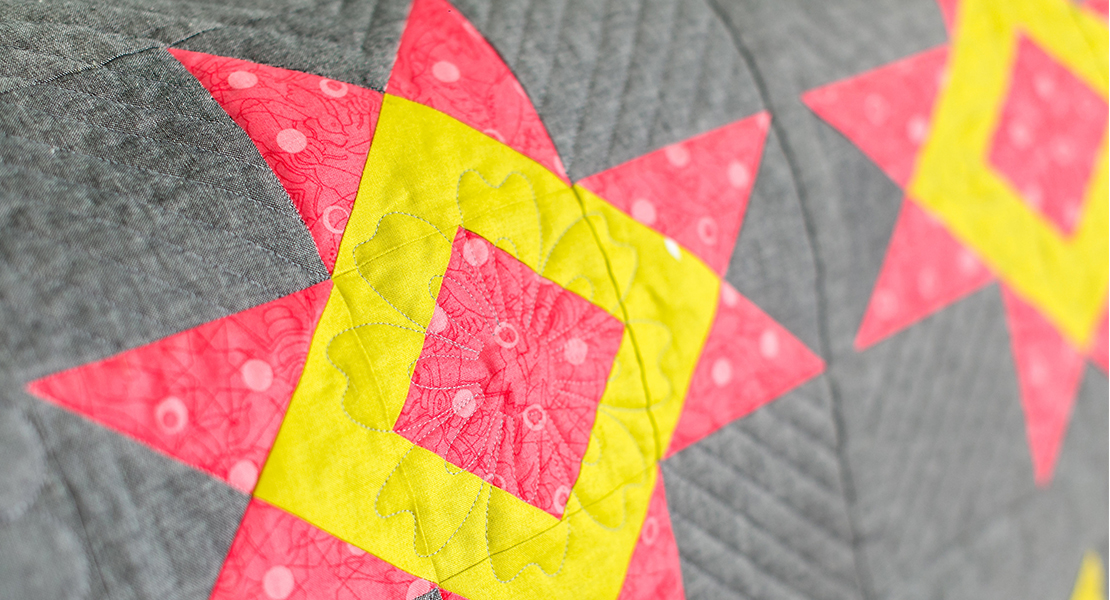
On this block, I quilted these motifs on my Q 24 Longarm Machine on a frame using BERNINA’s Q-matic automated quilting system. Let me show you how to do that.
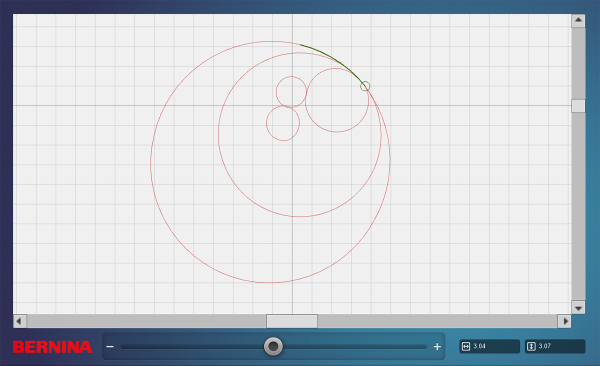
Select the design you would like to use. (I used a built-in design from the Q-matic software TP_BandBee_Circle)
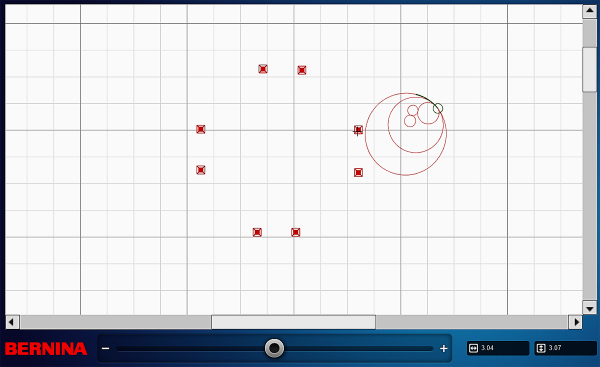
Use Markers to define the area you want to quilt. In this case, I selected each corner of the 8 sided area of the gray and teal center blocks.
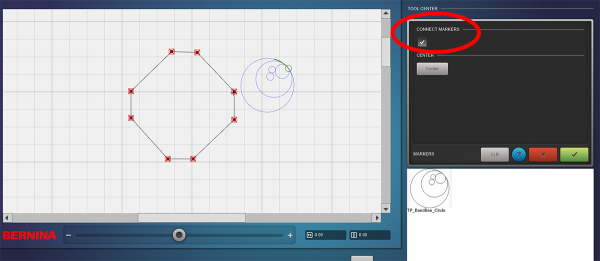
Connect the markers to create the exact area of the gray and teal center blocks.
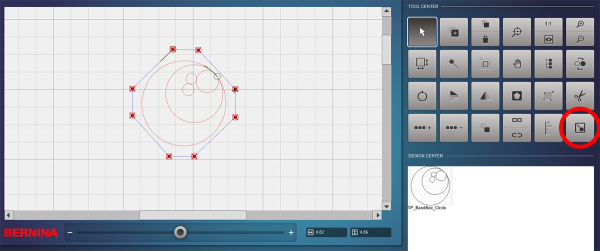
Move design into the defined area. Size the design to fit the quiltable space.
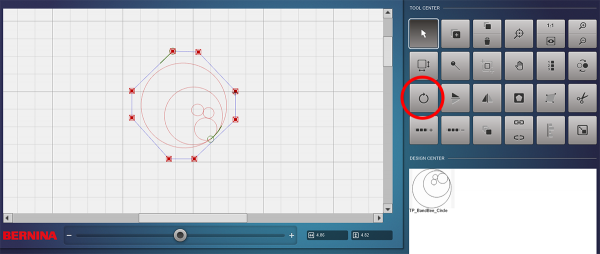
Rotate the design as you stitch it in the five center square areas.
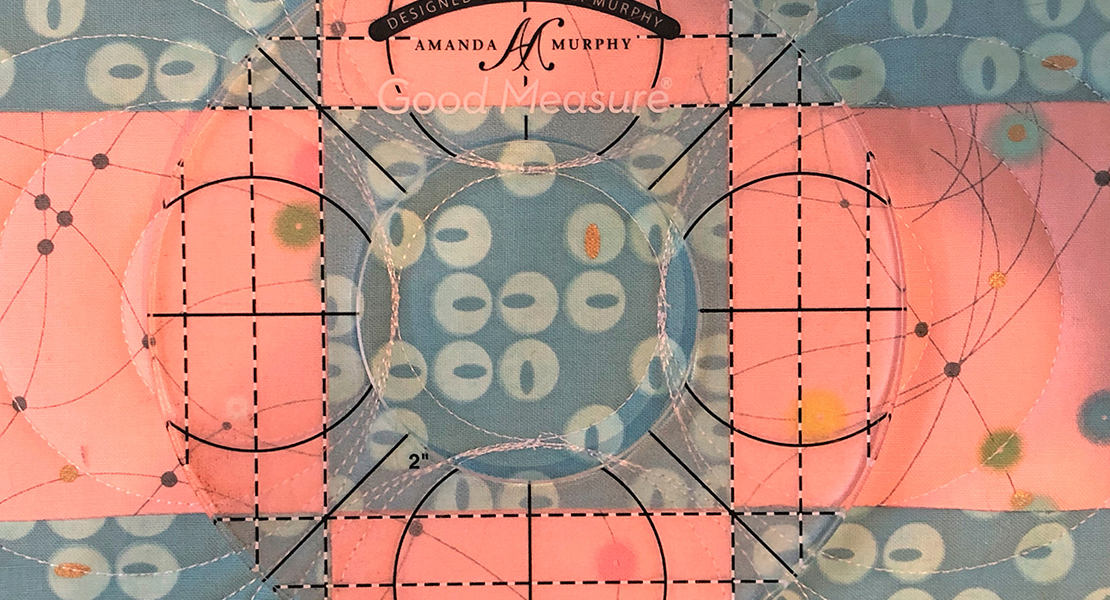
This type of motif can also be done with rulers if you do not have a BERNINA Longarm with automated quilting. With the use of circle rulers, this design would be very easy to replicate.
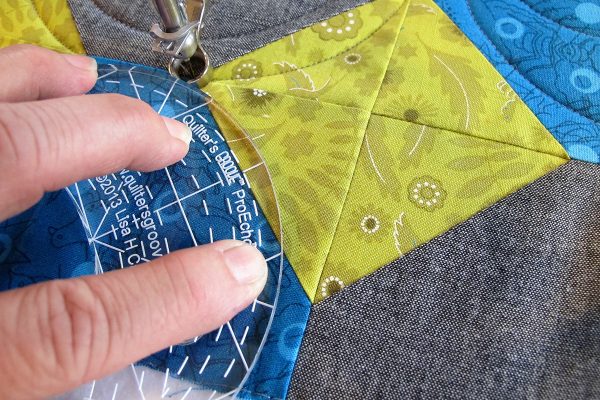
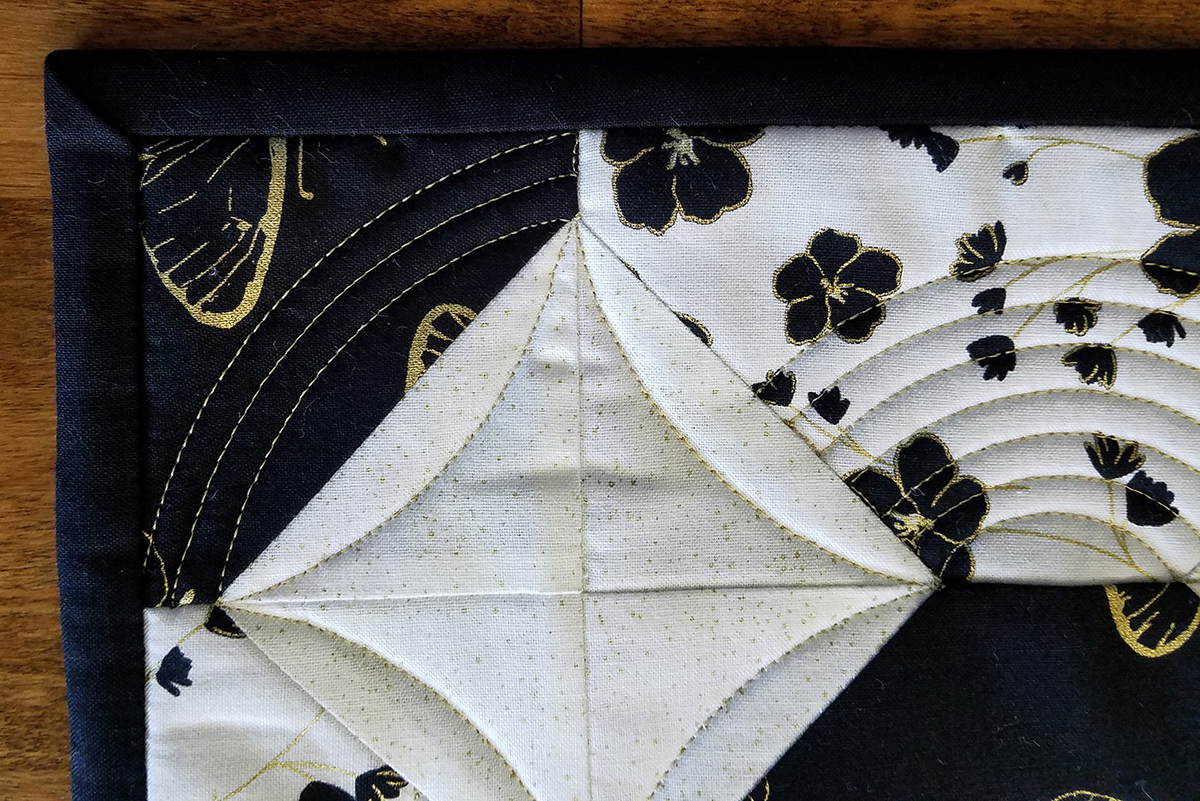
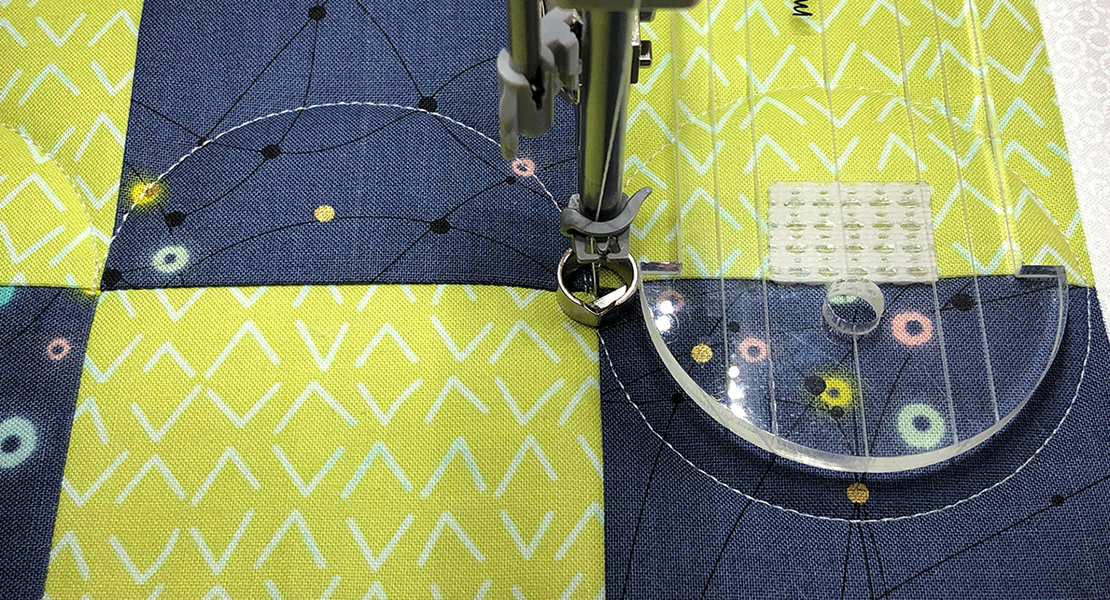
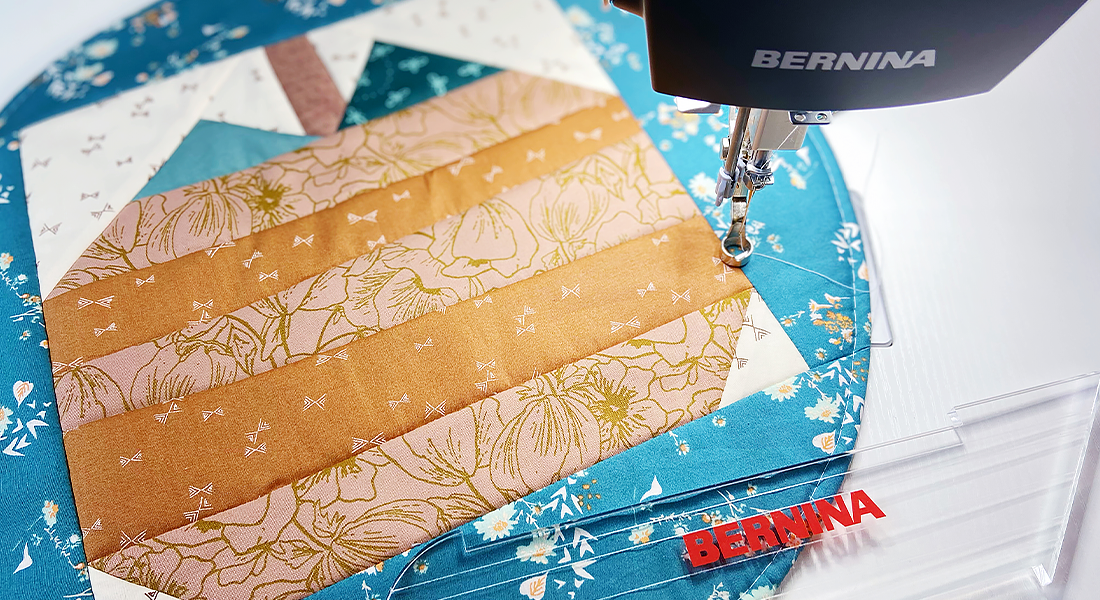
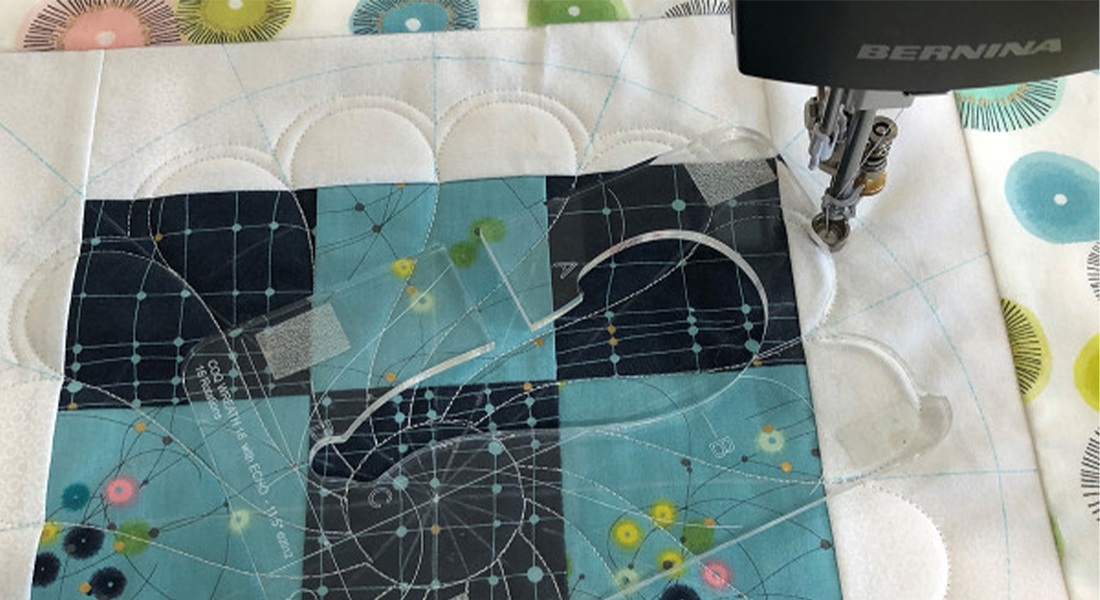
I finished quilting this block using rulers and an echoing technique. I first used the Quilter’s Groove ProEcho 6” Ruler to stitch a curved line to the inside of the green squares on all four sides of the blocks.
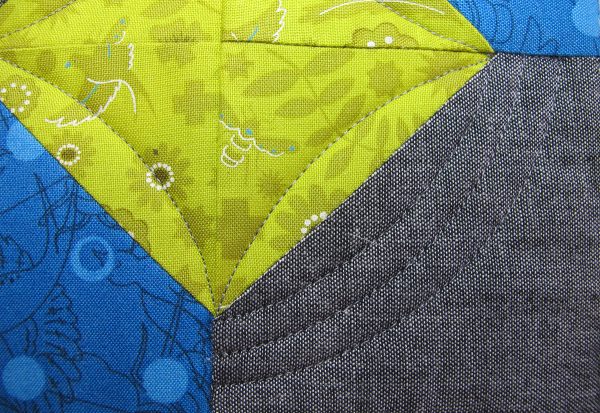
Use the same ruler to create 3 rows of stitching to the outside of each of the 4 outside corner squares of the 3 block piece.
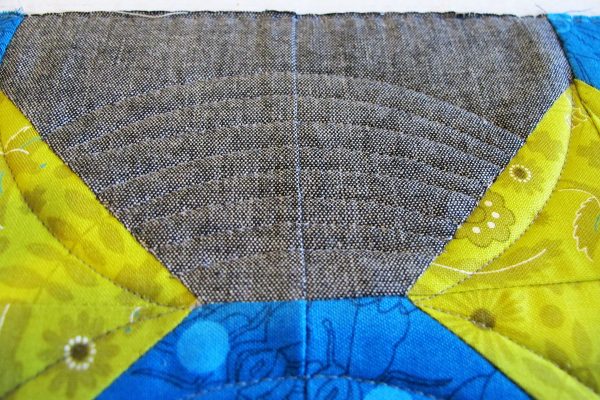
Use the Quilter’s Pro Echo 9” ruler to stitch 6 to 7 echoed lines in the gray and teal half pieces around the outside edge of the large block.
For more information about quilting with circle rulers, take a look at the quilting lesson from the Block 3.
Tutorial List of the BERNINA Block of the Month Series
Block 1: Antique Mosaic Block
Block 2: Shoofly Block
Block 3: Square in a Square Block
Block 4: Magic Circle
Block 5: Card Basket Variation Block
Block 6: Ohio Star Variation Block
Block 7: Maple Star Block
Block 8: Grecian Square Block
Block 9: Union Square Block
Block 10: A Girl’s Favorite
What you might also like
4 comments on “Magic Circle Block and Echo Quilting”
-
-
what’s the real name of this block?
-
For beginning and even intermediate quilters, who need guidance on how to construct the Magic Circle block, the link below has very helpful instructions and illustrations, of the type that should have been provided in the We all Sew blog, but regrettably is lacking:
https://media.rainpos.com/1420/2018_quilt_block_4_power_point.pdf
Thank you to the person who took the time to provide the instructions and illustrations at media.rainpos.com.
I believe that the low participation rate for this Bernina quilt-a-long can be attributed to the fact that it was held out as appropriate for beginners, but the type of support that a beginner needs is woefully lacking on the blog.
I’m a beginner, and the only way I can learn how to construct the blocks is by doing my own research.
Hopefully, for future projects, Bernina will select an instructor who understands the needs of beginners and can communicate effectively with them.
-
For beginning and even intermediate quilters, who need guidance on how to construct the Magic Circle block, the link below has very helpful instructions and illustrations, of the type that should have been provided in the We all Sew blog, but regrettably is lacking:
https://media.rainpos.com/1420/2018_quilt_block_4_power_point.pdf
Thank you to the person who took the time to provide the instructions and illustrations at media.rainpos.com.
I believe that the low participation rate for this Bernina quilt-a-long can be attributed to the fact that it was held out as appropriate for beginners, but the type of support that a beginner needs is woefully lacking on the blog.
Hopefully, for future projects, Bernina will select an instructor who understands the needs of beginners and can communicate effectively with them.
Leave a Reply
You must be logged in to post a comment.










I loved this block! I am having fun doing the block of the month!